For Complete Warranty Information, contact Spectracom NetClock Wireless Clock System Instructions
www.spectracomcorp.com / US +1.585.321.5800 1168-5001-0050 Rev. H, Copyright June, 2011
Spectracom Corporation: 95 Methodist Hill Drive, Rochester, NY 14623 4 of 19
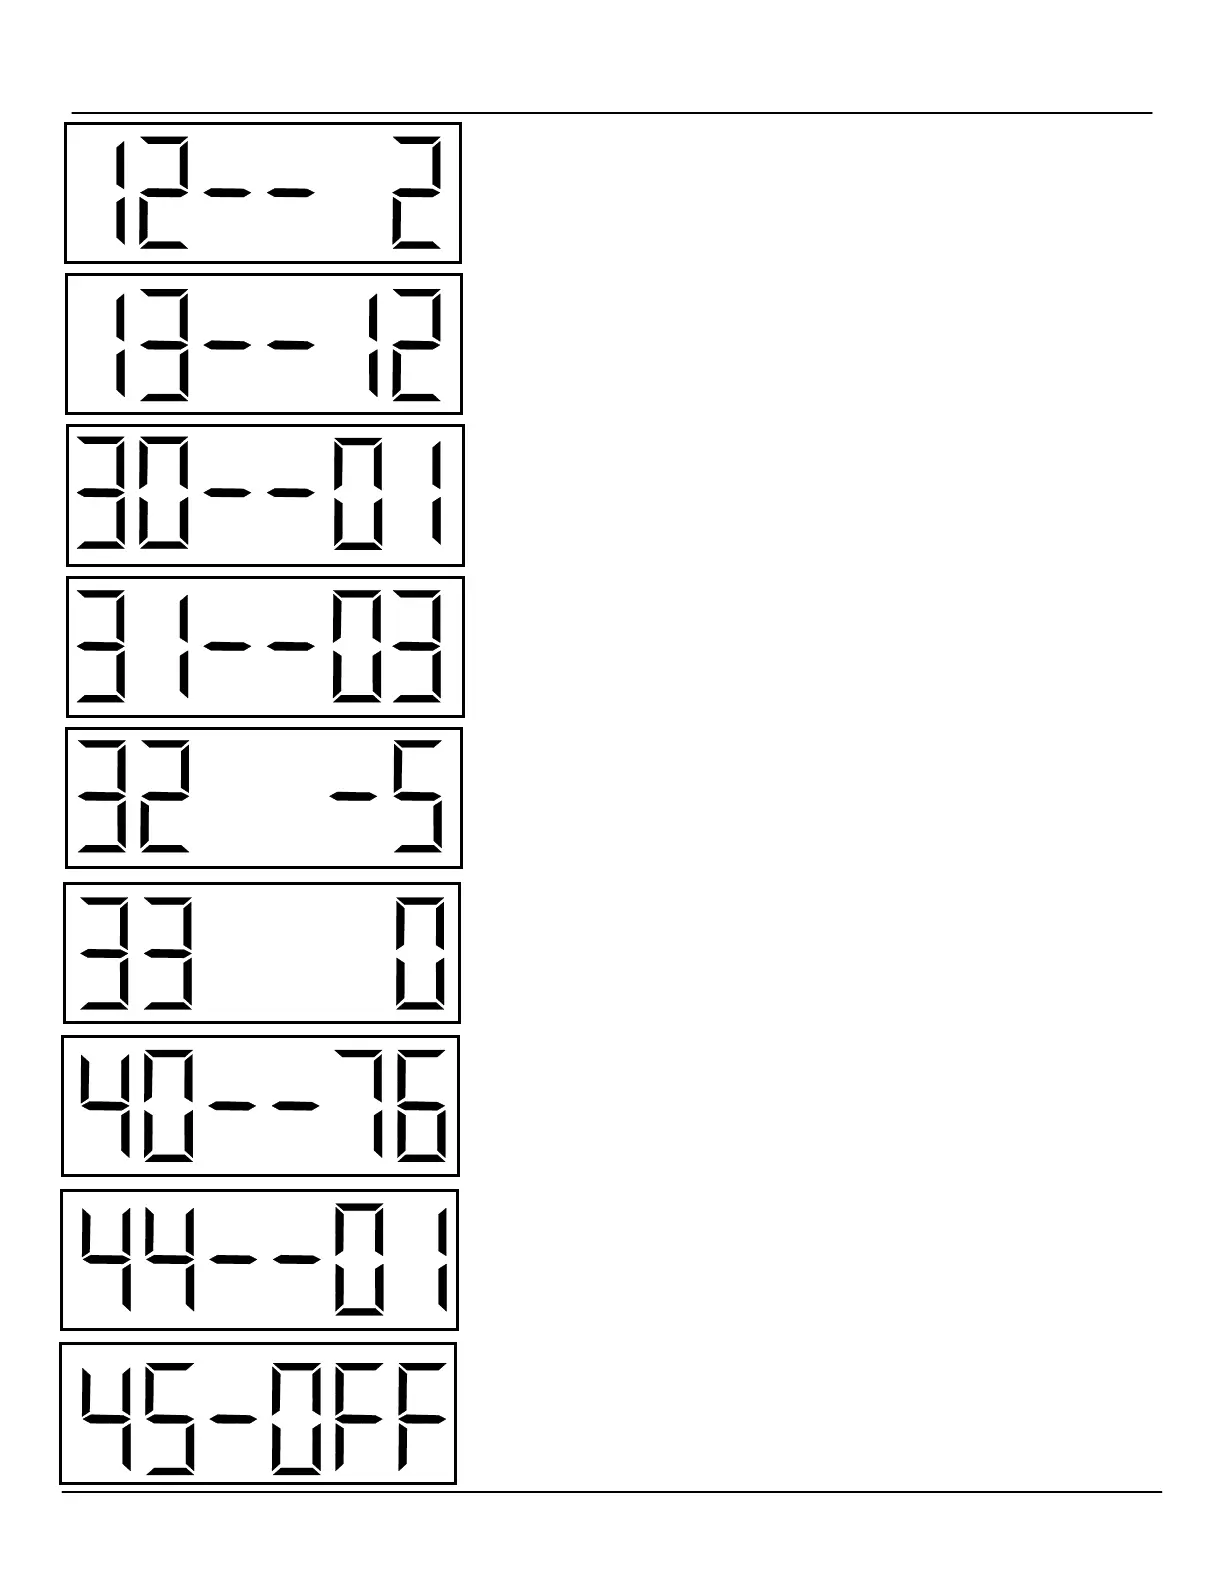
Option 12: Enable or Disable Daylight Saving Time (DST)
Skip option 11 and access option 12. Use the bottom button (the “Set Minute” button) to
change the option to 1, 2, or “d.”
1: Pre-2007 DST Rule
2: Post-2007 DST Rule
d: Disable DST Rule
Option 13: Set 12- or 24-Hour Mode
Use the bottom button (the “Set Minute” button) to change the option to 12 or 24.
12: 12-Hour Display
24: 24-Hour Display
Option 30: Set the Primary Auxiliary Input
Use the bottom button (the “Set Minute” button) to change the option to 01 or 13. Do NOT
use any other available value, for these values may affect the transceiver’s operation.
01: SNTP (your network Ethernet connection)
13: RS-485
Option 31: Set the Secondary Auxiliary Input
Use the bottom button (the “Set Minute” button) to change the option to either 01 or 13. Do
NOT use any other available value, for these values may affect the transceiver’s operation.
01: SNTP (your network Ethernet connection)
13: RS-485
Option 32: Set Time Zone Offset
Use the bottom button (the “Set Minute” button) to change the option to the number of
hours of time zone offset desired. For example, -5 sets the offset to EST. The available
offset values range from -12 to 12.
Option 33: Set Input Time Bias
This option allows the user to set a number of seconds to adjust the input time, ranging
from 0 to 7500 seconds. (In most cases, it is not necessary to set this value.)
Option 40: Status, Last Input Signal Received
This is a read-only value that indicates the number of hours since the unit last received an
input signal. This option cannot be modified.
Option 44: Status, Internet Connectivity
This is a read-only value that indicates whether the unit is connected to the Internet. “01”
indicates that an Internet connection is present. “00” indicates that an Internet connection
is not available. This option cannot be modified.
Option 45: Set the Unit to its Static IP Address
Use the bottom button (the “Set Minute” button) to change the option to “OFF” or “cr.” This
allows the user to set the unit to its default static IP address (when DHCP is not available).
NOTE: When setting the unit to static IP, wait 20 seconds and then CYCLE POWER.
OFF: Obtain IP Address Using DHCP (Normal Network Mode)
cr: Crossover Mode (unit’s IP address fixed to 192.168.0.123)