For Complete Warranty Information, contact Spectracom NetClock Wireless Clock System Instructions
www.spectracomcorp.com / US +1.585.321.5800 1168-5001-0050 Rev. H, Copyright June, 2011
Spectracom Corporation: 1565 Jefferson Road, Rochester, NY 14623 6 of 19
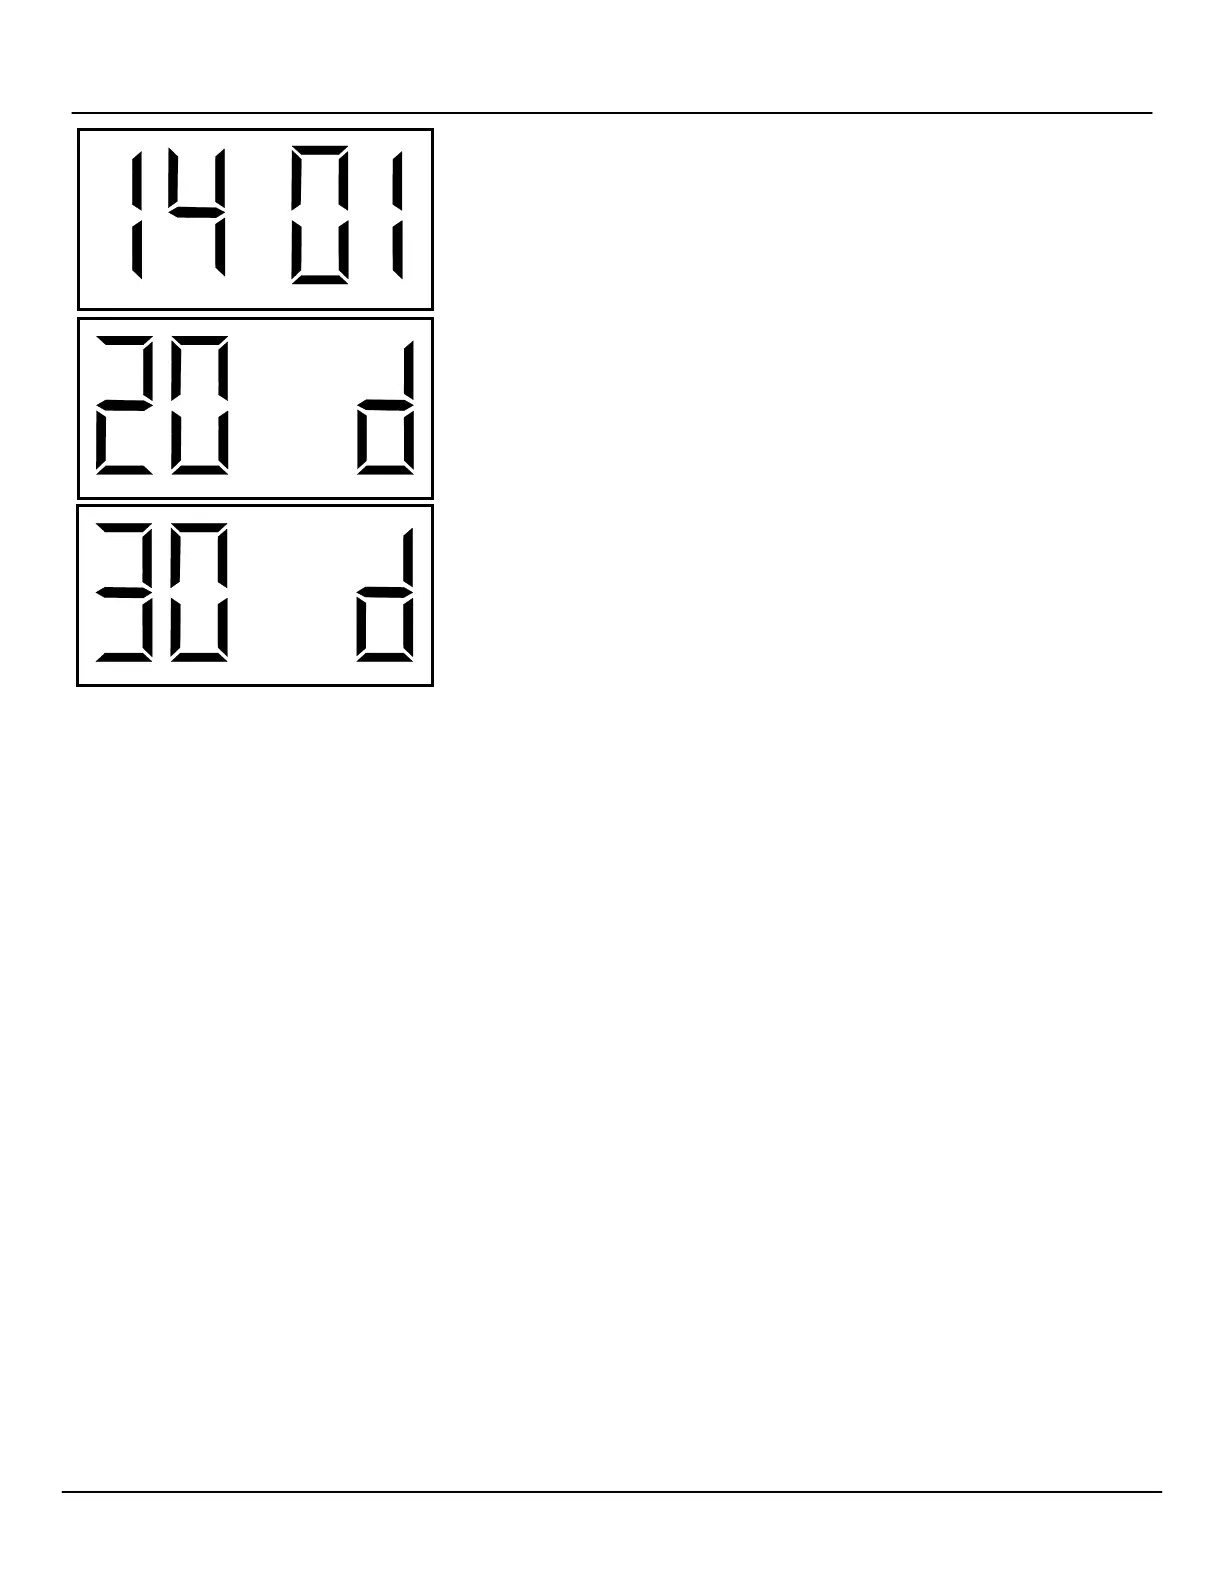
Option 14: Set the Loss of Communication Alert
This option allows the user to set the delay after which the clock’s digital colon will flash to
indicate a loss of communication from the transceiver. Use the bottom button (the “Set
Minute” button) to change the option from among the ten possible choices.
1: 5 minutes 4: 30 minutes 7: 90 minutes 10: 240 minutes
2: 10 minutes 5: 45 minutes 8: 120 minutes
3: 15 minutes 6: 60 minutes 9: 180 minutes
Option 20: Disable the Programmable Relay
Option 20 must be set to “d” to disable the programmable relay, which does not apply to
your product. Use the bottom button (the “Set Minute” button) to select “d” from among the
available numerical options. Do not choose settings1 through 9.
Option 30: Disable Auxiliary Input Control
Option 30 must be set to “d” to disable the programmable relay, which does not apply to
your product. Use the bottom button (the “Set Minute” button) to select “d” from among the
available options. Do not choose “E”.
4
Troubleshooting
Spectracom NetClock Wireless Clocks are not field-serviceable and
must be returned to the factory for repair. Users may, however,
troubleshoot the system using the following guidelines.
4.1
Transceiver Troubleshooting Tips
If the following troubleshooting tips do not cover your installation
issue, contact Spectracom Customer Support at US
+1.585.321.5800.
NOTE: For RS-485 connections, time zone offset and DST rules
are configured in the NetClock unit and NOT configured in
the transceiver if you are using a NetClock as an external
timing reference. The NetClock remote output (RS-485)
must be set to Format 0, 1200 baud only. Refer to the
NetClock manual for more information.
4.1.1 Transceiver Will Not Synchronize to External Timing
Reference
Check the connection from the reference to the transceiver. Refer to
the NetClock instrtuction manual for more information. If necessary,
contact Spectracom Customer Support at US +1.585.321.5800.
4.1.2 Transceiver Does Not Power Up
Make sure the power cord is securely and properly connected. There
is no power switch as such. Power is applied when the unit is
plugged in.
4.2
Clock Troubleshooting Tips
If the following troubleshooting tips do not cover your installation
issue, contact Spectracom Customer Support at US
+1.585.321.5800.
4.2.1 Digital Clock Does Not Receive Signal (Colon Blinking)
Take the clock within close proximity to the transceiver and power up
the clock. If the clock still does not synchronize, call Spectracom
Customer Support at US +1.585.321.5800.
4.2.2 Digital Clock Does Not Power Up
Make sure the wiring is correct. If the clock is 24 volt, the power
should be on the orange and yellow wires of the harness. If the clock
is 110 volt, the power should be on the black and white wires. The
middle wire is ground. If the wiring is correct, take a voltmeter and
measure the voltage. For 24 volt models, the voltage should be
between 14 - 28 volts. For 110 volt models, the voltage should read
85 - 135 volts.
4.2.3 Analog Clock Hands Do Not Move After Power-Up
The clock should move at normal speed upon power up. If it does not
move at normal speed, check the battery and make sure the clock
receives power. Also, be sure to remove the pin prior to starting up
the clock. If the clocks are 24 volt or 110 volt, verify the wiring.
4.2.4 Analog Clock Does Not Receive Signal
Take the clock within close proximity to the transceiver and power up
the clock. If the clock is battery operated, remove the battery and put
the battery back in again.
Press Switch #2 on the clock closest to the clock that isn’t working.
The second hand will go to 8, notifying the user that the clock is
transmitting the signal. Go to the clock that isn’t working and press
Switch #2. The second hand will go to 4, notifying the user that it is
searching for the signal. If the clock still does not correct, call
Spectracom Customer Support at US +1.585.321.5800.