For Complete Warranty Information, contact Spectracom NetClock Wireless Clock System Instructions
www.spectracomcorp.com / US +1.585.321.5800 1168-5001-0050 Rev. H, Copyright June, 2011
Spectracom Corporation: 1565 Jefferson Road, Rochester, NY 14623 5 of 19
2.2.2 Configuring the Transceiver from the Web UI
The transceiver may be configured through the Web User Interface
(Web UI). If your network includes DHCP, the transceiver will
acquire an IP address automatically. When the unit is connected to
your network and power is applied, determine the IP address as
follows:
1. Press the “Set Hour” and “Set Minute” buttons
simultaneously and release them. The unit will enter
programming mode.
2. Press the “Set Hour” and “Set Minute” buttons
simultaneously again and release them. The unit will
display “IP 000,” where 000 is the first three digits of the IP
address it has been assigned. Press and release both
buttons simultaneously several times to prompt each of the
segments of the IP address to display. When you have
finished scrolling through the address, the unit should
return to its time display. (If you accidentally enter
programming mode, you can press the “Set Hour” button to
scroll through the menu options until the time display
returns.)
3. Navigate to the displayed IP address in your web browser.
You will be prompted to log in. In the screens provided as
illustrations herein, the IP address assigned to the
transceiver was 192.168.1.41.
2.2.3 If Your Network Does Not Support DHCP
If your network does not support DHCP or your transceiver cannot
acquire an IP address from your network, set the unit to its default
static IP address by performing the following steps:
1. There are two buttons located on the transceiver next to the
LED display. These buttons are “Set Hour” and “Set
Minute.” To enter the programming mode, which allows
you to configure the transceiver at the unit, press both the
“Set Hour” and “Set Minute” buttons simultaneously.
2. Once programming mode has been entered, the number
"1" will appear in the far left position. Option 1, for
example, sets the year, while options 2 and 3 set the month
and day. (It is not necessary to change the year, month, or
day manually if your transceiver receives an external timing
reference from some other source, such as a NetClock.)
3. Press the top button (the “Set Hour” button) to advance the
option until the number displayed is “45.” Press the bottom
button (the “Set Minute” button to change the option on the
right side from “OFF” to “cr.” This means the unit has
entered the crossover mode. It has been set to its factory
default static IP address, 192.168.0.123.
NOTE: Do NOT change any other options when making this
adjustment. Refer to Configuring the Transceiver from the
LED Display for more information.
4. Use the “Set Hour” button to scroll past the remaining menu
options and return to the time display. Cycle the unit power.
NOTE: Power to the unit MUST be cycled once this configuration
change has been made, or the change to static IP address
will not be applied. Wait 20 seconds before cycling
power. It is critical that power be cycled after this delay.
5. Using a web browser on a computer connected to your
transceiver’s network, navigate to 192.168.0.123.
2.2.4 Web UI Configuration
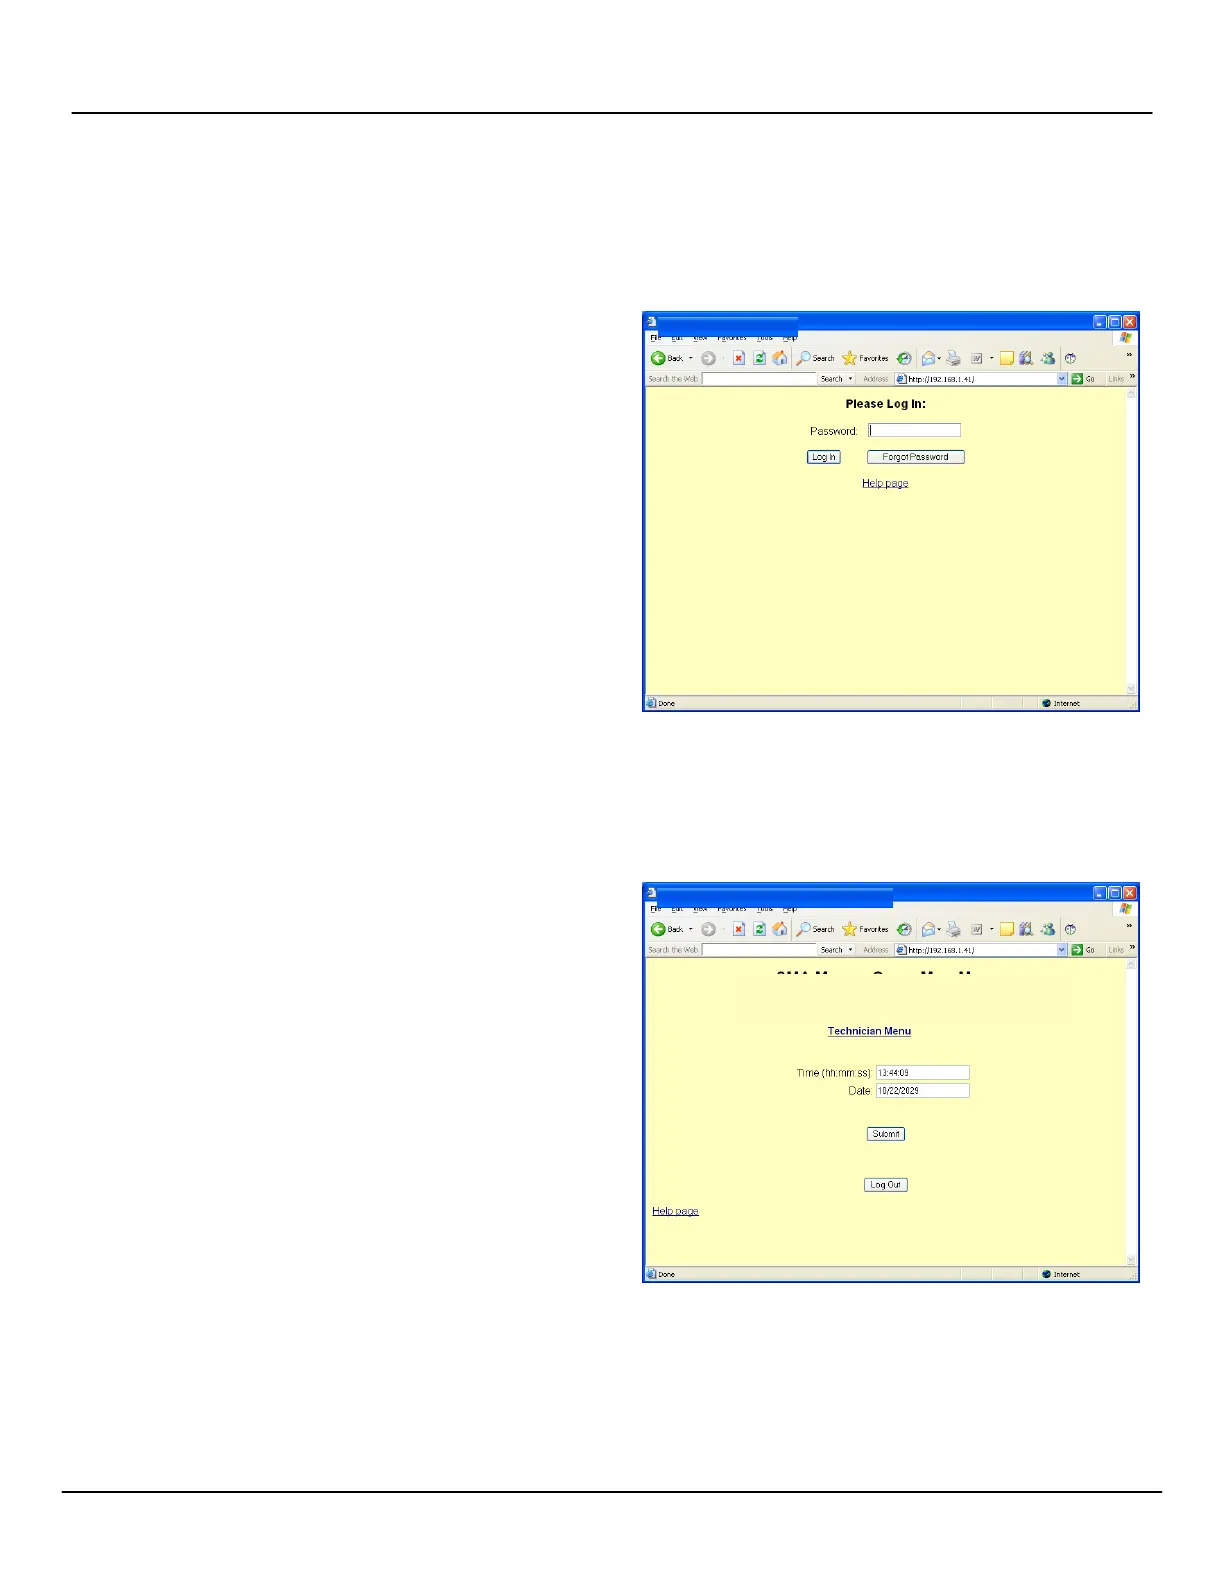
When you navigate to the transceiver’s IP address (either assigned
through DHCP or as set statically using the factory default), you will
be prompted to log in. The factory default password is 6063.
NOTE: Screen captures are shown for illustrative purposes. Your
software may vary slightly from the depictions contained
herein.
Figure 2-4: Login Screen
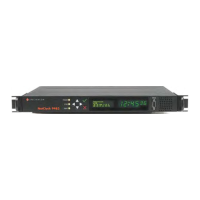
Once you have logged into the Web UI (Figure 2-5), you may change
the date and time or access the technician-level menu.
NOTE: Remember to click “submit” rather than simply pressing
“enter” when making changes in the Web UI.
Figure 2-5: Successful Login
From the technician-level menu (Figure 2-6), the user may change
system settings such as password, RS-485 data rate, time zone
offset, and input references. Web UI pages are reasonably intuitive;
simply follow the directions provided.