For Complete Warranty Information, contact Spectracom NetClock Wireless Clock System Instructions
www.spectracomcorp.com / US +1.585.321.5800 1168-5001-0050 Rev. H, Copyright June, 2011
Spectracom Corporation: 1565 Jefferson Road, Rochester, NY 14623 3 of 19
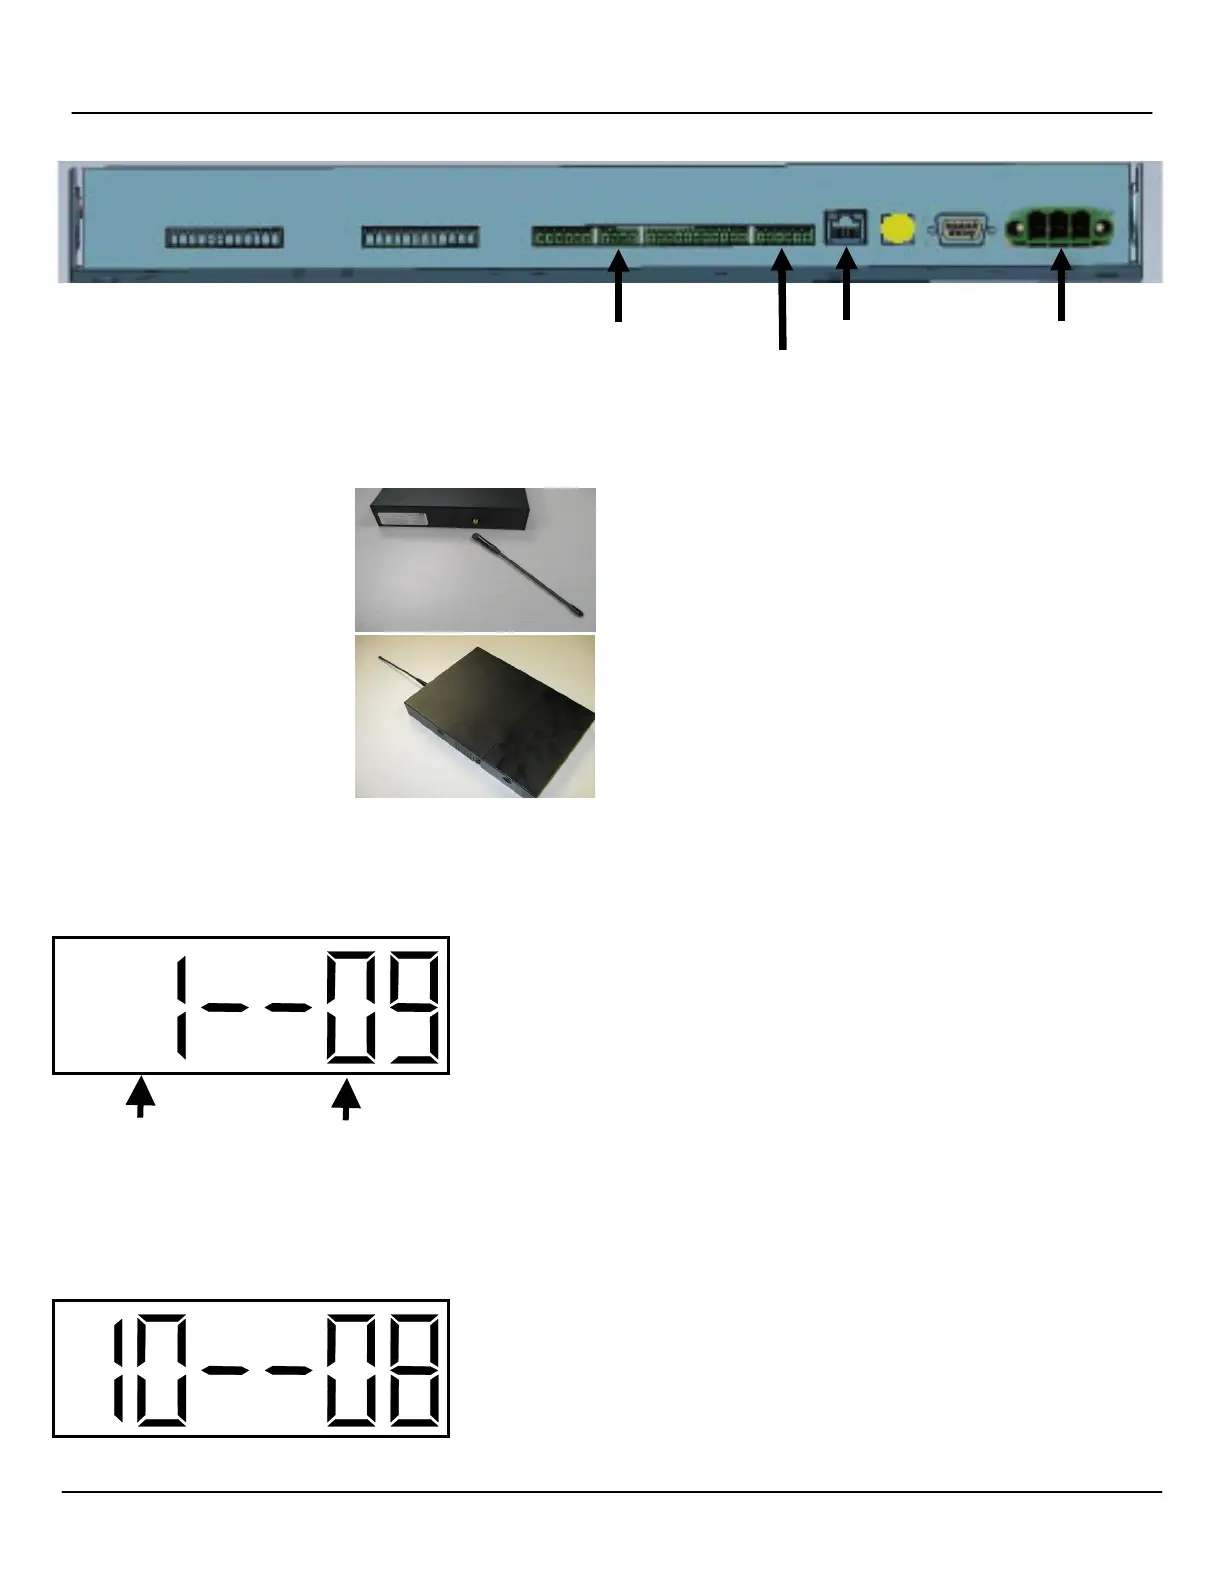
ANTENNA
Figure 2-3: Transceiver Connections
2.1.3 Make Necessary Connections
1. Make all connections as shown
in Figure 2-3 and according to
the wiring and connection
diagrams found inside the
transceiver chassis. Do not
forget to connect the
transceiver’s remote RF
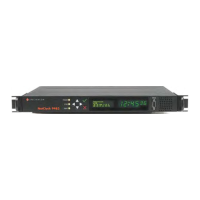
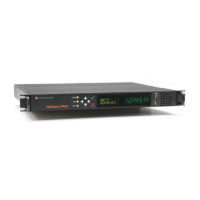
antenna (right).
This is must be wired from the
transceiver to the repeater-
sized box provided. The small
whip antenna also provided
must be screwed into place in
the repeater-sized box. Replace
the transceiver cover and apply
power.
2.2
Configuring the Transceiver
After the transceiver is installed, it must be configured. This can be
done at the transceiver using its built-in LED display with the “Set
Hour” and “Set Minute” buttons, or it may be done through your
network using the transceiver’s Web User Interface (Web UI).
NOTE: Configuring the transceiver through the Web UI requires
that the unit be assigned an IP address so it can be
accessed through the network. If your network is not
running DHCP or the transceiver cannot acquire an IP
address when connected, you must assign a static IP
address to the transceiver.
2.2.1 Configuring the Transceiver from the LED Display
There are two buttons located on the transceiver next to the LED
display. These buttons are “Set Hour” and “Set Minute.” To enter
the programming mode, which allows you to configure the
transceiver, press both the “Set Hour” and “Set Minute” buttons
simultaneously.
Once programming mode has been entered, the number "1" will appear in the far left
position. Option 1, for example, sets the year, while options 2 and 3 set the month and
day. (It is not necessary to change the year, month, or day manually if your transceiver
receives an external timing reference from some other source, such as a NetClock.)
Press the top button (the “Set Hour” button) to advance the option until the number
displayed matches the numbers described herein (the left-hand numbers). Press the
bottom button (the “Set Minute” button to change the option as described, configuring your
clocks as required.
NOTE: Do NOT change options that are not listed in these instructions. Changing
options unnecessarily may alter the configuration of your transceiver and affect
its function. Scroll through options not described herein and change only those
options listed (and necessary).
After each option is set as desired, use the top button (the “Set Hour” button) to scroll to
the next option you wish to configure. Again, scroll PAST any items not described herein.
They do not apply to your Spectracom system and should not be changed.
Option 10: Access Options 12 and 13
Use the bottom button (the “Set Minute” button) to change the option to “08” in order to set
options 12 and 13. Entering any other value for Option 10 will cause the menu to scroll to
option 20 when the “Set Hour” button is pressed again. (You do not need to set option 11.)
8: Access Options 12 and 13
Scroll through this
using the top, or
“Set Hour,” button.
Use the bottom or “Set
Minute” button to change
this to the desired option.