20
5.3 Press NEXT VIEW and scroll through PHASE (DEG) angles, HARMONIC
DISTORTION readings, and then finally the SYSTEM POWER SUMMARY
screen for anomalous readings as shown below:
Secondary Currents—OK? (>0.5 Amps, steady,
balanced)
Phase Angles—OK? (steady, adjust for inherent
phase shift)
THD Readings—THDV < 5% & THDI < 20%
System Power Readings
True PF—OK? (>0.7, steady)
Secondary Voltages—OK? (Correct value, steady)
5.4 Press MV MENU when your review is complete
6. Perform the Meter Verification Test
6.1 From the METER VERIFY TEST menu select METER VERIFY ONLY
6.2 Enter the appropriate Kh and press SELECT
6.3 INPUT NUMBER OF PULSES PER REVOLTION for which the meter is set
6.4 Now setup your sensors on the SENSOR SETUP screen
6.5 Once the sensors are detecting a proper pulse or rotation, press the AUTOMATIC button
6.6 The Bird Dog Plus will now detect the length of time for the test and will bring you to the
TIMING RESULTS screen
6.7 Press the START button (or wait 5 seconds). Once the sensor sees a pulse or a disk
rotation, the test will begin. The test will automatically stop once the final revolution or
pulse is detected.
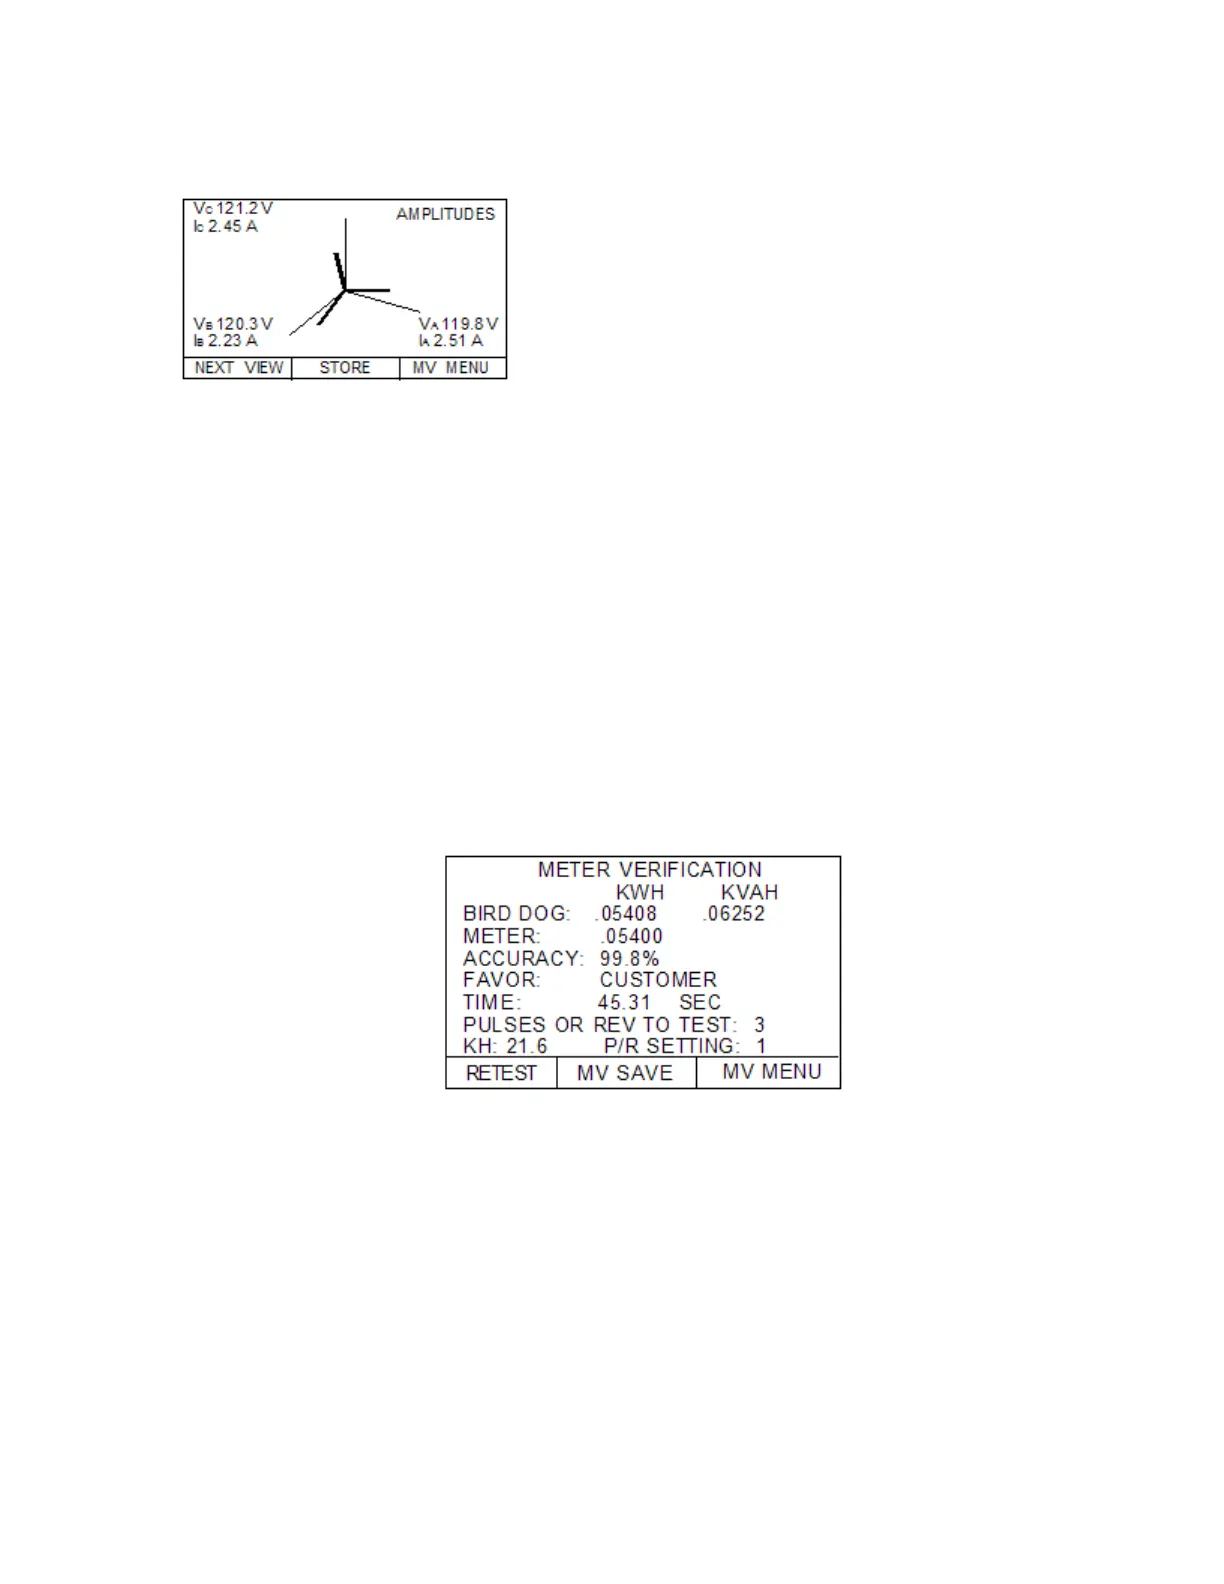
7. Review Results of Meter Verify Test & Save Results
5.3 Insure that the accuracy is within your tolerance specification.
Test Time > 30 Seconds?
Accuracy OK?
5.4 Press the MV SAVE button
7.3 Press STORE if all is OK. Press ABORT if a correction is needed
7.4 You have now finished testing the accuracy of the entire meter (all 3 phases) and
storing the data in memory.
8. Wrap Up Procedure--After testing, turn off Bird Dog Plus, leaving cables connected. Coil
secondary voltage and current probes into their appropriate compartments. Then coil the
sensors and put them in their compartment. Close the case lid. You are done..
 Loading...