4
RockShox Service
RockShox Service
We recommend that you have your RockShox suspension serviced by a qualified bicycle mechanic. Servicing RockShox suspension requires
knowledge of suspension components, as well as the use of specialized tools and lubricants/fluids. Failure to follow the procedures outlined in this
service manual may cause damage to your component and void the warranty.
Visit www.sram.com/service for the latest RockShox Spare Parts catalog and technical information. For order information, please contact your local
SRAM distributor or dealer.
Information contained in this publication is subject to change at any time without prior notice.
Your product's appearance may differ from the pictures contained in this publication.
For recycling and environmental compliance information, please visit www.sram.com/company/environment.
Part Preparation
Remove the component from the bicycle before service.
Disconnect and remove the remote cable or hydraulic hose from the fork or rear shock, if applicable. For additional information about RockShox
remotes, user manuals are available at www.sram.com/service.
Clean the exterior of the product with mild soap and water to avoid contamination of internal sealing part surfaces.
Service Procedures
The following procedures should be performed throughout service, unless otherwise specified.
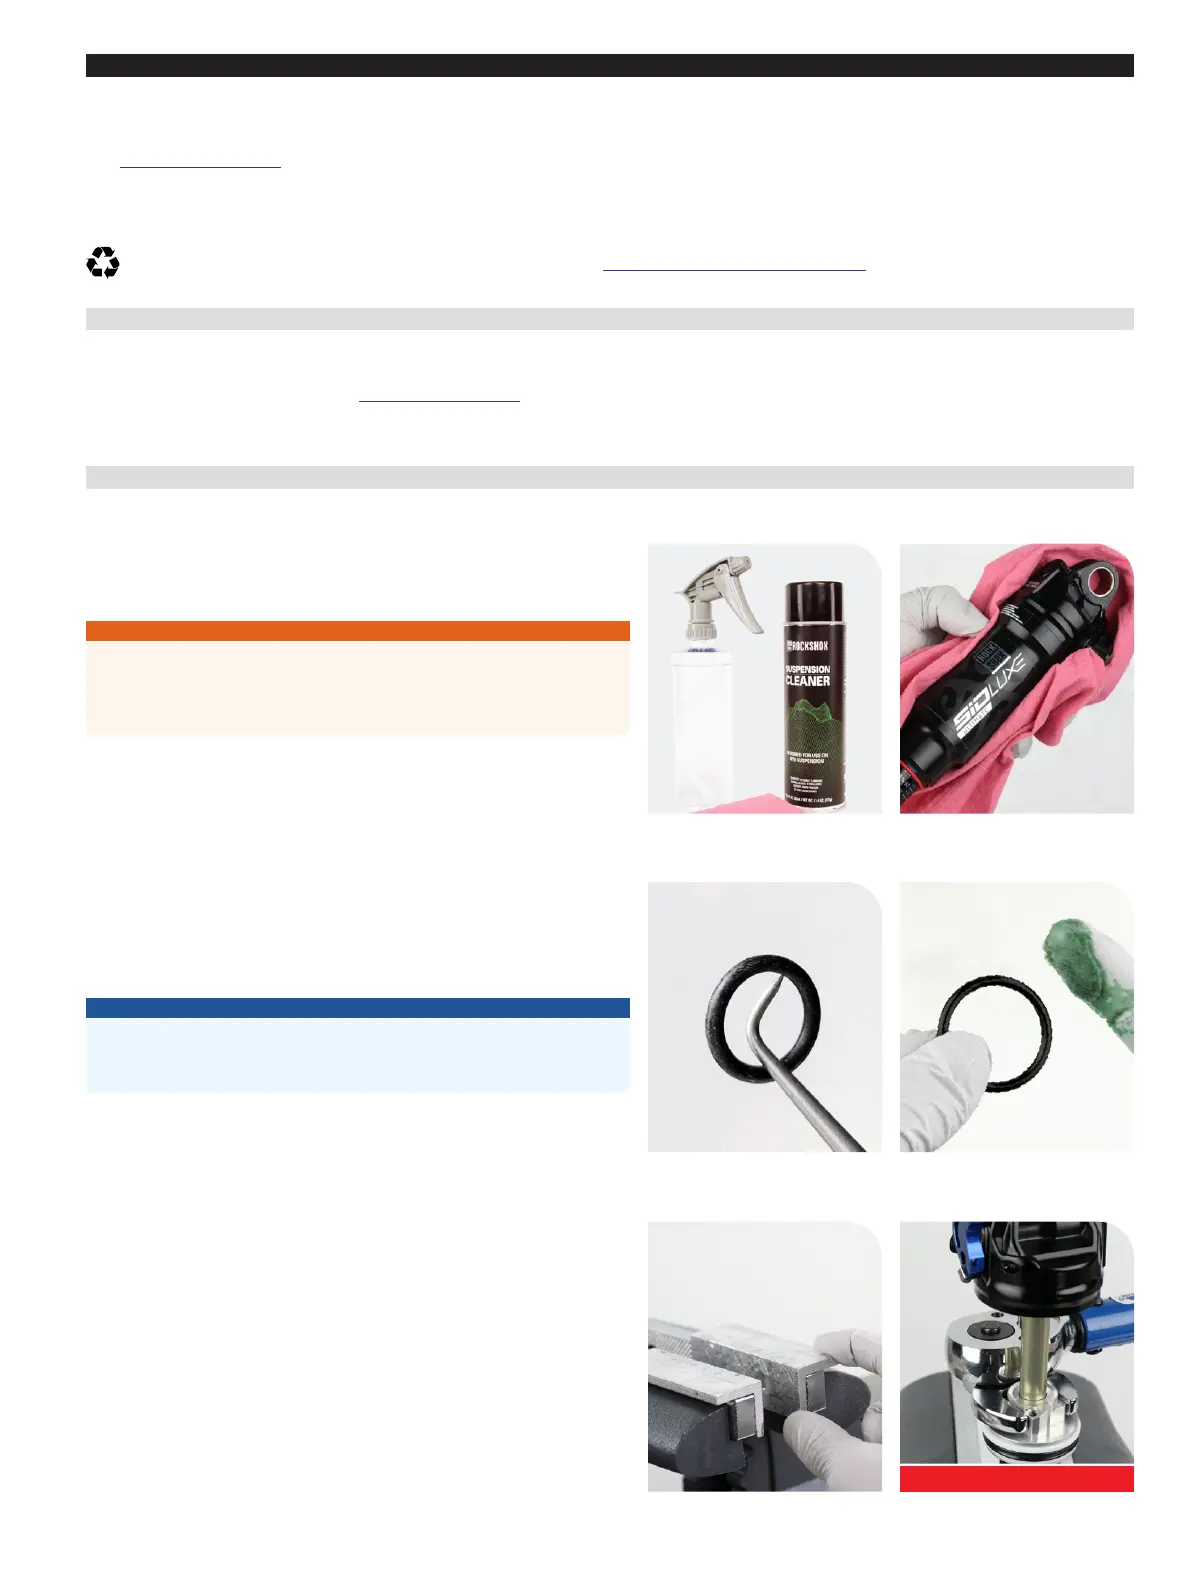
Clean the part with RockShox Suspension Cleaner or isopropyl alcohol and a Clean the part with RockShox Suspension Cleaner or isopropyl alcohol and a
clean, lint-free shop towel.clean, lint-free shop towel.
Clean the sealing surface on the part and inspect it for scratches.Clean the sealing surface on the part and inspect it for scratches.
⚠ WARNING CRASH HAZARD
DO NOT use vinegar of any type to clean any part of a RockShox
suspension product. Vinegar can cause permanent damage to parts which
can, over time, result in product structural failure, serious injury, and possibly
death.
Replace the o-ring or seal with a new one from the service kit. Use your Replace the o-ring or seal with a new one from the service kit. Use your
fingers or a pick to pierce and remove the old seal or o-ring. fingers or a pick to pierce and remove the old seal or o-ring.
Apply RockShox Dynamic Seal Grease to the new seal or o-ring. If a brush is Apply RockShox Dynamic Seal Grease to the new seal or o-ring. If a brush is
used to apply grease, confirm there are no loose bristles in the grease or on used to apply grease, confirm there are no loose bristles in the grease or on
the part.the part.
NOTICE
Do not scratch any sealing surfaces when servicing the product. Scratches
can cause leaks. Consult the spare parts catalog to replace the damaged
part.
To prevent damage to the shock, use aluminum soft jaws and position the To prevent damage to the shock, use aluminum soft jaws and position the
eyelet in the vise so that the adjustment knobs and/or remote cable stops are eyelet in the vise so that the adjustment knobs and/or remote cable stops are
clear of the vise jaws. For bearing mount shocks, wrap a shop towel around clear of the vise jaws. For bearing mount shocks, wrap a shop towel around
the eyelet, then clamp the eyelet flat into the vise.the eyelet, then clamp the eyelet flat into the vise.
Tighten the part with a torque wrench to the torque value listed in the red bar. Tighten the part with a torque wrench to the torque value listed in the red bar.
When using a crowfoot socket and torque wrench, install the crowfoot socket When using a crowfoot socket and torque wrench, install the crowfoot socket
at 90 degrees to the torque wrench.at 90 degrees to the torque wrench.
Specified torque value in N·m (in-lb)