5 Quick start
Before installing and using the product, accept the evaluation product license agreement from the www.st.com/
epla webpage.
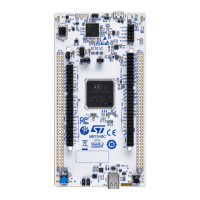
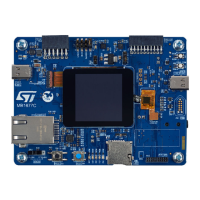
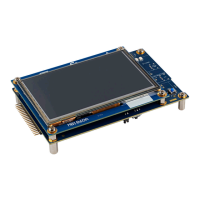
Follow the sequence below to configure the STM32U5G9J-DK2 Discovery board and launch the demonstration
application (refer to Figure 5 for component location):
1. For the correct identification of all the device interfaces from the host PC and before connecting the board,
install the STLINK-V3EC USB driver available on the www.st.com website.
2. Check that the JP1 jumper (5V power source selection) is set on [1-2] selecting 5V from STLINK-V3EC
(STLK) and JP4 (VDD_MCU current measurement) is ON powering the microcontroller. Refer to Table 4.
3.
Connect the STM32U5G9J-DK2 Discovery board to a PC with a USB cable (USB Type-A or USB Type-C
®
to
USB Type-C
®
) through the STLINK-V3EC USB connector (CN8) to power the board.
4. Then, the 5V_PWR green LED (LD1) lights up and the COM LED (LD7) blinks.
5. The LCD module displays a menu with icons, indicating the demonstration application software startup.
6. The demonstration application software and its user manual, as well as other software examples for exploring
STM32U5G9J-DK features are available on the STM32CubeU5 webpage.
7. Develop your application using the available examples.
Table 4. Default jumper setting
Jumper
Function
Setting
(1)
Comment
JP1 5 V power source selection [1-2] 5 V from STLINK-V3EC (STLK)
JP4 IDD measurement ON VDD_MCU current measurement
1. The default setting is in bold.
UM3223
Quick start
UM3223 - Rev 1
page 6/37
 Loading...