6
en
E. Routine Operations
Precautions:
Do not use the Celerity Incubator to incubate and read any biological indicator other than the Celerity BIs. Examples
of BIs that should not be used in the Celerity Incubator include, but are not limited to:
• VERIFY
®
Assert™ Self Contained Biological Indicator (Clear cap)
• 3M
®1
Attest
®1
Rapid Readout Biological Indicators for steam sterilization
• 3M
®
Attest
®
Super Rapid Readout Biological Indicator for steam sterilization
• ASP
®
STERRAD
®
CYCLESURE
®2
24 Biological Indicators
NOTE: BIs processed through steam sterilization may still be hot.
NOTE: BIs processed through vaporized hydrogen peroxide sterilization may contain residual hydrogen peroxide.
Always wear gloves when handling the BI.
1. When on the Home screen, scan the BI by holding the BI in the scanner with
the barcode facing up. If necessary, slowly rotate and/or tilt the BI until a
beep is heard. The screen as shown on the left will then display "Insert BI".
Activate the Celerity BI following the BI’s Instructions for Use. Confi rm media
is present in the bottom of the BI vial.
NOTE: Scanner may take a few seconds to beep.
2. Place the activated Celerity BI into an empty well of the Incubator. The Incubator will automatically detect and
begin reading the BI.
3. A slow fl ashing green light will indicate that the well is actively in use. At any point in the process, the user may
scan and insert additional BIs into any remaining unoccupied wells. Remaining incubation time is displayed
on the LCD screen next to the corresponding well number for each incubating BI.
4. Scan, activate and read at least one unprocessed Celerity BI (positive control) from each lot currently in use,
each day that a newly processed BI is incubated. A separate control BI must be run for each type of test BI that
is incubated.This will ensure both the validity of the current BI lot and the proper functioning of the Incubator.
a. Label the sample as the positive control.
b. Once placed in the well, the Incubator will automatically detect and begin reading the BI.
WARNING: Do not remove BI from well during incubation for more than 10 seconds
until result is shown. Removal of BI may invalidate test.
Caution: To avoid incorrect readings, do not move the Incubator while incubation is in
progress.
1
2
3
4
5
6
7
8
Insert BI
BI Activation and Incubation
Interpretation of Results
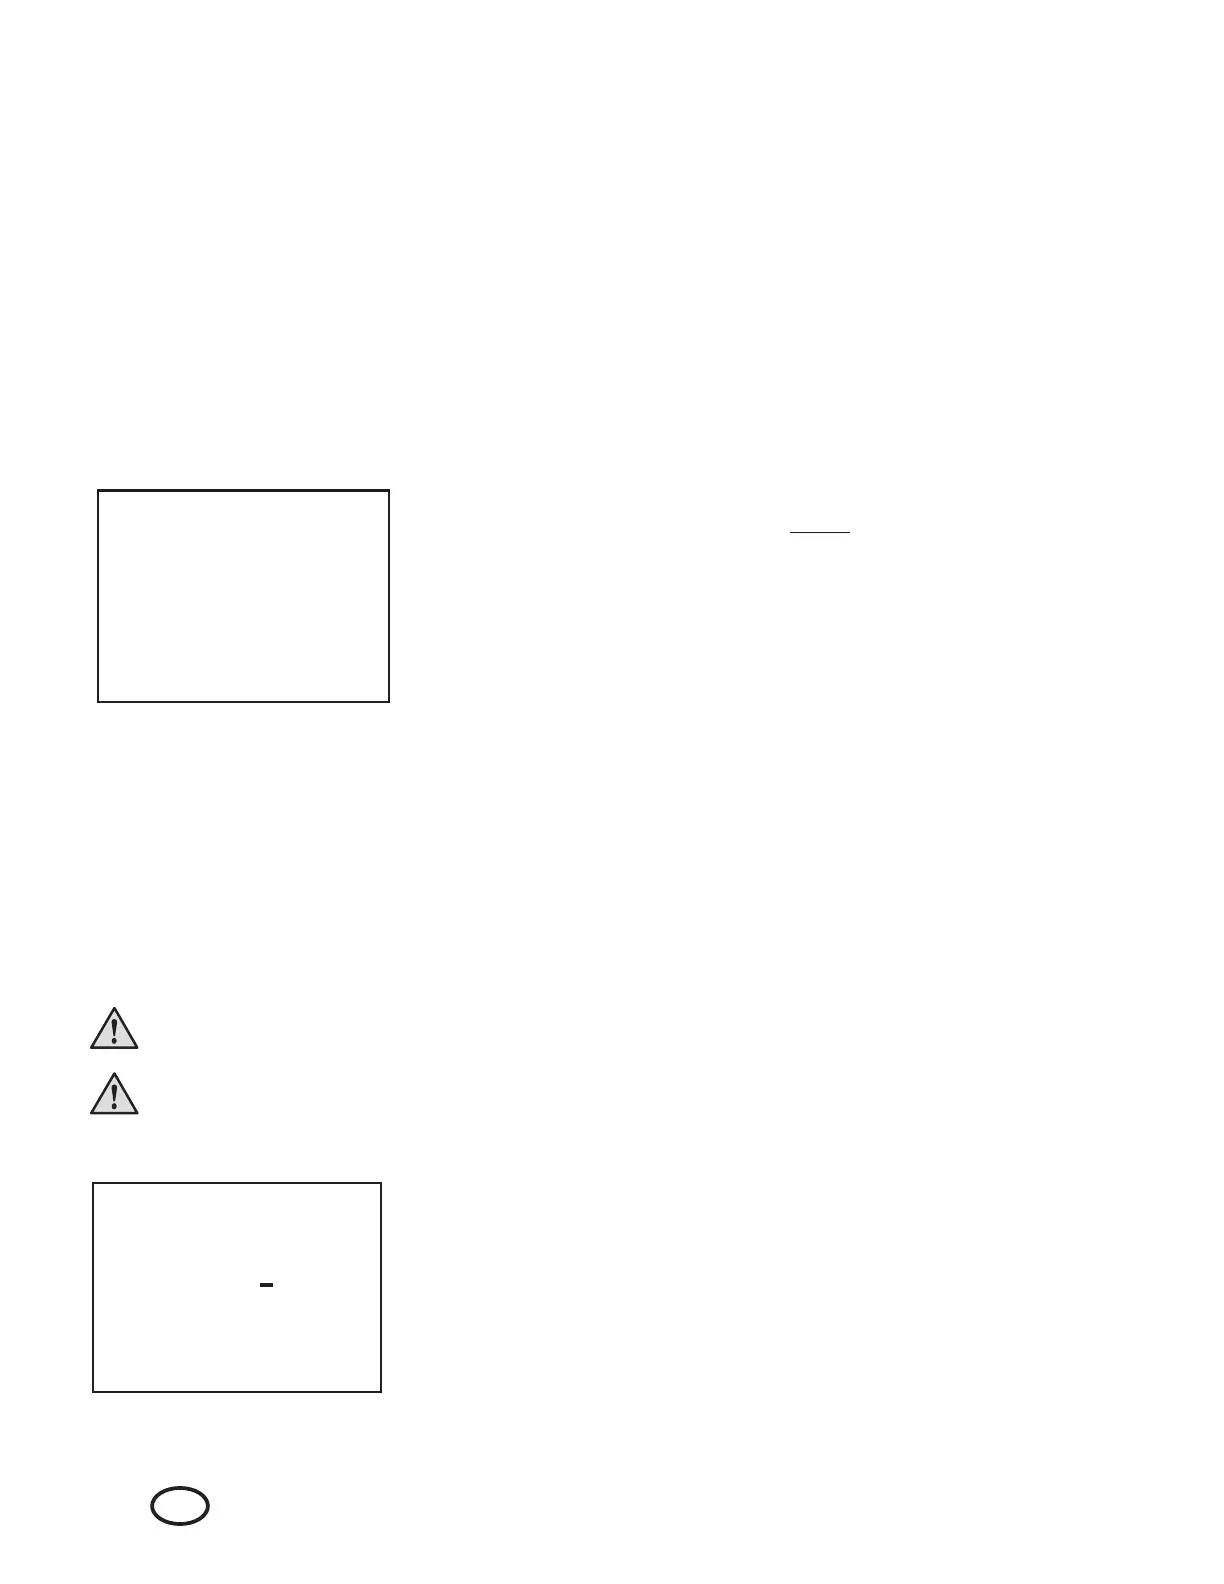
5. For a Negative result, the Incubator will sound an alarm (a single beep every
fi ve minutes) and the LED adjacent to the well will turn from slow fl ashing
green to a rapid fl ashing green light. The LCD screen will display a “-“ next to
the well number. The operator must press the ENTER button to acknowledge
the result and silence the alarm. Once the result is acknowledged, the LED
will turn solid green.
NOTE: The alarm for a negative result is optional and may be turned o . See
Changing the Buzzer Mode section for more information.
6. The fi nal negative fl uorescence response for a processed BI indicates an
acceptable sterilization process. The BI can be removed from the well.
1
2
3
4
5
6
7
8
1
3M and Attest are trademarks of 3M Corporation
2
ASP, STERRAD and CYCLESURE are registered trademarks of Advanced Sterilization Products
 Loading...