SatLink VSAT User Guide
Publication no. 101557
Copyright © 2009 – STM Group, Inc.
Page 12 (160)
3.3 IDU Installation
3.3.1 On Desktop or Shelf
Place the STM SatLink VSAT IDU on a flat, stable surface, such as a desktop or shelf, close to the PC or
network device to which it will be connected. Keep its top, bottom and all sides unobstructed to ensure
free airflow. Rubber feet on the bottom provide adequate clearance. Ensure that there is at least 10 cm
clearance at the back to allow room for cable connections.
3.3.2 In Rack
The rack or cabinet should be properly secured to prevent tipping. Equipment that is
installed in a rack or cabinet should be mounted as low as possible, with the heaviest units
lower down, and lighter units toward the top.
Precautions:
• Ensure that the power circuits are properly grounded and use the power cord supplied with the
SatLink VSAT IDU to connect it to the power outlet.
• If your installation requires a different power cord than the one supplied, ensure that the cord used is
certified as indicated by the stamped or embossed logo of the electrical safety authority in your
country.
• If the on/off switch on the back panel is difficult to reach when the unit is fitted in the rack, ensure
that the power outlet into which it is plugged can be reached so it may be unplugged if necessary.
• Ensure that the unit does not overload the power circuit, wiring or over-current protection. To
determine the possibility of overloading the supply circuits, add together the ampere ratings of all
devices installed on the same circuit as the STM SatLink VSAT IDU and compare the total with the
rating limit for the circuit. The maximum amperage ratings are usually printed on units near their
power connectors.
• Do not install the STM SatLink VSAT IDU in a location where the operating ambient temperature
may exceed 45°C.
• Ensure that the airflow around the sides and back of the SatLink VSAT IDU is not restricted.
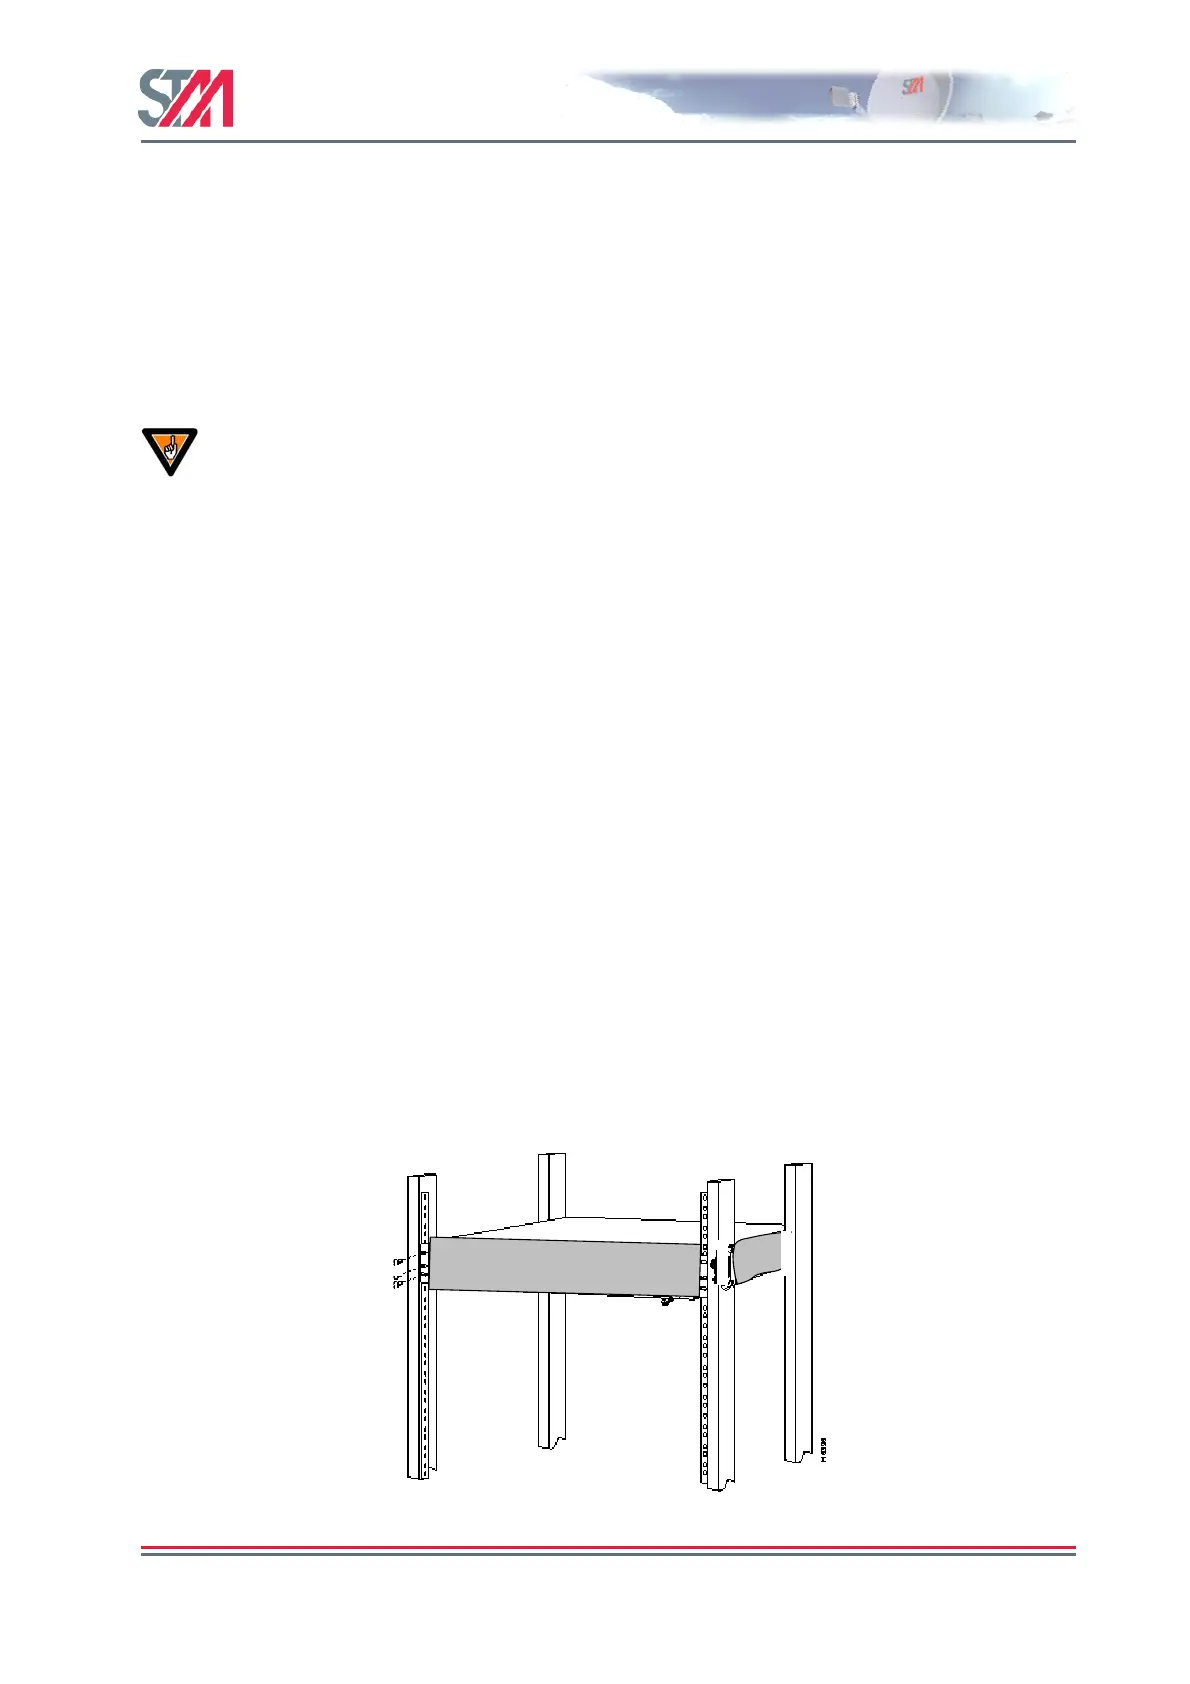
The STM SatLink 1900/1901/1910 can be mounted in any EIA-standard 19-inch telecommunications
rack or cabinet. The STM SatLink 1000 and 2000 need to be placed on a shelf if it is to be placed in a
rack.
Use a Torx screwdriver and attach the mounting brackets to the router with the screws supplied. Hold the
unit securely, brackets attached, and move it vertically until rack holes line up with the bracket notches,
then insert and tighten the four screws holding the brackets to the rack.
Figure 9: Rack Mounting