paragraph IV.2 for understanding how to select the correct working mode or you can
change it later using the handheld software.
- Switch on the handheld and start the software for the radio channel configuration and
inserting the base coordinates, otherwise it is possible to make the settings by Stonex
Assistant pc software.
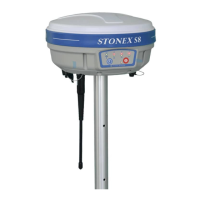
Installation of Rover
- Fix the bracket on the pole, fix the handheld into the bracket, put the rover on the pole
and attach receiving radio antenna into the port “UHF” or gsm antenna into the port
“GPRS”, depending on the connection used.
- Power on the receiver and check the working mode. If it is not correct, please see next
paragraph IV.2 for understanding how to select the correct working mode or you can
change it later using the handheld software.
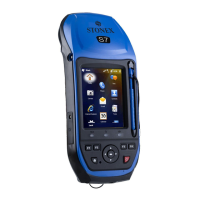
- Switch on the handheld and start the software, then you can do the advanced setting of
the instrument and finally start the survey.
If you want to take very accurate measures (around or below cm accuracy), we recommend
you to use another tripod also for the rover.
IV.2 The configuration by using keys
How can you select the working mode?
- Insert the battery in the battery box, then press and hold I key + F key: the receiver will
start.
- Keep pressed I key + F key until all lights blink at the same time (Fig. 4.2), then release
the keys.