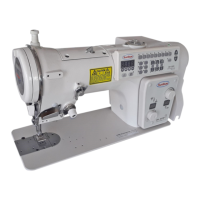
6) ZigZag Width ( Max. zigzag-width : 10mm )
■ Indication Status of Operation Panel
Unit) 0.1mm
■ Operation Order
※ Status of Power On
ZigZag-width is displayed on the indication device
Select the desired pattern shape.
( Lamp of the selected pattern turns on. Ex: pattern 5) as
above picture.
1. Press PARA/SET key to change zigzag-width.
Zigzag-width on the indication device blinks.
PARA/SET lamp turn on.
2. Change size of zigzag-width by using + and - key.
3. Press PARA/SET key when the change is completed
The changed value is set.
The changed size of zigzag-width is displayed on
the indication device.(Indication device blinks.)
PARA/SET indication lamp turn off.
4. Start sewing by pedaling forward.
<Note>
Width of straight-line pattern(pattern number=1) is
always ‘0’.
Maximum zigzag width is set to 8 mm at the moment
of shipping. When using zigzag-width 10mm, change it
into “100”on A6 at “5)Parameter changing method
and classification”on page 37 and use as well as
10mm gage.
gage : stopper, needle palter, presser foot, feed dog
Power On Status
Sewing
or
Indication device
Lamp On
Lamp OFF
Indication LED On
Indication LED Off
13

 Loading...