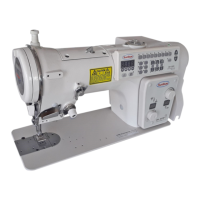
2) Pattern Setting Method
■ Operation Panel Indication Status
■ Operation Order
1. Turn on the power.
2. Pressing the key of the desired pattern, the lamp of selected
pattern is on.
·Example: selection of pattern number 3 (3 point zigzag
pattern)
·See 3) for selection of left, right scallop pattern
·See 4) for left and right blind pattern
3. Then, start sewing by stepping on the pedal.
4. Execute thread trimming by stepping back the pedal after
completion of sewing.
(Thread trimming and wiper are options)
Indication Device (Unit: 0.1mm)
Indication lamp of 2 point pattern
Indication lamp of needle down stop
Presser Foot Indication Lamp
Thread Trimming Indication Lamp
Wiper Indication Lamp
<Initial Setting Status of Operation Panel>
ZigZag-Width Indication (8mm)
Turned On
Turned On
Turned On
Turned On
Turned On
Power On
Indicate initial setting status
on the operation panel.
Sewing
Set the desiring pattern
(example: pattern no. 3)
Indication lamp is on.
[Note]
When the power turned on, if buzzer tone rings and U P is displayed on indication device, it means needle bar is not
on the up stop location. Therefore, turn the pulley to the front by hand that the needle bar can be at up stop location. Then,
indication device discappers U P and shows zigzag-width and you can start sewing.
8

 Loading...