16
⑦
⑧
64/9 INCH TAP
① ② ③Parellel
F. No.
⑦
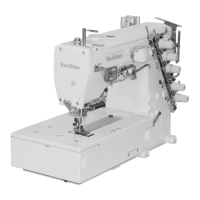
: Stitch Lever
(The stitch is getting wider by lowering from
1 to 4 one by one)
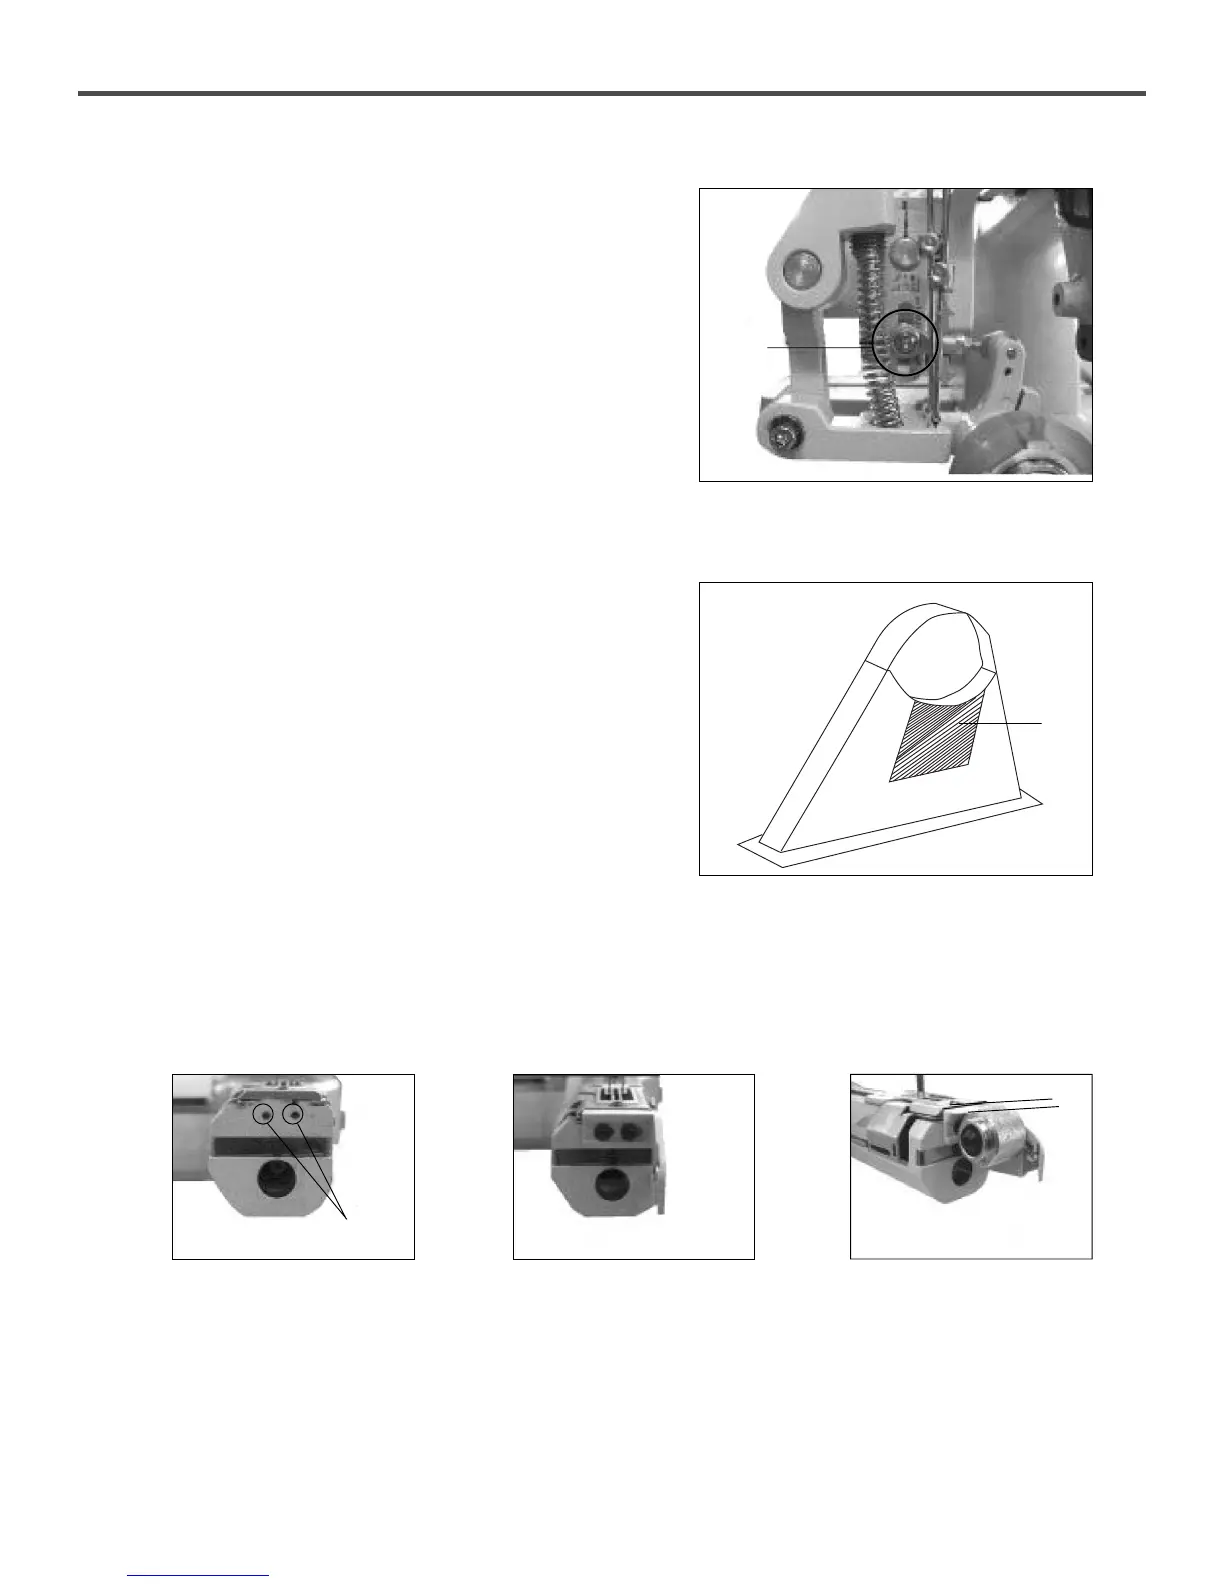
G. A belt cover should be installed.
※
The belt cover should be cut out like no.
⑧
for a
brand new machine.
G. H. Lower roller installation
Attach the bracket to the no.
①
fixed tap hole like no.
②
and keep parallel like no.
③
 Loading...