14
55
Machine Installation
5.1) Body Installation
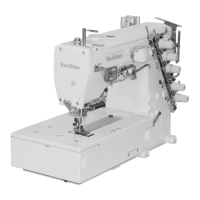
1) Install the body on the even and sturdy place. The
balance of the main body is closely related to the
machine noises and vibration.
2) Loosen the nut ① and turn the balance adjusting stand
② until the caster ③ is lifted in the air.
3) When the installation is complete, fasten the nut ① and
fix the balance adjusting stand ②.
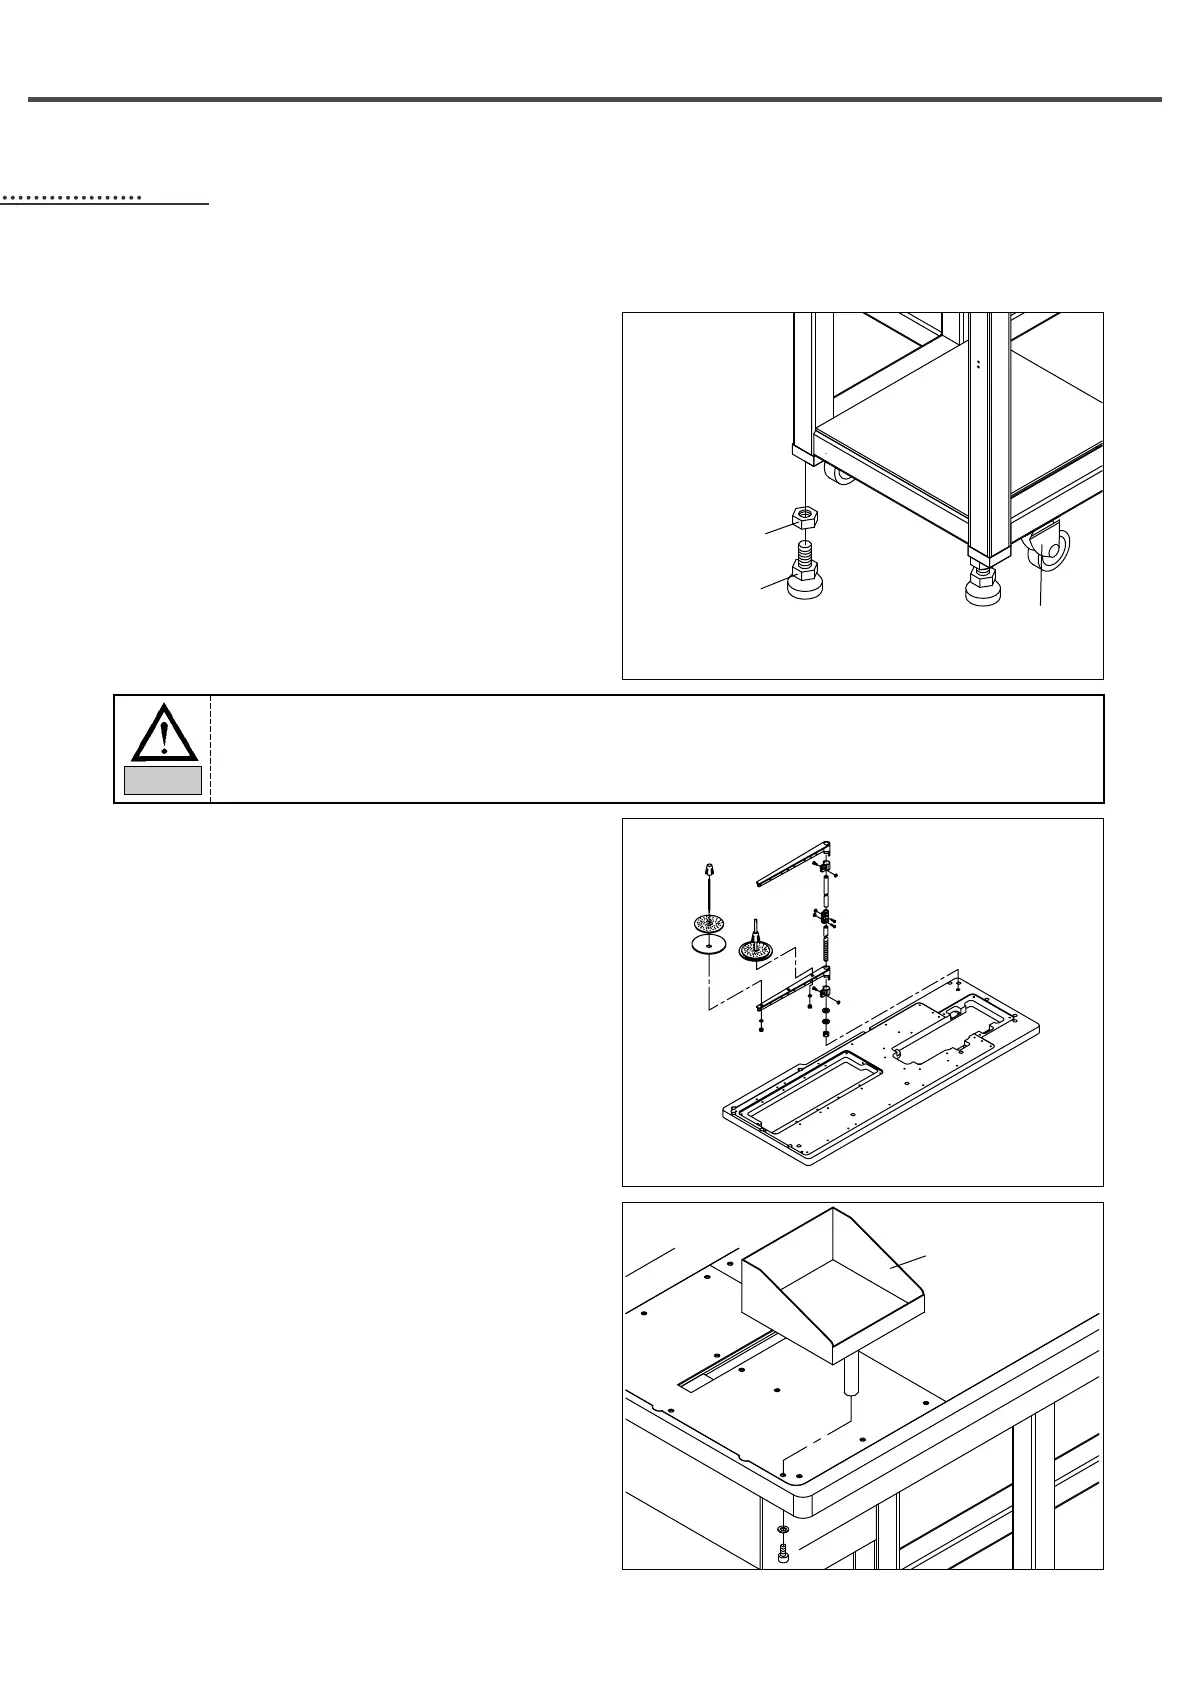
5.2) Thread Stand Installation
1) Install the thread stand as in the figure at the right top
of the table.
2) Assemble the thread stand in advance and insert it into
the table. Use a nut to firmly fix the thread stand.
5.3) Pocket Load Box Installation
1) Install the pocket load box as in the figure at the slot on
the left bottom of the table.
2) The box is used to load prepared pockets for sewing.
Do not place other tools in the box. This may cause
machine damage or injury.
The balance adjusting stand can be adjusted up to 48mm. Make adjustment within the range.
Caution
①
②
③
pocket load box