33
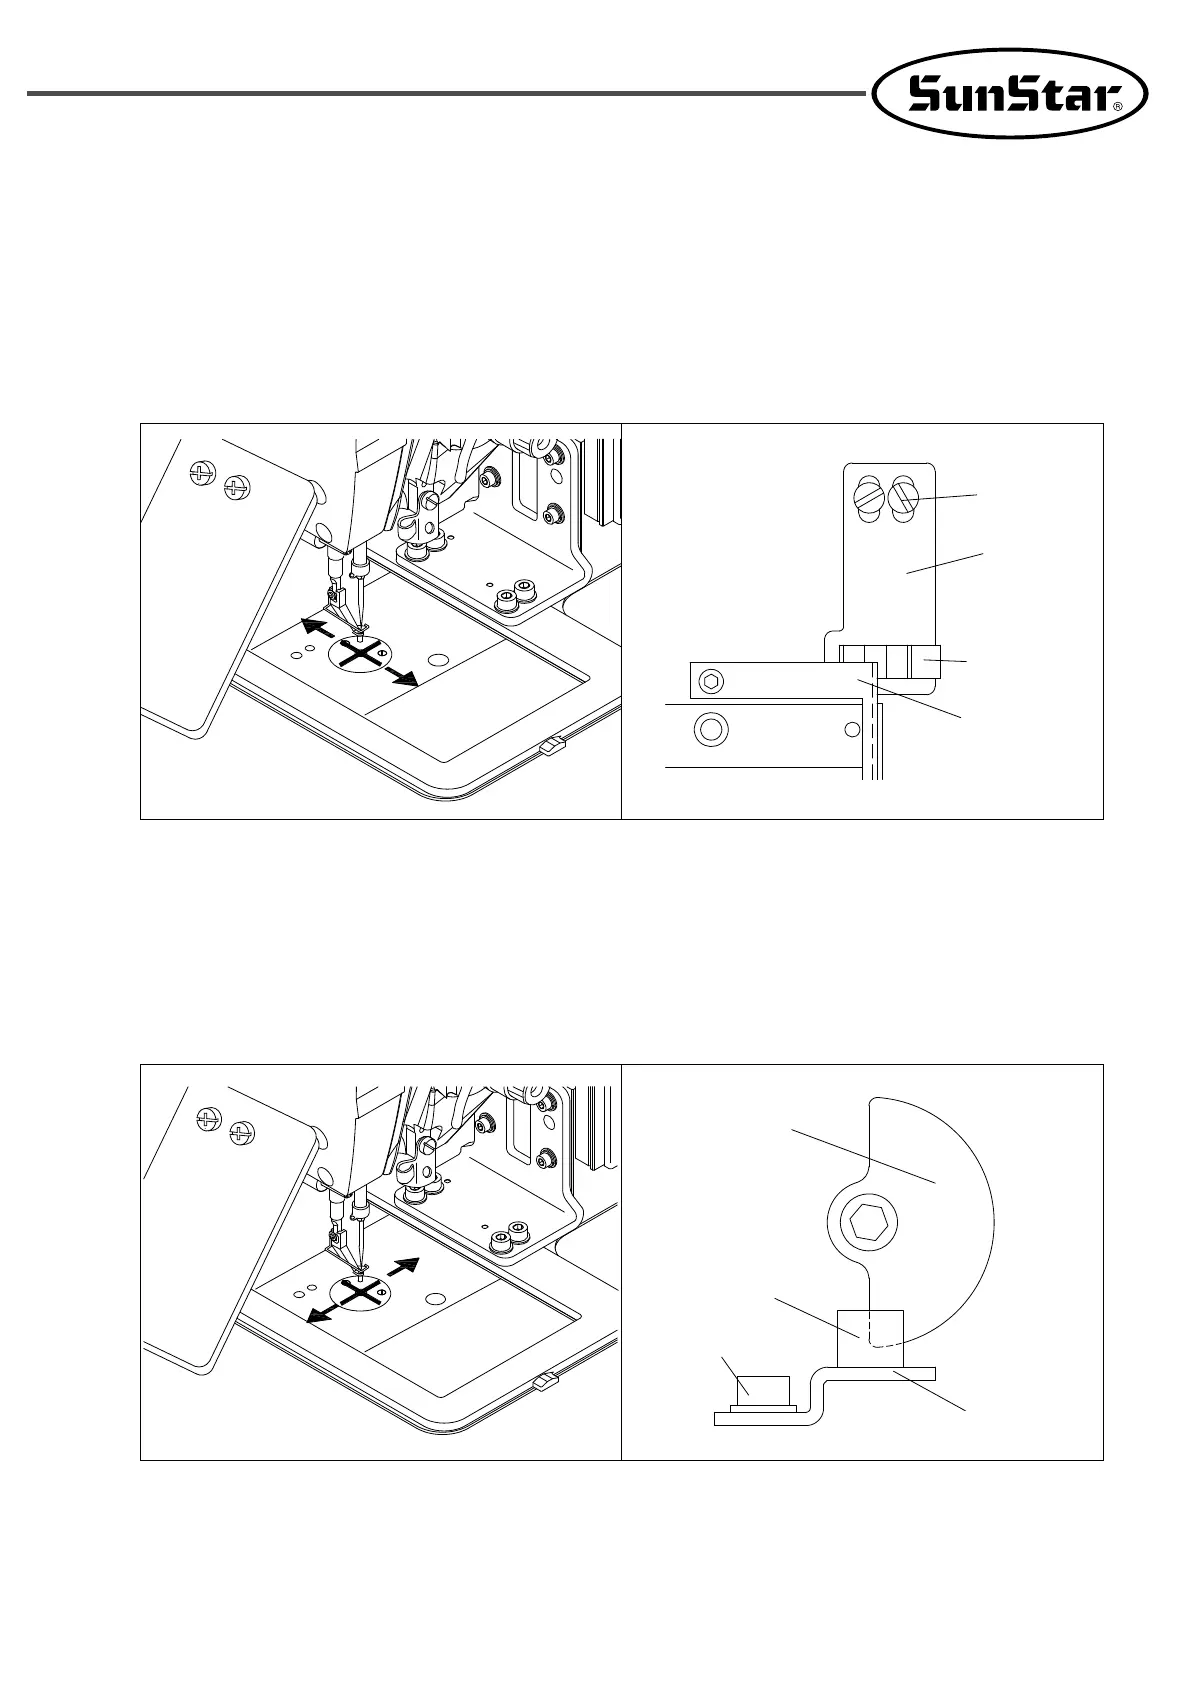
6.11) How to Set the Original Point of X-Y
6.11.1) How to set the original point of the X-axis
1) Remove the lower feed plate, X-fixed cover, and transport cover.
2) Place the upper feed plate center in the middle of the X-axis direction.
3) Unfasten the two screws of the X-axis original point detecting sensor supporting plate and have the X-axis
original point detecting plate on the X-Y transfer system placed in the center of the sensor as shown in the
picture. Then, tighten the screw with the driver.
6.11.2) How to Set the Y-axis Original Point
1) Remove the Y- stepping motor cover.
2) Move the upper feed plate to the middle of the Y-axis direction.
3) Unfasten the screw and place the Y-axis original point detecting plate in the center of the original point
detecting sensor as shown in the figure. Then, tighten the screw with the L wrench.
Tightening
Screw
Sensor
Support Plate
Sensor
Origin Detecting
Plate
Tightening Screw
Sensor
Support Plate
Sensor
Origin Detecting
Plate