SuperServer E403-9P-FN2T User's Manual
36
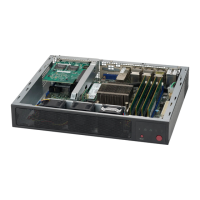
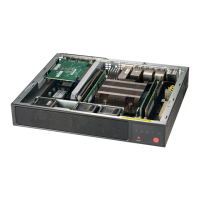
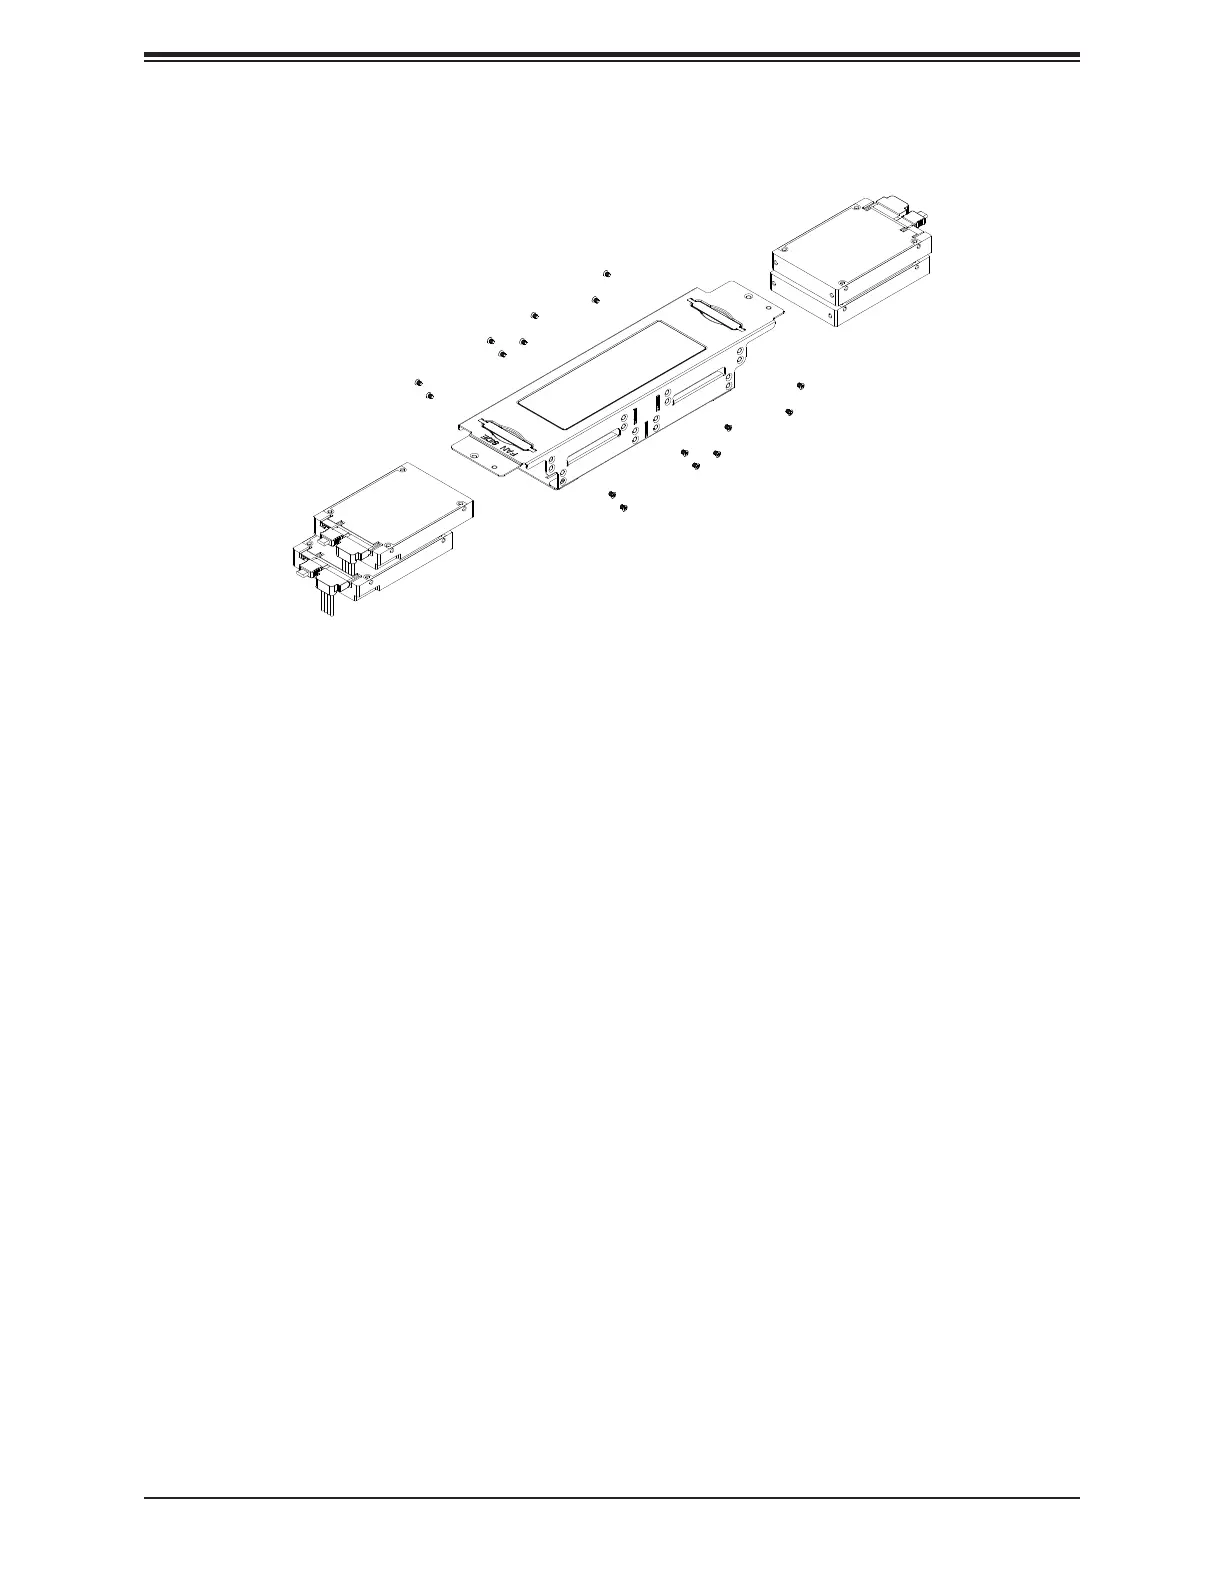
3. Pull the drive cage upwards using the provided plastic handles.
Figure 2-8. Installing the Drives
4. Place the drives inside the cage, stacked up to two units on each end, then secure them
inside the drive bays with the included screws, as shown above.
5. Connect the drive data and power cables.
6. Secure the hard drive cage back to the chassis with the screws previously set aside.
7. Attach the cables to the appropriate motherboard connectors.
8. Reinstall the chassis cover and power up the system.