SuperServer E403-9P-FN2T User's Manual
40
Note: When you add or change an expansion card, and if you load the BIOS default, clear
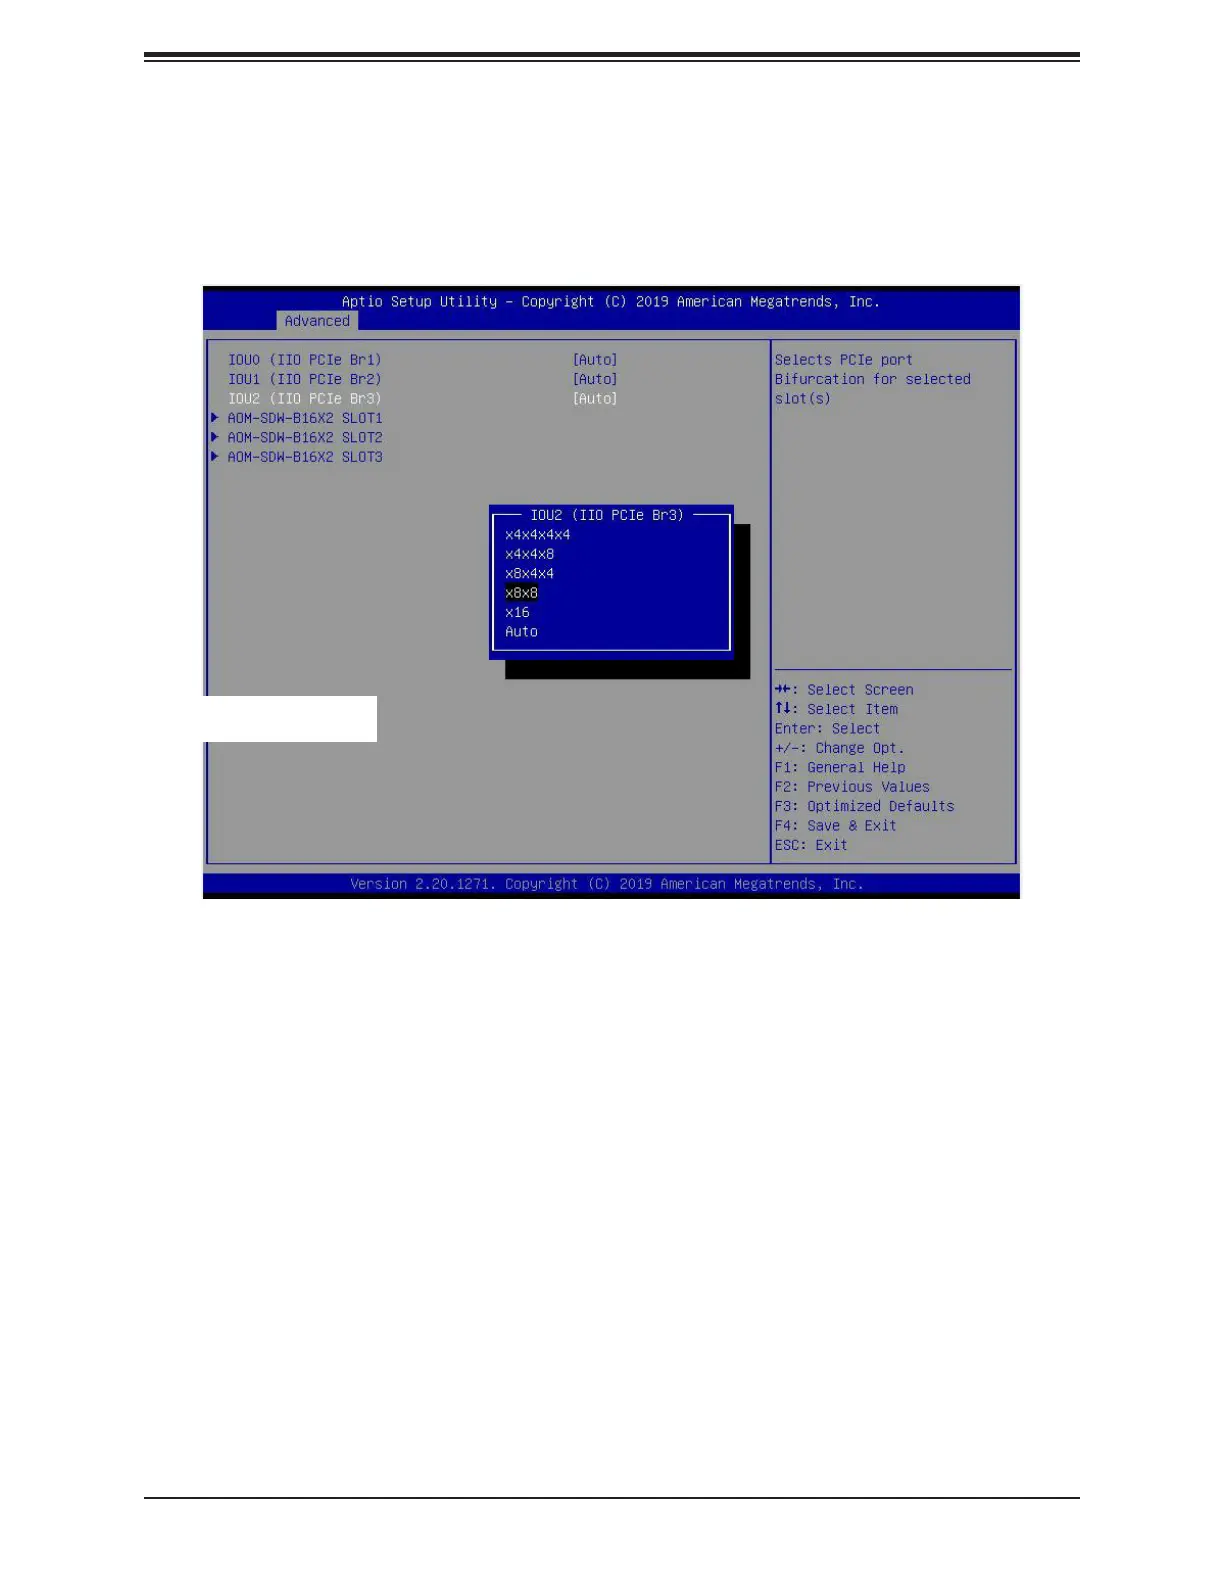
UEFI BIOS > Advanced tab > Chipset Conguration > North Bridge > IIO Conguration
> CPU Conguration. The setting for IOU2 is x8x8 or x16. The setting for IOU1 is Auto.
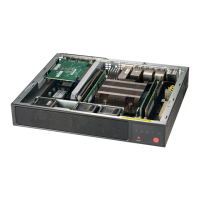
Installing or Replacing the Expansion Card Module
1. Power down the system as described in Section 2.1 and remove the chassis cover.
2. Remove the screw, as shown in the diagram on the following page.
3. Pull the locking lever up to release the expansion card module.
4. Pull the expansion card module upward with the aid of the plastic handle.
5.
6. In the removed expansion card module, install expansion cards. For full height cards,
7. Replace the expansion card module.
8. Reinstall the chassis top cover, reconnect the AC power cord and power up the system.
Caution: If installing three NVIDIA T4 GPUs in the expansion cards module, the processor
must consume less than or equal to 165W TDP.
This screenshot shows the
x8 x8 conguration for IOU2.