74
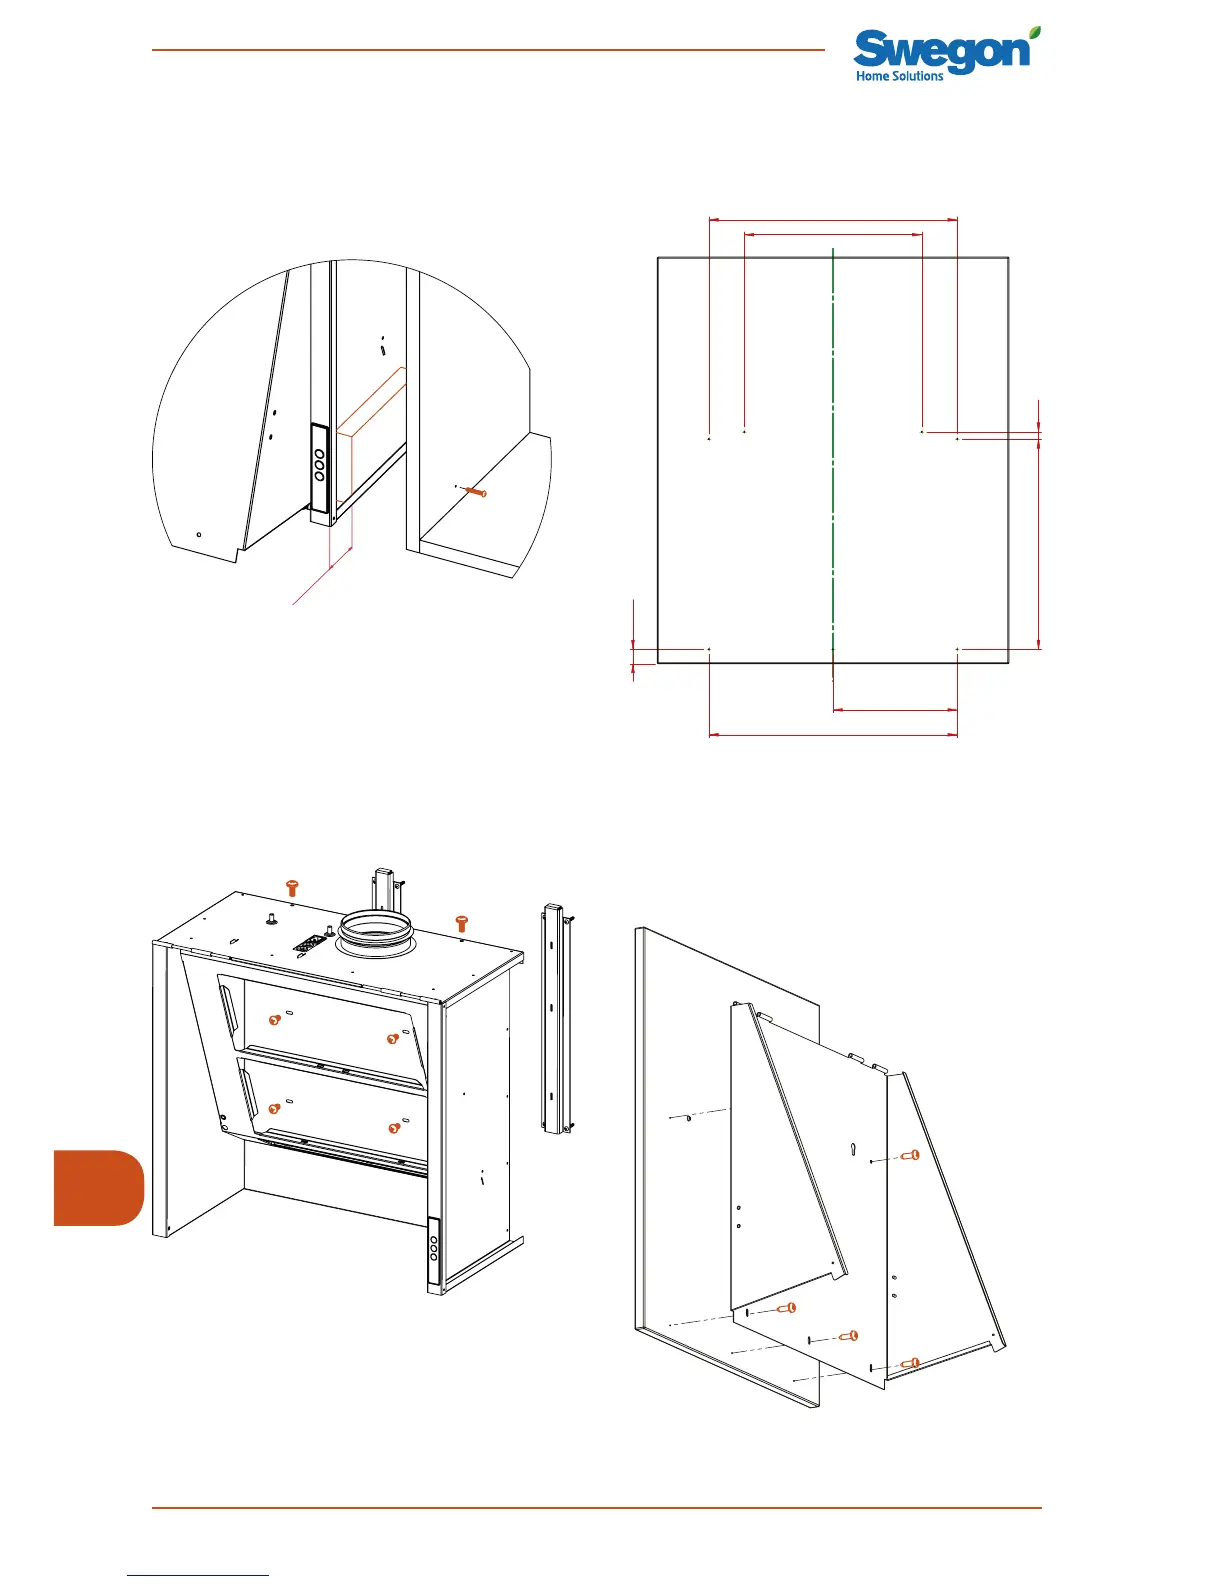
the dimension sketch below. Do not screw
in the screws completely, to enable you
to insert them through the cooker hood's
keyholes.
• Lift up the interior fitting's door to its posi-
tion so that the screws go into the cooker
hood's keyholes. Adjust the interior fit-
ting's door to horizontal position, tighten
the screws and finally screw the fixing
screws (4 screws) tight at their positions.
• Precision adjust the cooker hood's position,
in closed state, to align the interior fitting's
• If needed, the side walls of the cooker hood
can be fastened to the adjacent cupboards
by placing wooden studs against the bent
plate in the side walls' bottom edge and
secure the studs firmly with screws through
the cupboard walls on the sides.
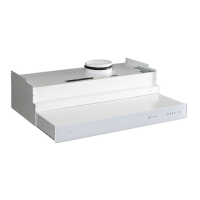
• Lift up the cooker hood and place it on
the mounting brackets, and adjust the
cooker hood to horizontal position by
tightening or backing off the screws for
precision adjustment (A) on the top side of
the cooker hood. Secure the installation by
screwing four screws (B) from the inside of
the cooker hood through the rear wall and
mounting brackets.
• Connect the ventilation duct from the
outlet duct to the cooker hood's outlet
spigot when you have mounted the cooker
hood on the wall.
• Mount the fixing screws (A) on the inside
of the interior fitting's door as shown in
A
A
B
B
B
B