DHR/AR Series SALS Accessory Getting Started Guide Page 19
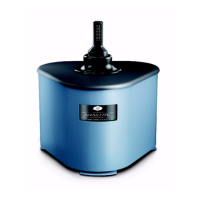
7 Ensure the polarizer ring (analyzer) on the upper fixture is set to “in parallel.” This is when the ring is
rotated fully up, as shown in the image below.
Figure 9 Polarizer ring.
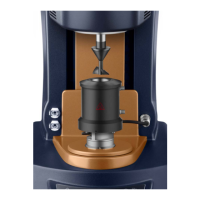
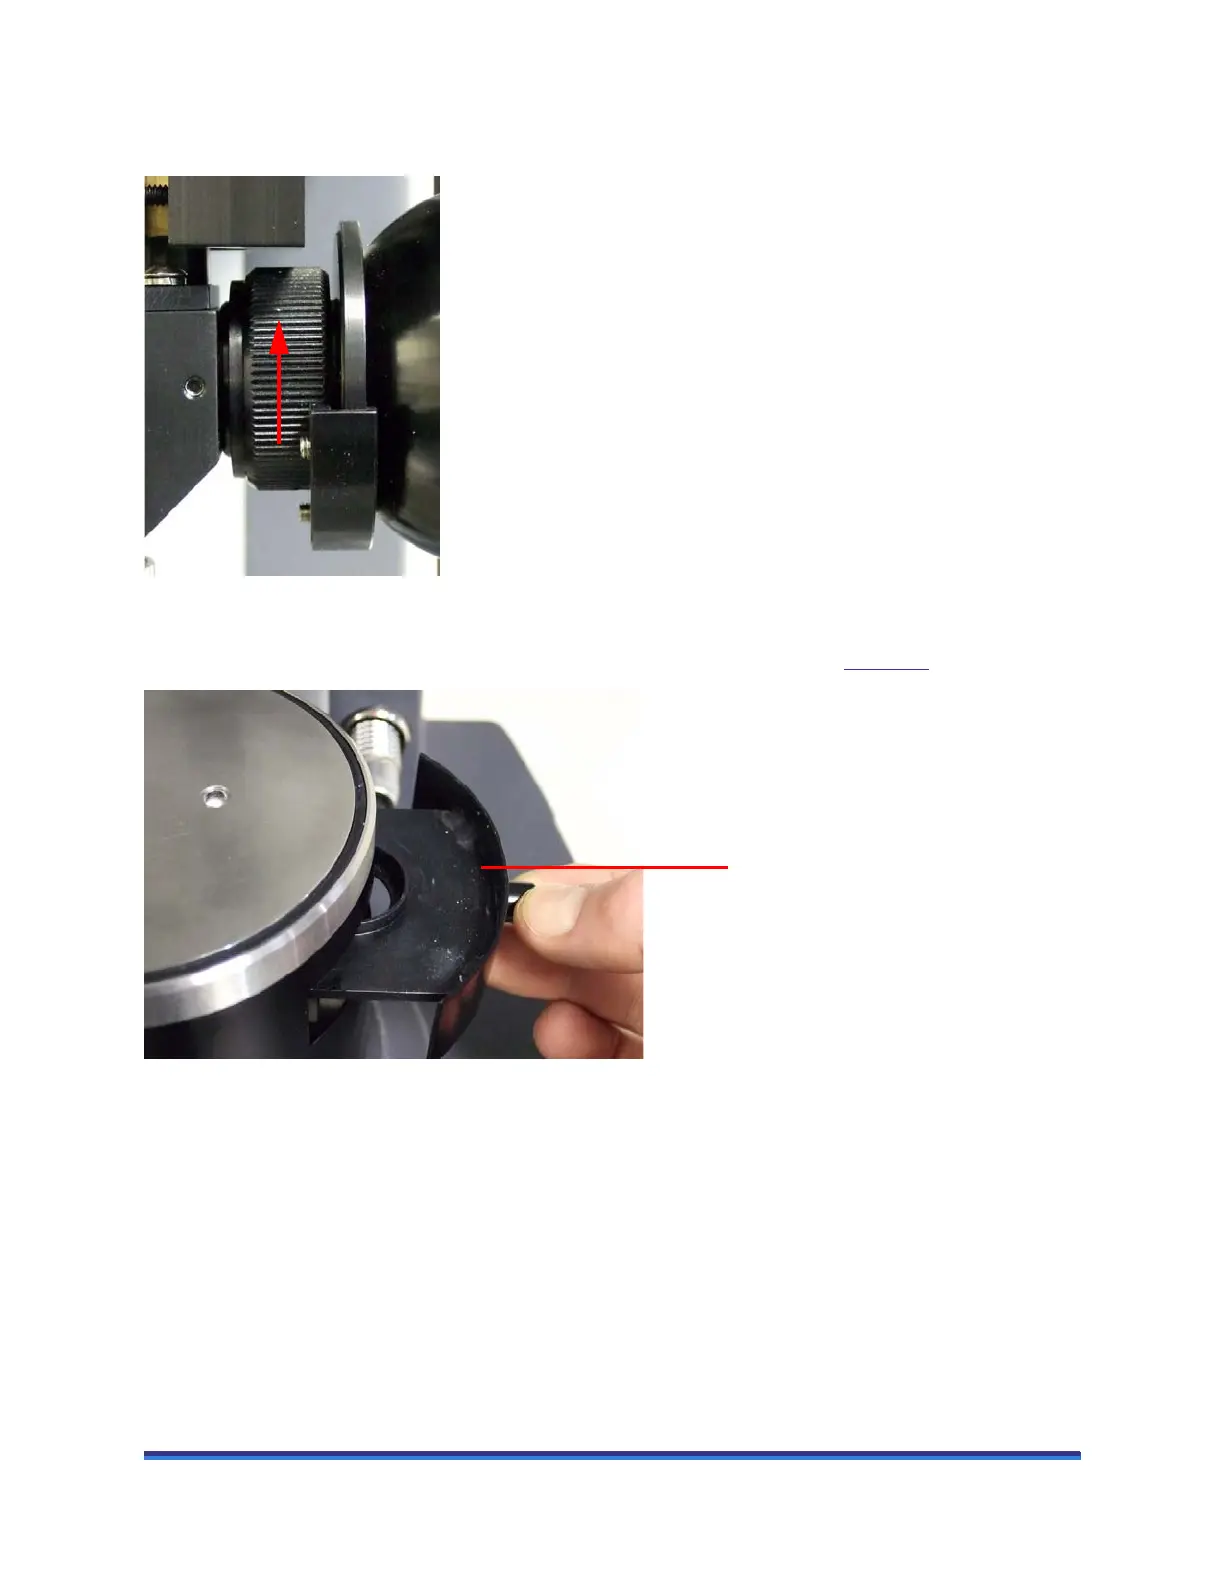
8 Remove any neutral density filter from the drawer in the lower fixture. See Figure 10
below.
Figure 10 Removing the filter.
9 Place two or three drops of the alignment solution on the window in the Peltier Plate.
10 Turn on the bearing lock and close the geometry gap to 1000 µm.
11 Turn on the laser from the TRIOS Control panel.
12 Turn on the camera image by using the camera icon on the View ribbon. For ease of use, it is convenient
to have a PC in a dual monitor configuration so that the scatter image can be viewed on a separate screen.
 Loading...