18
n The record time may differ depending on the recording conditi-
ons.
- Recording a program with poor reception, or a program or v-
ideo source of low picture quality
- Recording on a disc that has already been edited
- Recording only a still picture or just sound
3. Press Enter, “
” appears, the Recording Quality is set.
4. Press 3to return to “Record Quality ”.
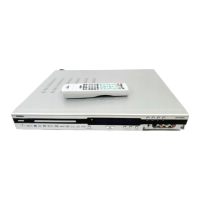
Auto Chapter Setting
When recording starts, the title is slit into chapters automatically.
You can choose the time of each chapter by this step.
1. Select “Auto Chapter ”.
2. Press Enter to select the sub menu, then press 5/6 to
select the item you want.
3. Press Enter, “
” appears.
4. Press 3to return to“Auto Chapter ”.
Erase / Format Disc Setting (DVD+/-RW)
You can erase all titles on the disc , but the disc name and format
will remain the same.
1. Select “Erase/Format Disc ”then press Enter , a message
appears.
2. Press3 to to select “Yes ”.
Note : If it is not necessary, select “No” and then press Enter.
3. Press Enter to start to erase, then please wait until erasing
is finished.
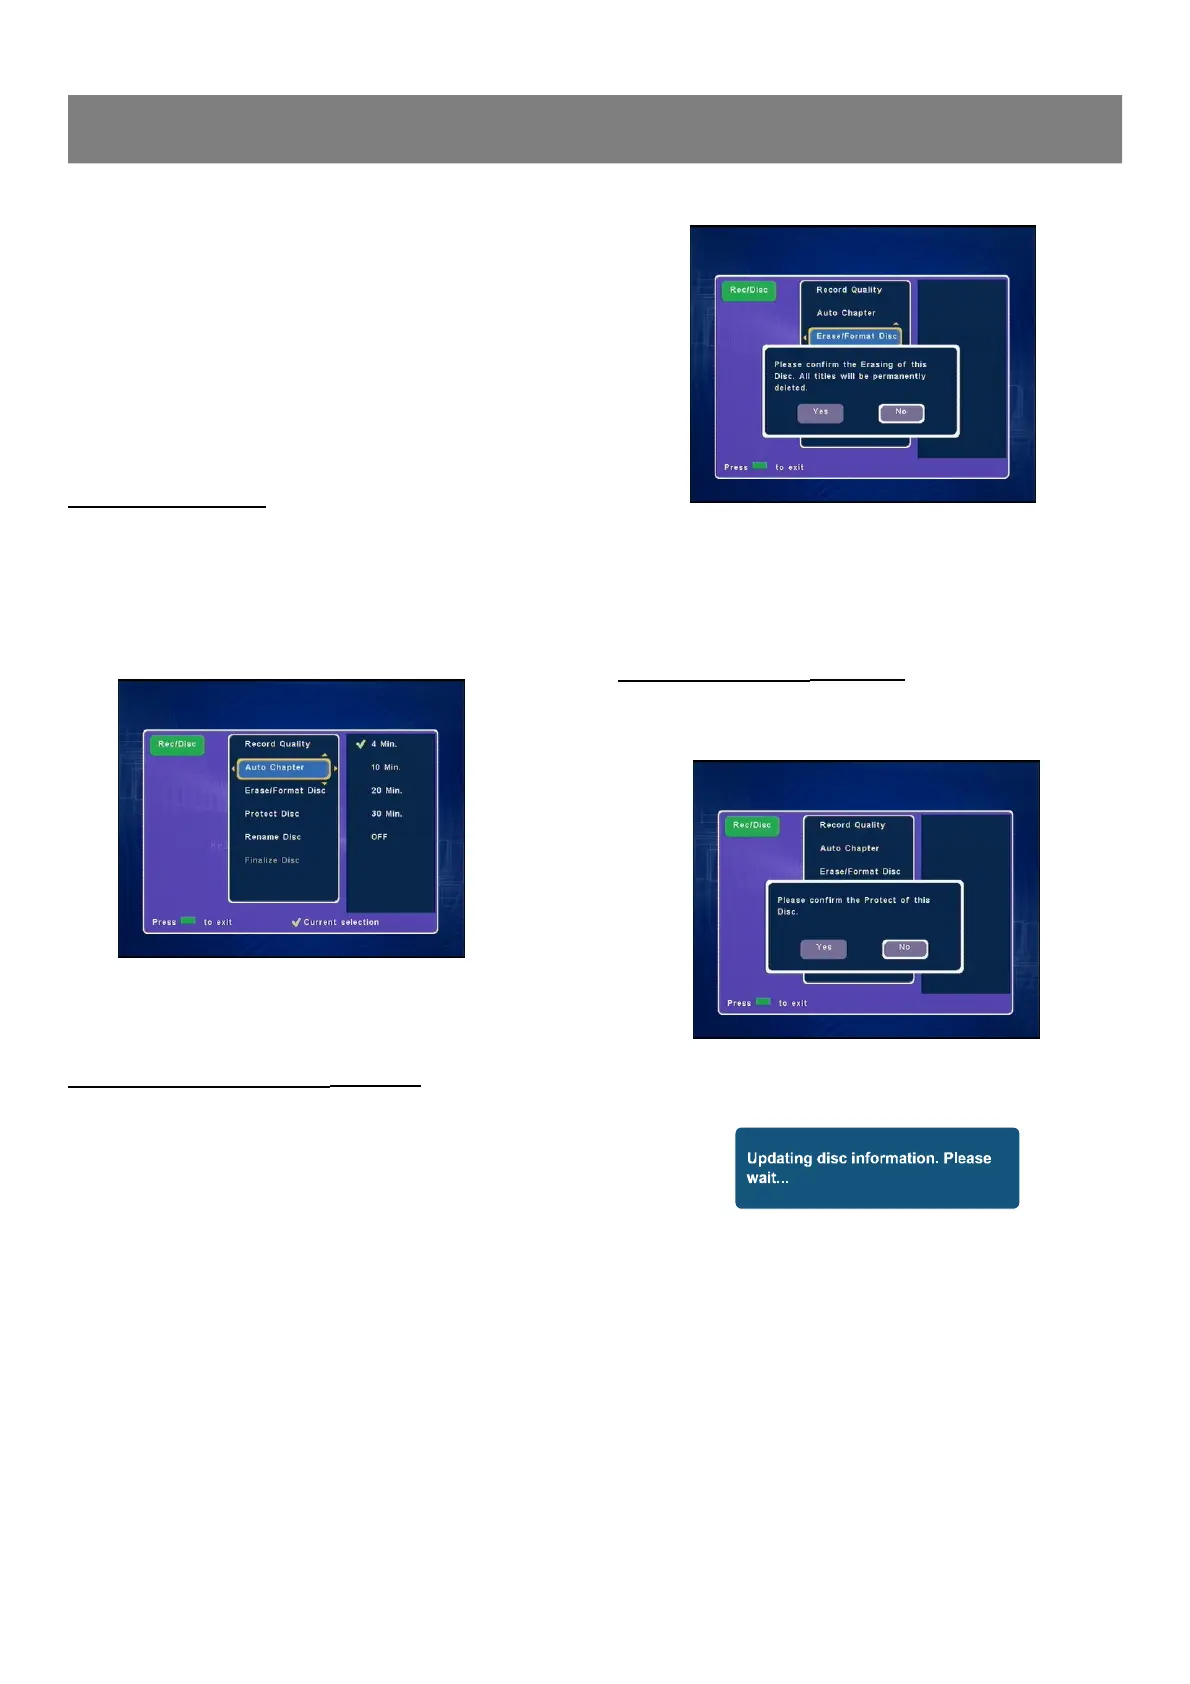
Protect Disc Setting (DVD+/-RW )
You can protect a disc from accidental erasure or editing.
1. Select “Protect Disc ”then press Enter , a message appears.
2. Press3 to to select “Yes ”.
Note : If it is not necessary, select “No” and then press Enter.
3. Press Enter , A message appears.
n “Menu ” screen returns.
n “Protect Disc ”is change to “Unprotect Disc ”.
4. To exit, press Record/Disc.
1-3 Record/Disc Setup (continued)