27
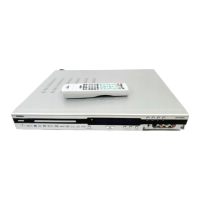
Setting VPS/PDC
1. Select “VPS/PDC ”.
2. Press Enter , the VPS/PDC screen appears.
3. Press 5/6 to select “ON ”, “OFF ”, then press Enter ,
your selection is confirmed. The “Record Show ”screen
returns.
Setting Input Source
1. Select “Input Source ”.
2. Press Enter , the Input Source screen appears.
3. Press 5/6 to select “Channel ”, “Scart VID ” “Scart
RGB”, “AV1 ”,“AV2 ”, “S-Video1 ”, “S-Video2 ”.
4. Press Enter or 4to select “DONE ”, then press Enter , the
recording input source is selected. The “Record Show ”screen
returns.
Timer Recording ( continued )
2-2 Recording (continued)
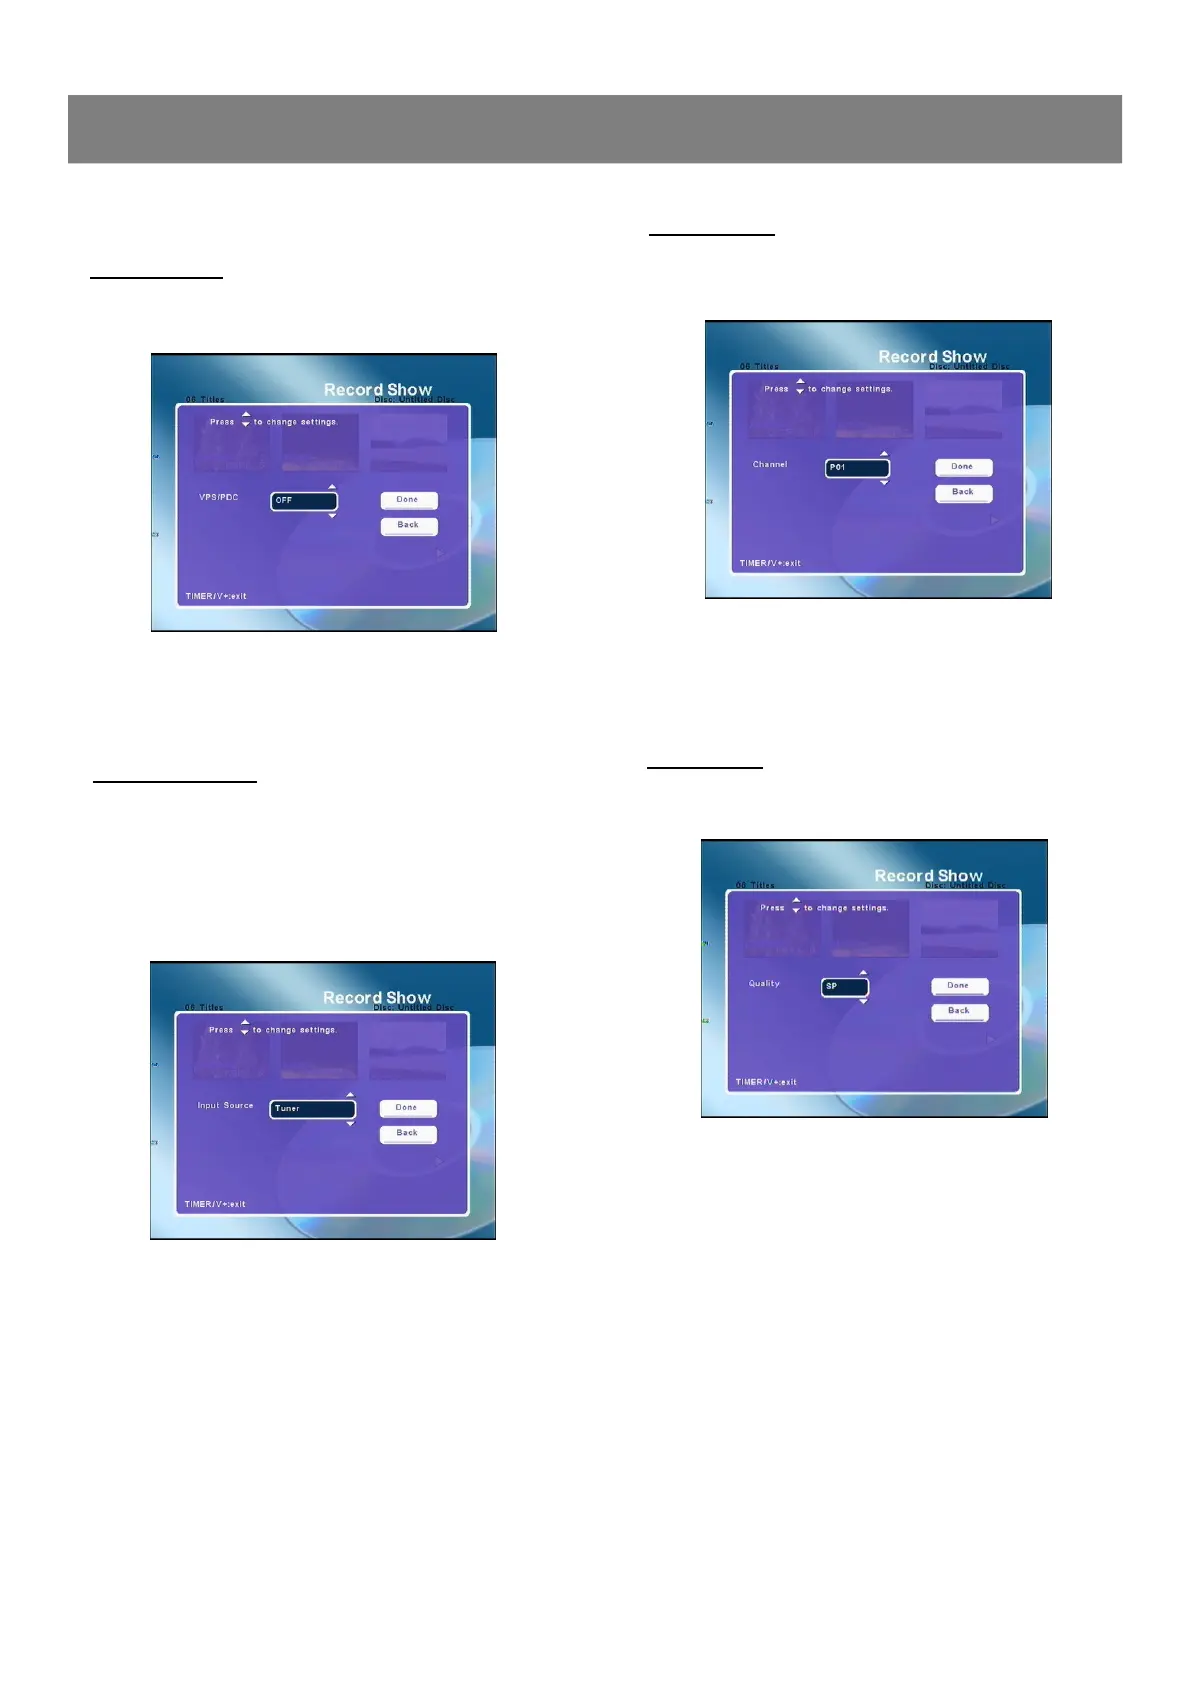
Setting Channel
1. Select “Channel ”.
2. Press Enter , the Channel screen appears.
3. Press 5/6 to select your desired channel.
4. Press Enter or 4to select “DONE ”, then press Enter , the
recording channel is selected. The “Record Show”screen
returns.
Setting Quality
1. Select “Quality ”.
2. Press Enter , the Quality screen appears.
3. Press 5/6 to select “HQ(1hr) ”, “SP(2hr) ”,“LP(3hr)”,
“EP(4hr)”, “EP+(6hr)”or “EP++(8hr)”.
4. Press Enter or 4to select “DONE ”, then press Enter , rec-
ording quality is set. The “Record Show”screen returns.