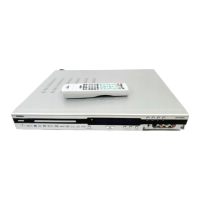
20
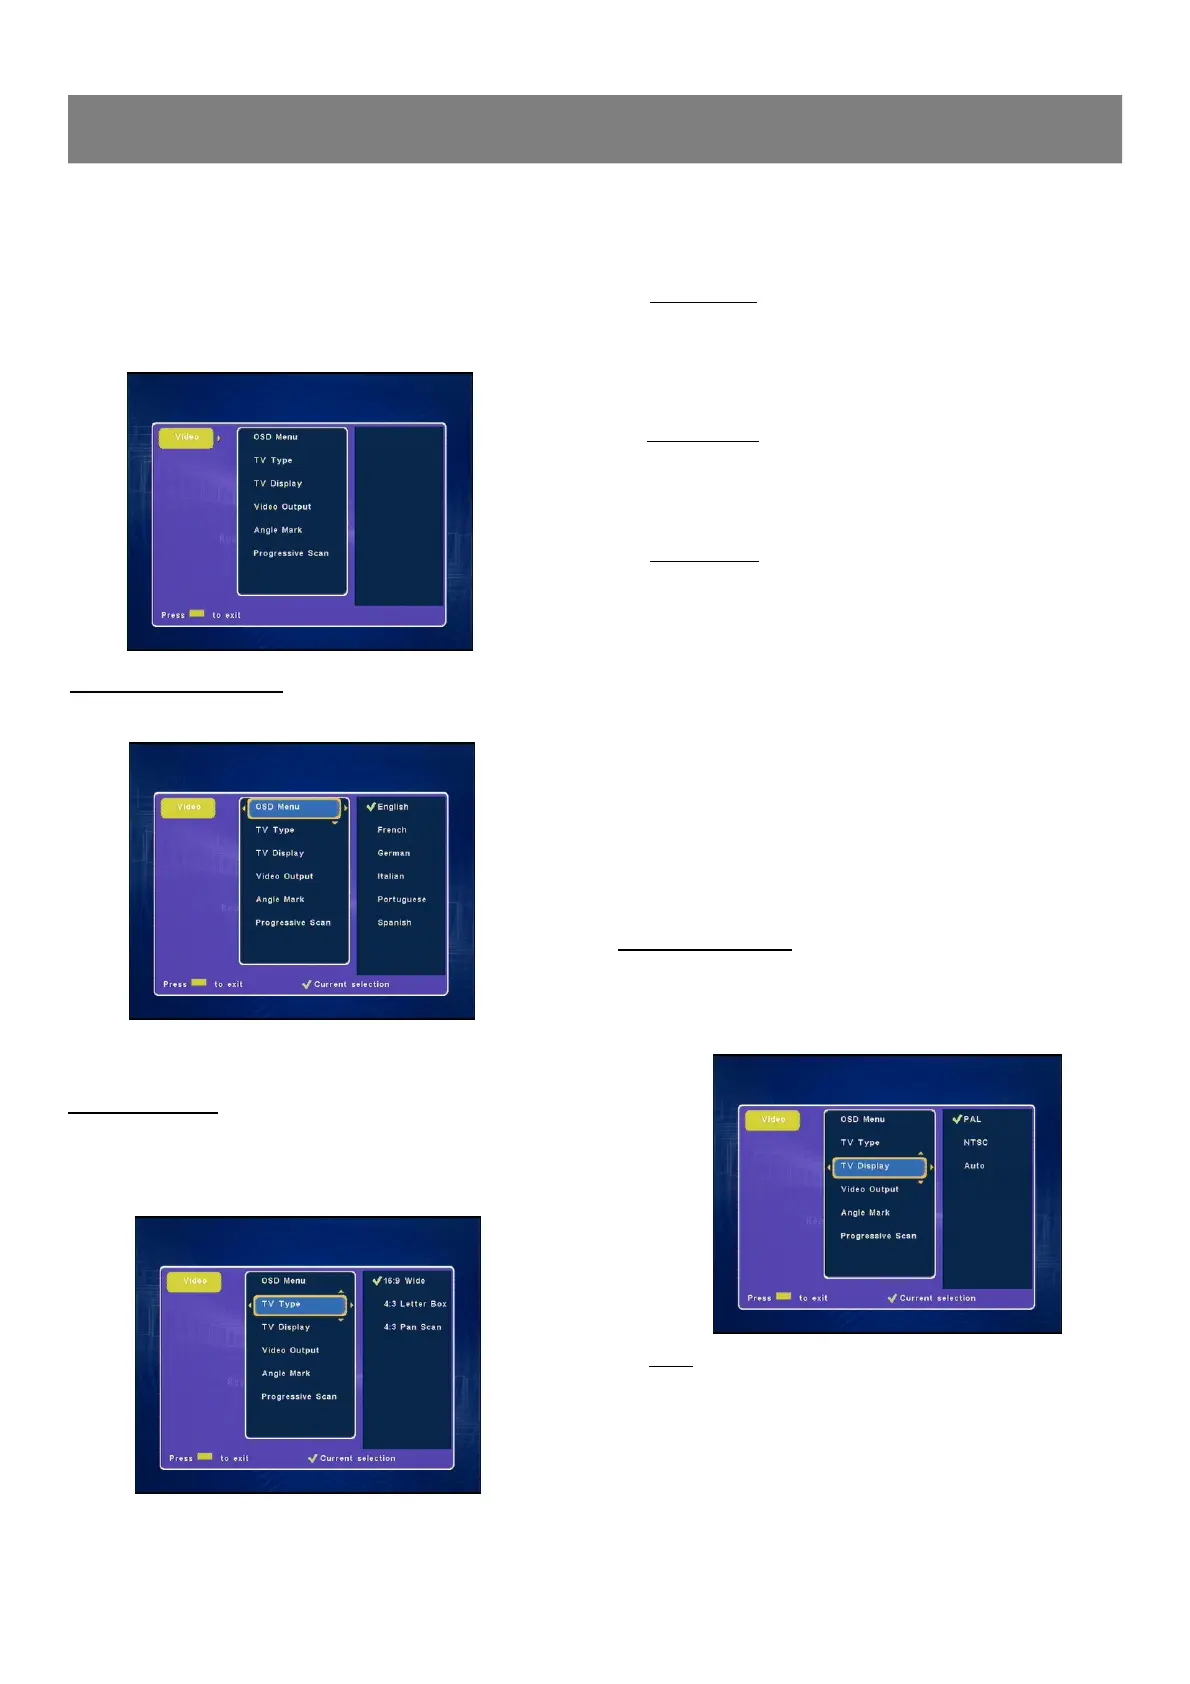
(Video ---> OSD Menu,TV Type, TV Display, Video Output &
Angle Mark, Progressive Scan)
1. Press Video , “Video ”screen appears on the TV screen.
2. Press Enter or4, “TV Type ”is highlighted.
3. Press 5/6 repeatedly to select the item.
1-4 Video Setup
★ 4:3 (Pan Scan)
Select when a conventional TV set is connected.
When the wide screen disc is played back, it displays pictures
cropped to fill to your TV screen. The left and right edges are cut
off.
★ 4:3 (Letter Box)
Select when a conventional TV set is connected.
When the wide screen disc is played back, the black bands
appear at the top and bottom of screen.
★ 16:9 (Wide TV)
Select when a wide screen TV set is connected.
Played in FULL size. ( Setting the wide screen TV to FULL mode
is also necessary.)
Notes:
n The screen size may differ depending on the DVD video
discs.
n If you select Wide TV to get rid of the black bands on
screen when wide screen disc is played back, picture may
be slightly distorted.
n In some discs, even if Normal/PS is selected, the black
bands may remain on the screen.
3. Press Enter, “
” appears, the TV type is set.
4. Press 3to return to “TV Type ”.
TV Display Setting
1. Select “TV Display ”
2. Press Enter or4to select the sub menu, then press 5/6 to
select the appropriate setting for your TV screen size.
★ AUTO
Select this if the connected TV set is compatible with both
NTSC and PAL . The output format will be consistent with the
video signal of the disc.
OSD Language setting
1. Select “OSD Menu ”.
2. Press Enter or4to select the sub menu, then press 5/6 to
select your favorite language.
TV Type Setting
The kind of TV set (4:3 or 16:9) connected to this DVD Recorder can
be selected.
1. Select “TV Type ”.
2. Press Enter or4to select the sub menu, then press 5/6 to
select the appropriate setting for your TV screen size.