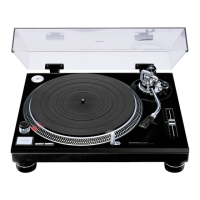
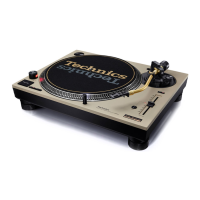
SL-1200M3D J
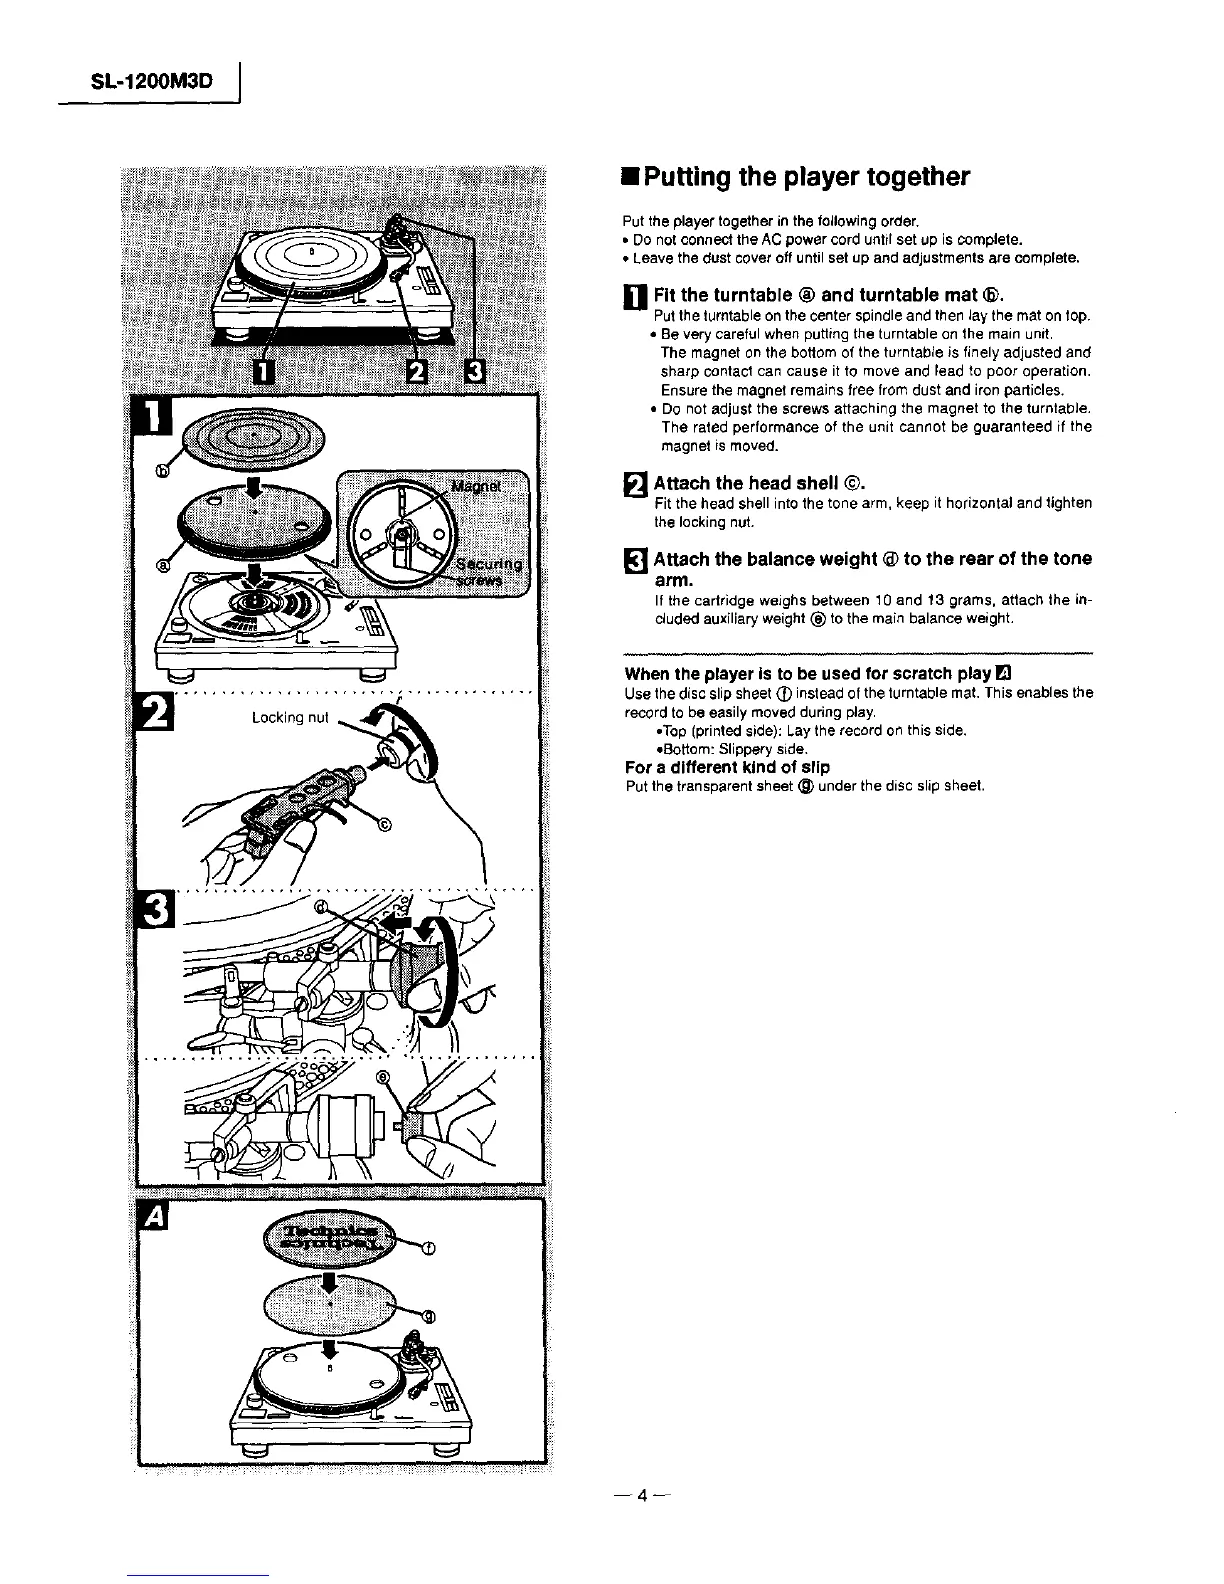
• Putting the player together
Put the player together in the following order.
• Do not connect the AC power cord until set up is complete.
• Leave the dust cover off until set up and adjustments are complete.
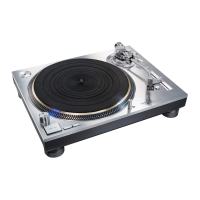
ill Fit the turntable ® and turntable mat @.
Putthe turntableon the center spindleand then Jaythe mat on top.
• Be very careful when putting the turntable on the main unit.
The magnet on the bottom of the turntable is finely adjusted and
sharp contact can cause it to move and lead to poor operation.
Ensure the magnet remains free from dust and iron particles.
• Do not adjust the screws attaching the magnet to the turntable.
The rated performance of the unit cannot be guaranteed if the
magnet ismoved.
[] Attach the head shell @.
Fitthehead shellintothetonearm,keep ithorizontalandtighten
thelockingnut.
[_"] Attach the balance weight @ to the rear of the tone
arm.
If thecartridge weighsbetween 10and 13 grams, attachthe in-
cluded auxiliaryweight_) tothe main balanceweight.
ill ...... ii i_uH
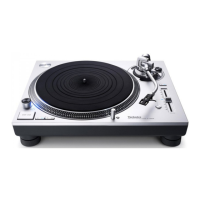
When the player Is to be used for scratch play IE]
Use the disc slipsheet _) instead ofthe turntable mat. This enables the
record to be easily moved during play,
•Top (printedside): Lay the record on this side.
•Bottom: Slippery side,
For a different kind of slip
Putthe transparent sheet @ under the disc slip sheet,
--4--
 Loading...