Figure 64
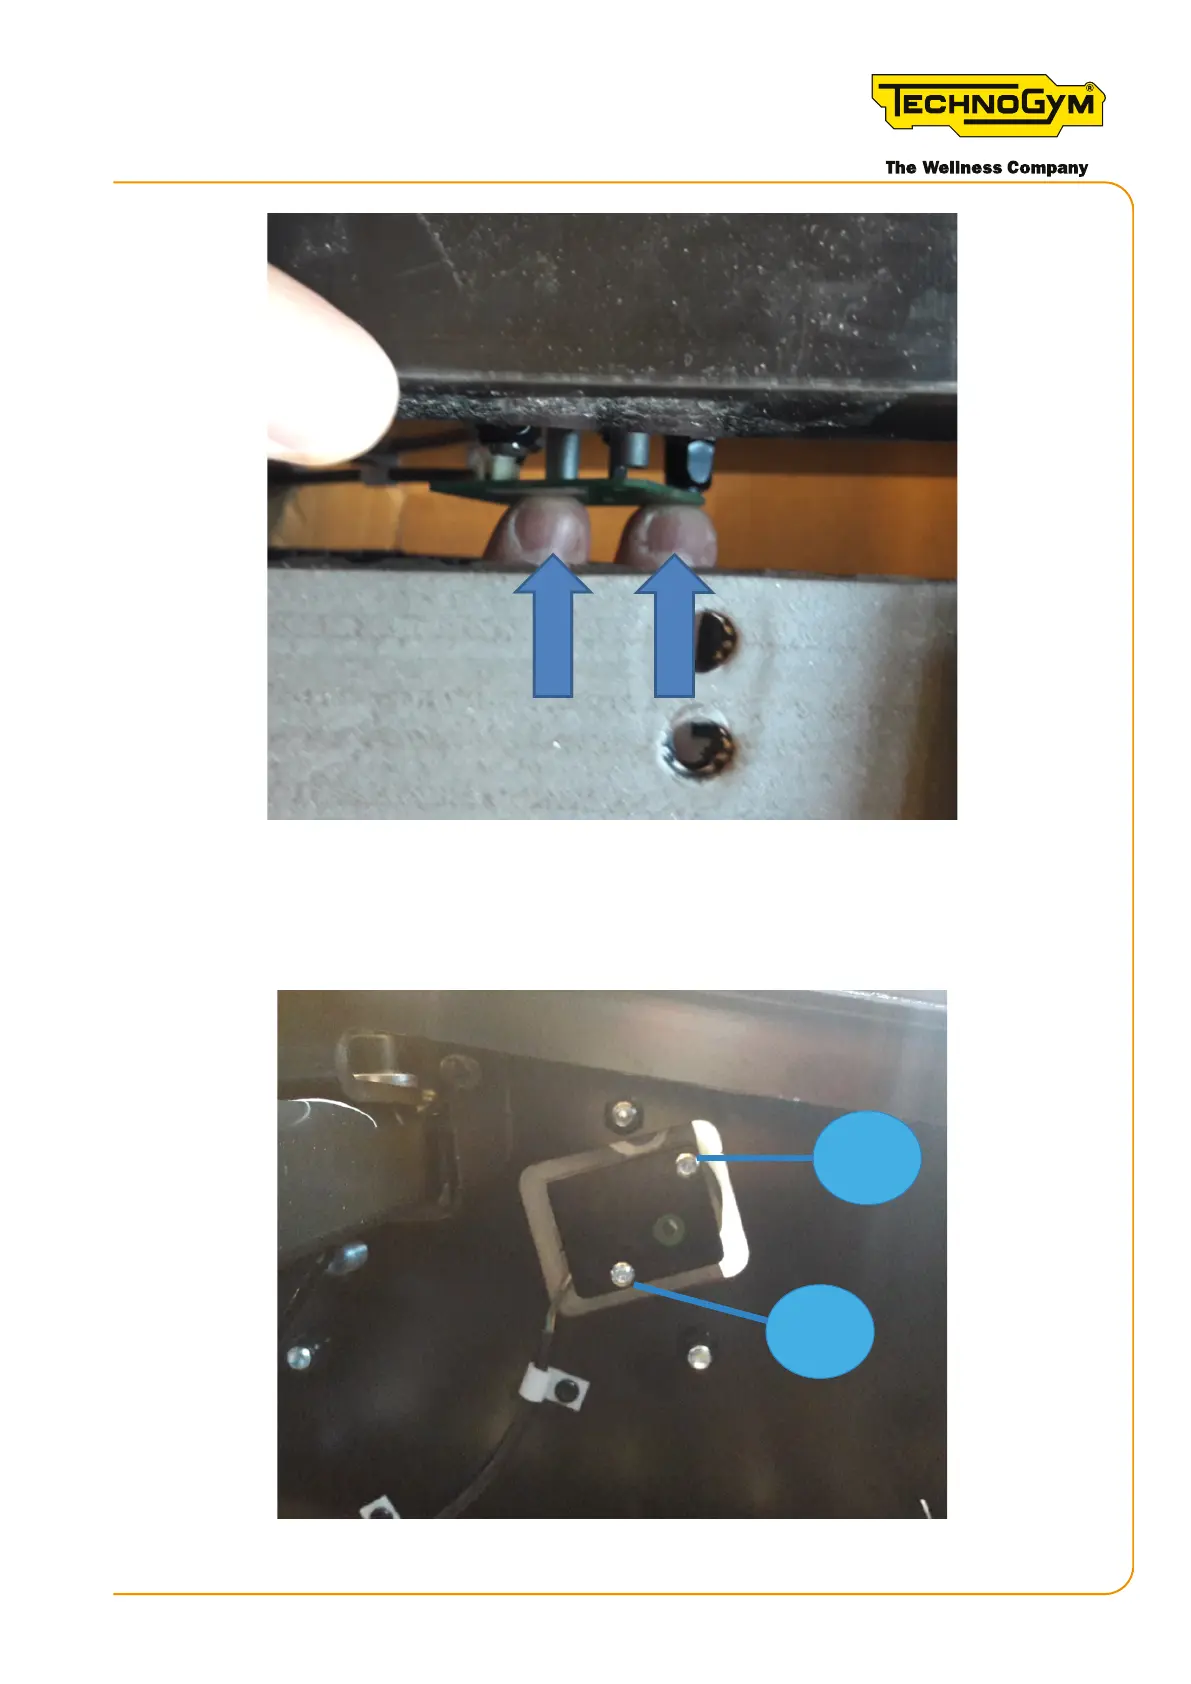
3. First insert the upper screw (1) with the corresponding spacer, leaving it slightly loose, so
that the plate and the screw are held together in a "package" and support the spacer of the
lower screw (2). Tighten both screws (1) and (2).
1
2
Figure 65
Skillmill:
Technical Service Guide - Rev. 3.5
Page 115email: support@technogym.com