SPG600 & SPG300 Sync Pulse Generators User Manual 3-1
Menus
This section describes how to control all of the instrument functions using the
front-panel buttons and menus.
Table 3-1 shows the instrument menus and page numbers for each menu
description.
When you power on the sync pulse generator, the top menu item of the Video menu
appears on the LCD display. Press any of the menu buttons to access a specific
menu, and use the arrow buttons to scroll through menu items or available options.
You need to press the ENTER button to enable the selected option or to access the
associated submenu. Press the CANCEL button to disable the selected menu item
and return to the previous menu item.
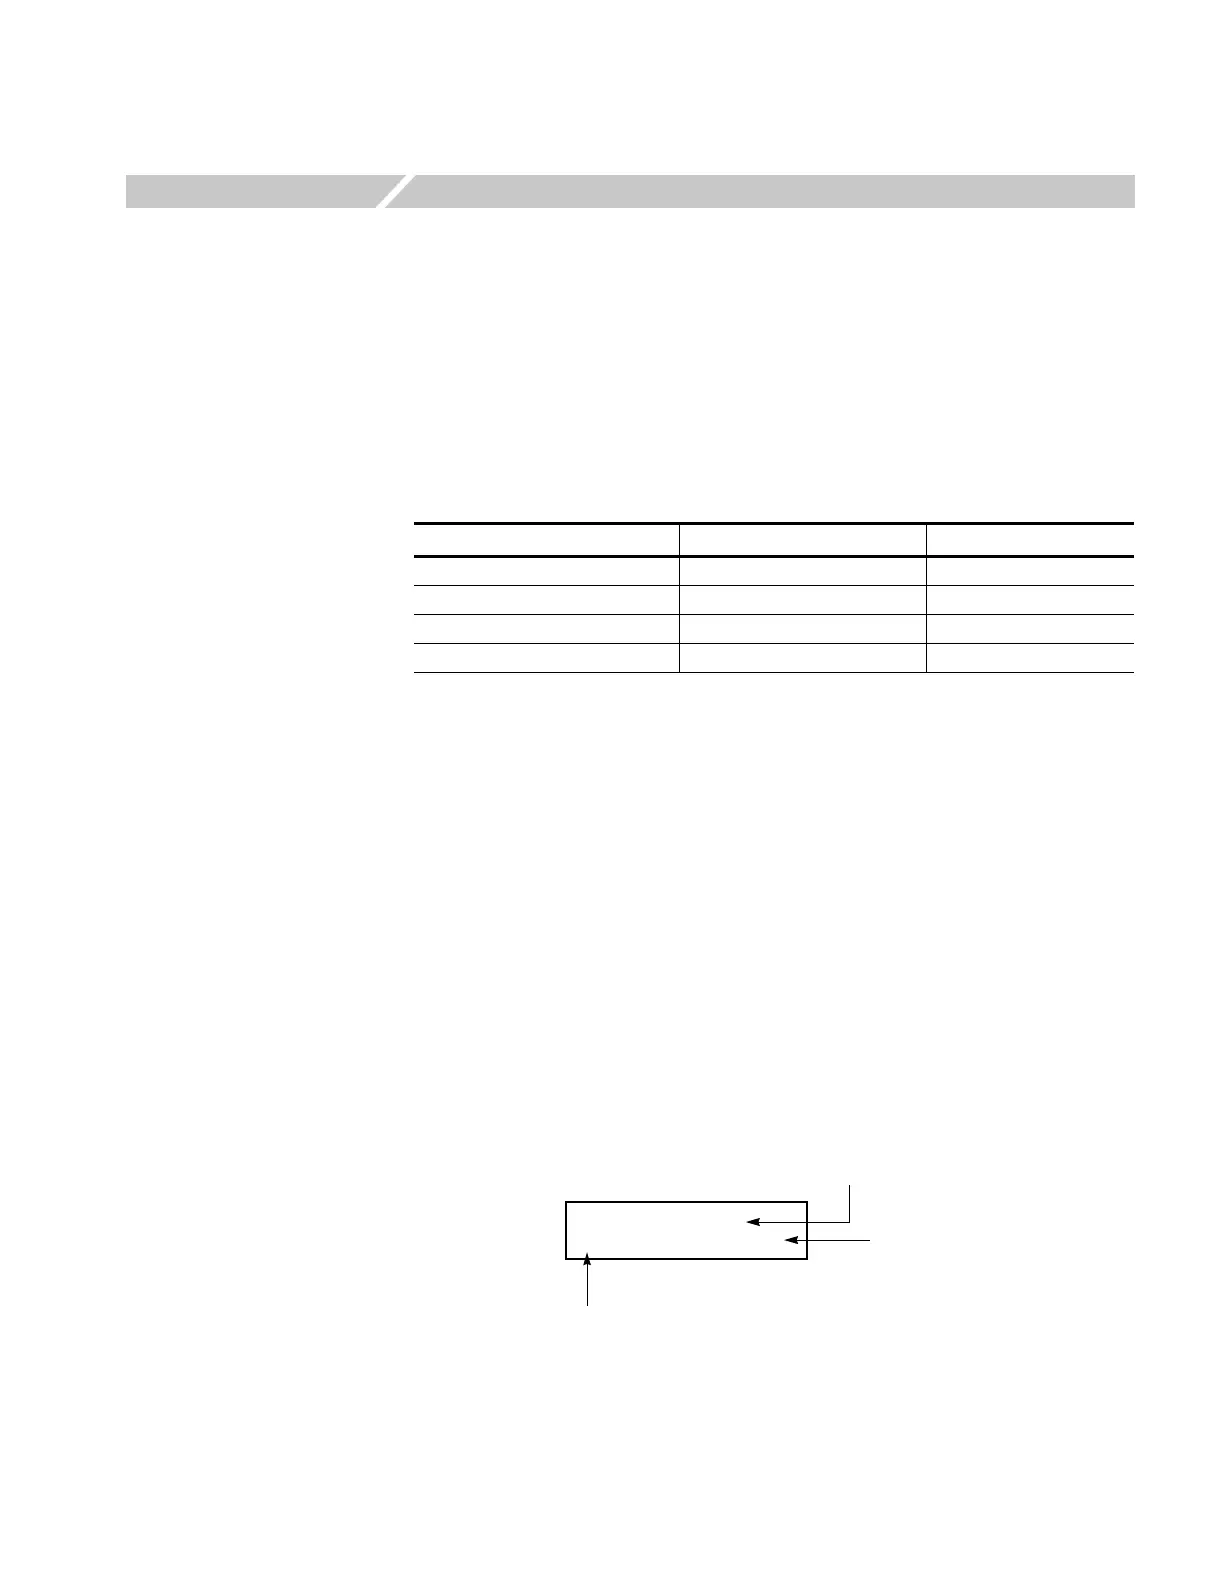
Almost all menus have two lines of text, where the first line shows the current
menu item, and the second line shows the current selection (if there is not a
submenu).
In the second line, a small square (
■) shows that this item is currently selected and
enabled in the available options. An Enter key mark (
↵ ) shows that you need to
press the ENTER button after selecting one of the options to implement the
selection. See Figure 3-1. If the second line is empty, press the ENTER button to
access the corresponding submenu.
Figure 3-1: Example menu display
Table 3-1: Instrument menus and information pages
Button name Menu Page number
VIDEO Video menu page 3-2
AUDIO Audio menu page 3-17
GENLOCK Genlock menu page 3-23
SYSTEM System menu page 3-26
Current position in the current menu
ANALOG SYNC (STD)
■ Black Burst ↵
Item currently selected in the available options.
You need to press the ENTER button
to implement the selection.
 Loading...


