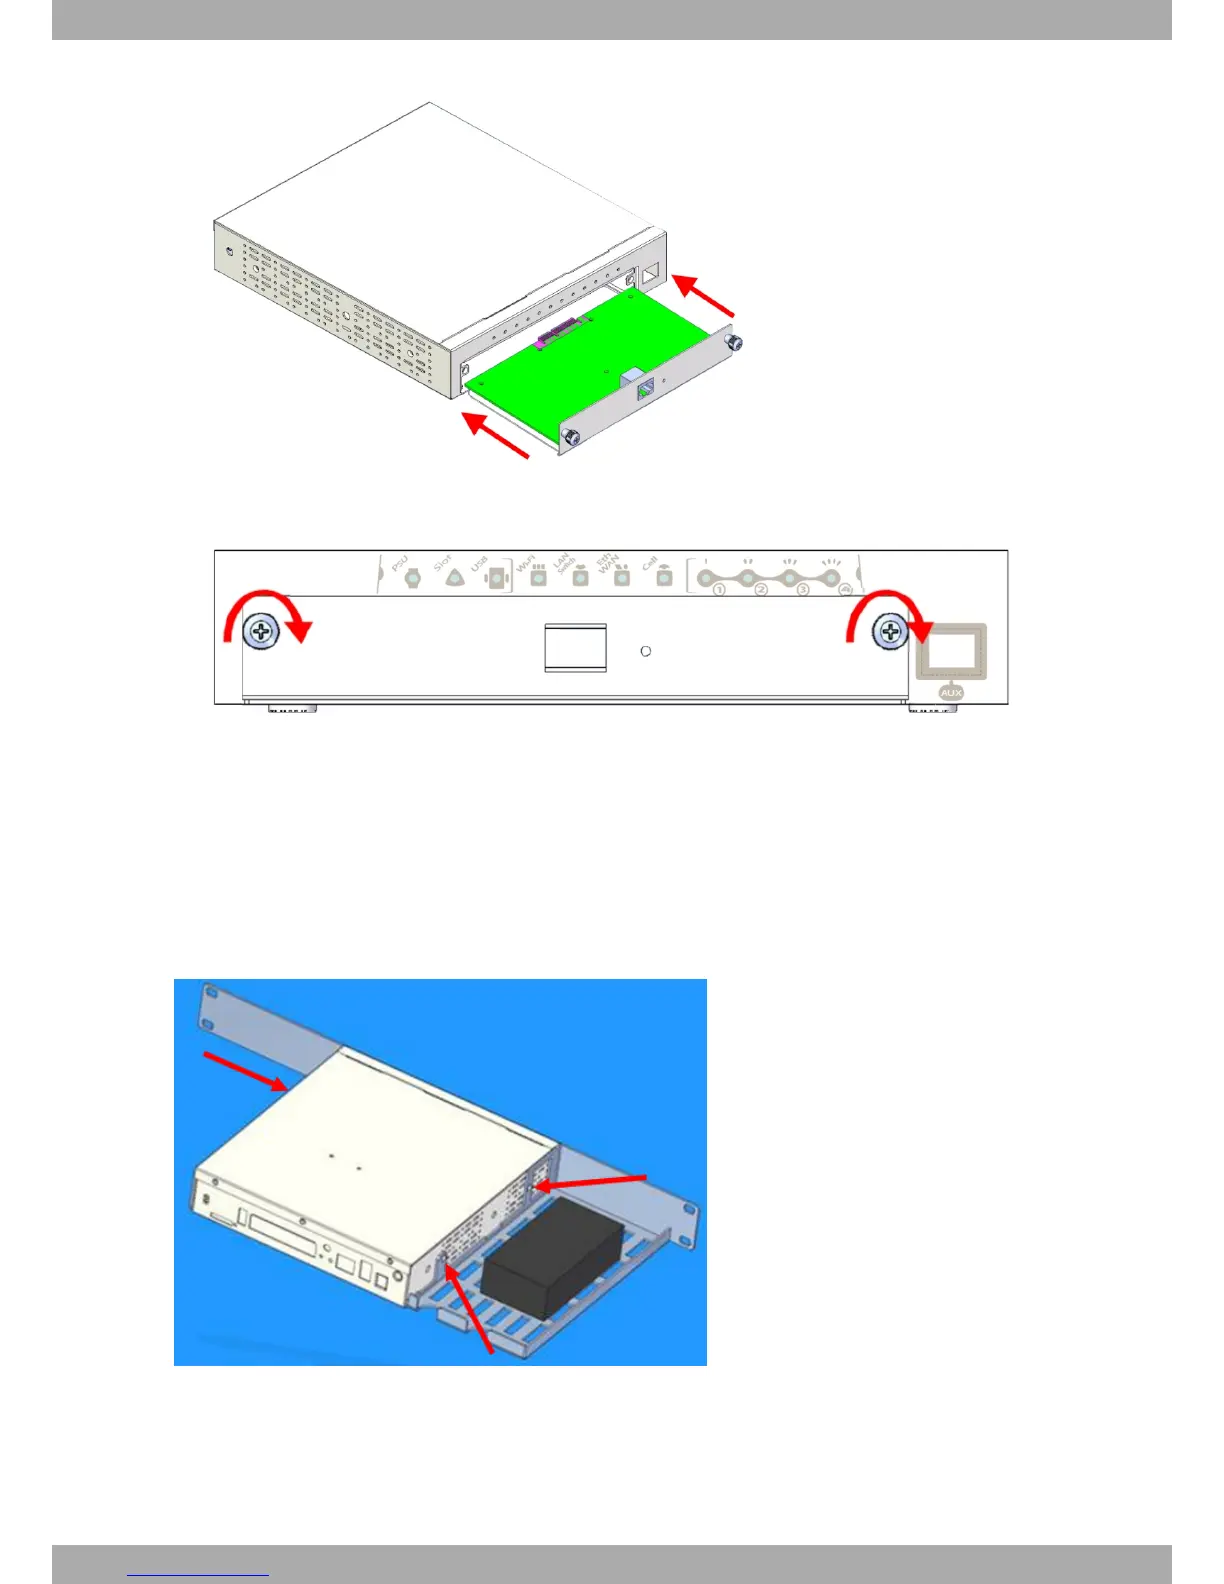
Fig. 9: Inserting the expansion card
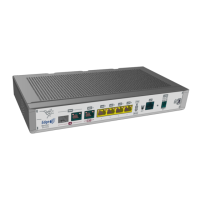
(7) Screw the tray to the device. See Fig. 10 on page 10.
Fig. 10: Screw the tray to the front panel
(8) Connect a terminal to the console and check that the device detects the expansion card.
3.3 Installation in a rack
The Teldat M1 device family can be installed in a 19” rack. The strips and screws needed are not provided by default
and need to be acquired separately.
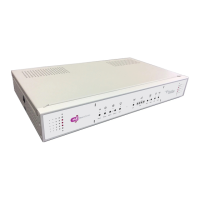
Both strips are attached to the device by means of 4 screws, two on each side, as shown in Figure 11.
Fig. 11: Anchor bolts for a rack
3.3.1 Standalone
The Teldat M1 routers can be placed as a standalones on a flat, stable surface. The adhesive rubber feet must be
stuck to the underside panel to prevent the device from sliding.
3 Components and Power Supply Teldat S.A.
10 Teldat Router M1/M1L