Harmony Series 2 Homelift - XH00200 Issue: D Page 35 of 106
Carriage Installation Procedure
Floor Assembly Preparation
Before commencing carriage installation, the
floor assembly needs to be set up correctly.
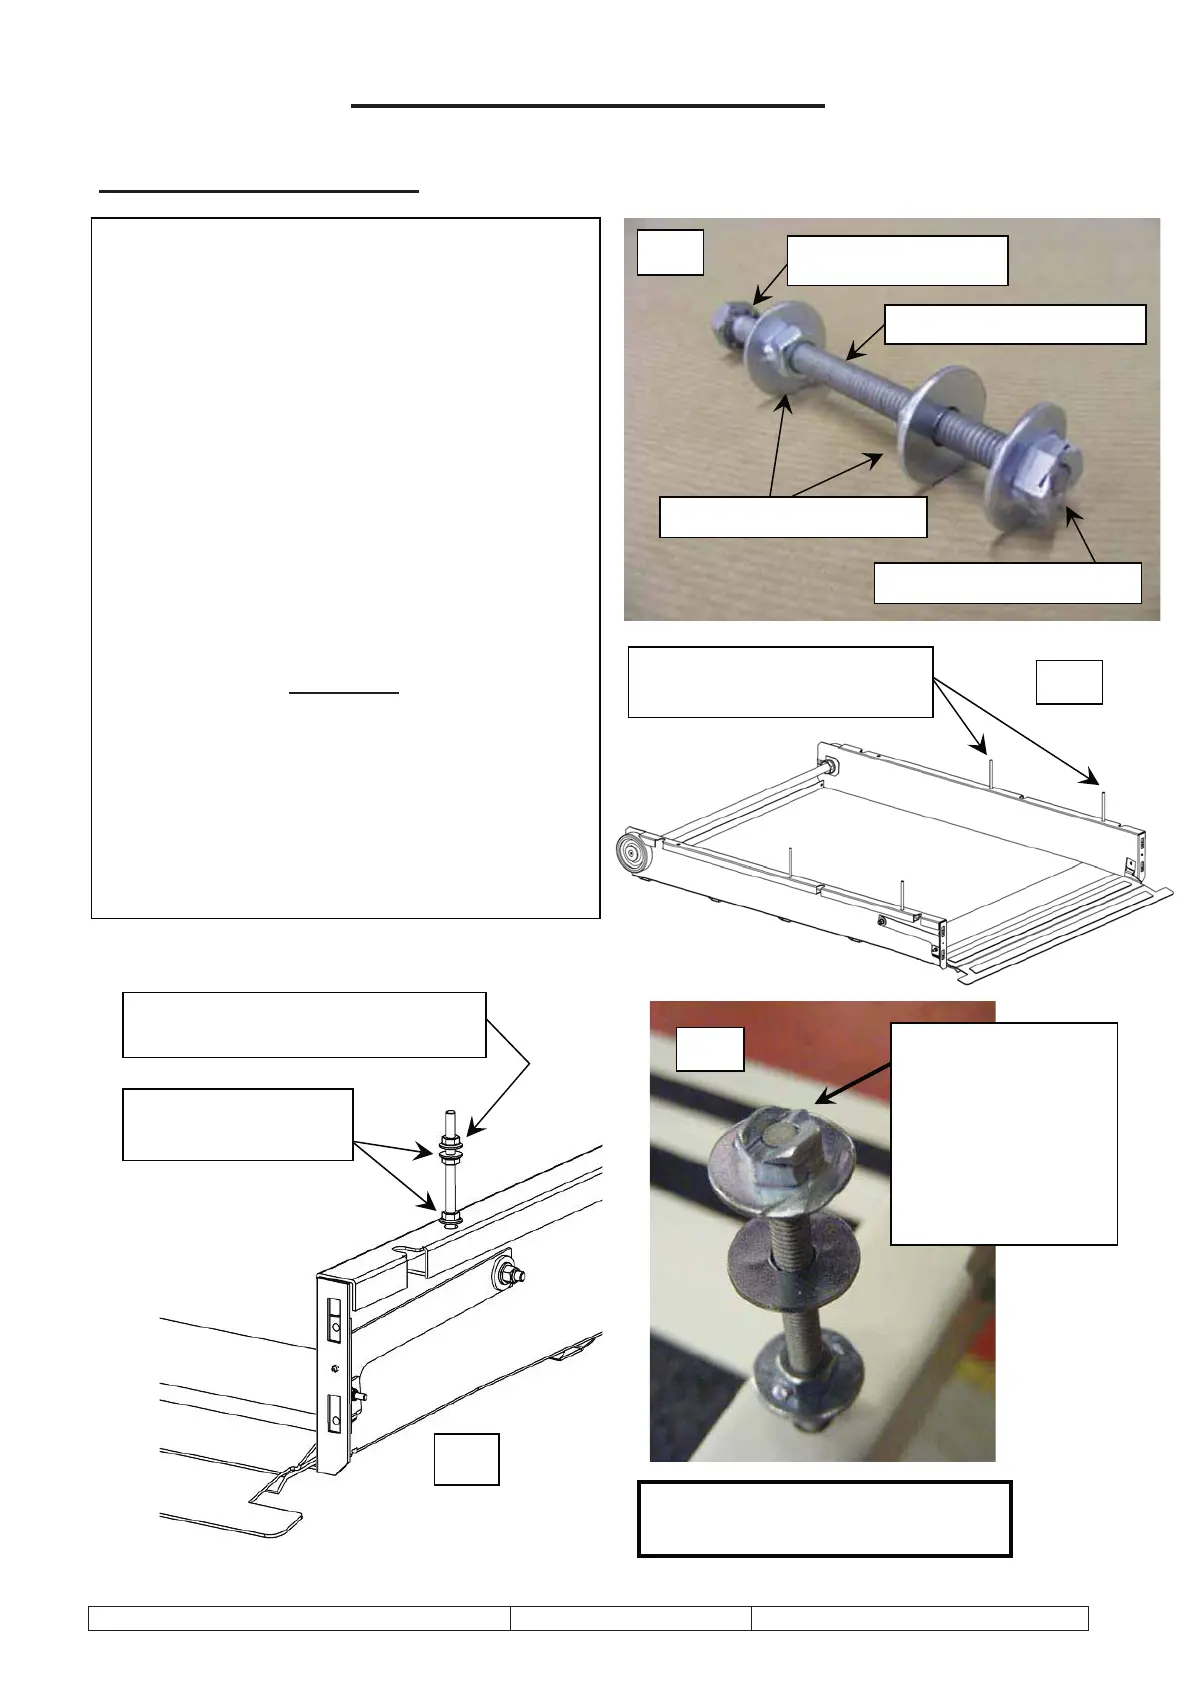
The car floor assembly will have a bag of
fasteners fixed to it, the contents of which
include four lots of the items shown in figure
‘A’. These are the car side fixing studs and
fasteners.
Each stud assembly has two standard nut &
washer arrangements, one ‘Binx’ nut &
washer arrangement and a shakeproof
washer.
Once on site, the studs need to be fixed to
the floor, in an upright position as illustrated
in figure ‘B’. It is CRITICAL that each screw
is tightened with the shakeproof washer hard
up against the mating clinch nut surface.
Assemble the three nuts as shown in figures
‘C’ and ‘D’, paying particular attention to their
orientation which is CRITICAL, for when the
car side assemblies are fixed to the floor.
D
1 x ‘Binx’ Nut & Washer Arrangement
AT TOP
2 x Std Nut & Washer
Arrangement
Shakeproof Washer
Binx Nut & Washer Arrgt
Std Nut & Washer Arrgt
M6 x 80 hexhd setscrew
A
2 x Side Fixing Studs
(each side of floor assembly)
B
ORIENTATION OF NUTS IS
CRITICAL!
Binx Nut acts as a
locking nut.
It is identifiable by
its serrated,
chamfered head
as shown.
C



 To Next Page