6 Using the product
38
Show or hide measurement types:
1. Select measurement type: [▲], [▼]
2. Enable / disable measurement type: [ ] (enabled), [ ]
(disabled)
3. Save selection: [Finished].
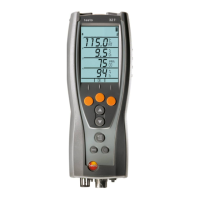
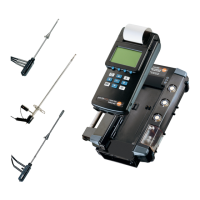
6.1.2.8. Printer
The headers (lines 1-3) and the footers for the printout can be set.
The printer that is used can be activated.
Calling up the function:
> [ ] → Instrument Settings → [OK] → Printer → [OK]
Activating the printer:
The printer 0554 0543 can only be selected after the
Bluetooth
®
-interface has been activated, see
Bluetooth
®
, page 38.
1. Select Printer → [OK].
2.
Select the printer: [▲], [▼] → [OK].
- The printer is activated and the menu Printer is opened.
Configuring the print text:
1. Print text → [OK].
2. Select function: [▲], [▼] → [Edit].
> Enter values for Line 1, Line 2, Line 3 and the Footnote
> Print out system data and/or customer data: [ ]
3. Save the entry: select [Finished].
6.1.2.9. Bluetooth
®
This menu is only available if the instrument is equipped with
Bluetooth. The Bluetooth module can be switched on / off.The relay
can now be tested.
Calling up the function:
> [ ] → Instrument Settings → [OK] → Bluetooth → [Edit].
Making settings:
> Set parameter → [OK].
1.888.610.7664 info@Testo-Direct.com
www.Testo-Direct.com