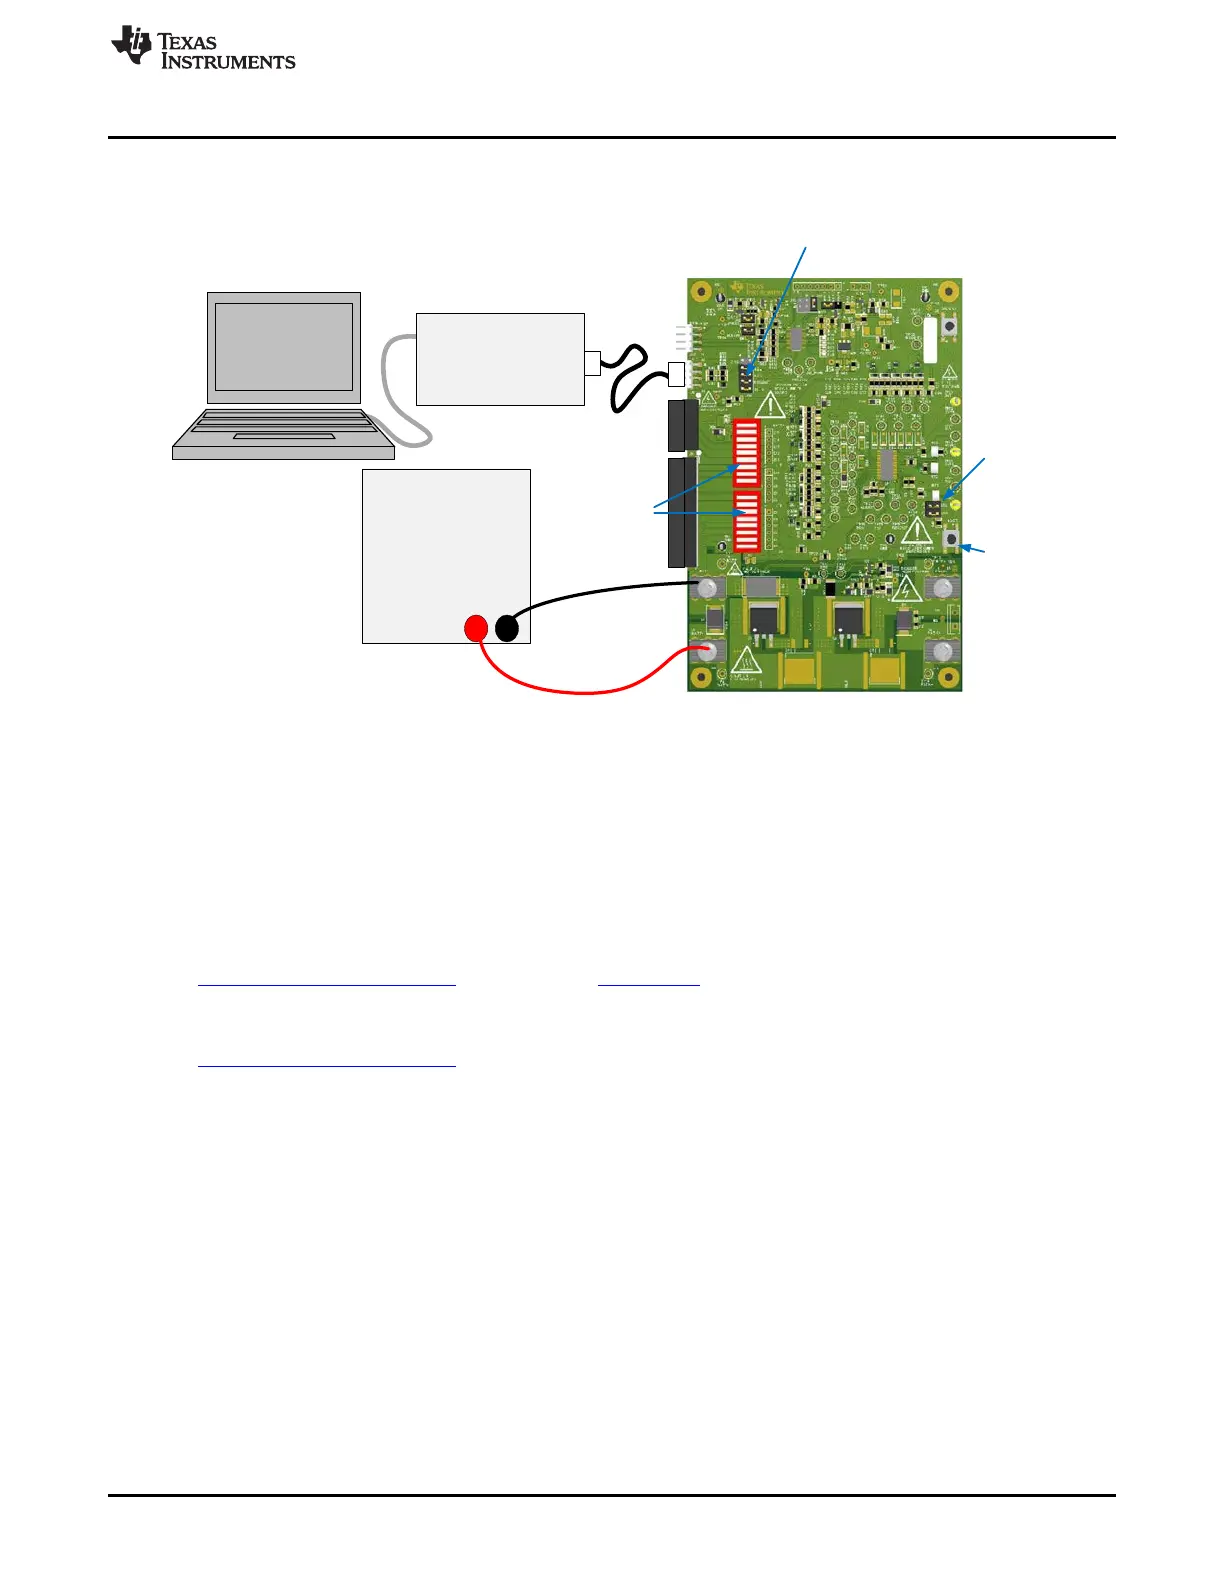
EV2300/
EV2400
I2C
DC Power Supply
+ -
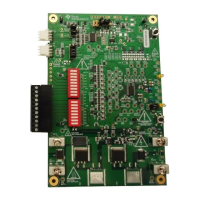
Boot
switch
SMB
Pull-ups
for
EV2300
Remove
for
EV2400
Remove gauge
shunts
Cell simulator
switches on for
power supply
www.ti.com
bq769x0 EVM Quick Start Guide
13. Make other adjustments as desired for evaluation.
Refer to other sections of this user guide for additional details.
Figure 1. EVM Connection for Basic AFE Operation
2.2.2 Gauge Quick Start
These steps describe quick connection of the bq769x0 EVM to demonstrate operation of the gauge
portion of the EVM. For more detailed descriptions, refer to other sections of the user guide. If you are
new to bqStudio software, you may wish to refer to the more detailed instructions for installing the
software in Section 5 before using the quick start.
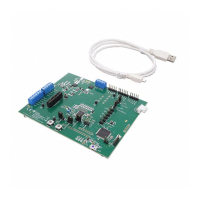
Refer to Figure 2 for the following steps.
1. Download the Battery Management Studio (bqStudio) software from the bq78350 product folder link
www.ti.com/product/bq78350 or search from www.ti.com.
2. Install the bqStudio software. Install drivers for the EV2300, if necessary.
3. Download the bq78350_xxxx.srec firmware file from the bq78350 product folder
www.ti.com/product/bq78350 and save it to a temporary location on your computer.
4. Install 4 shunts on the J14 header connecting the AFE to the gauge: SCL, SDA, REGOUT and ALERT.
5. Install shunts on the SCL and SDA pull-up headers.
6. Install shunts on the /KEYIN, /PRES, 16/17 and H positions of the other headers.
7. Close all dip switch positions (default is closed).
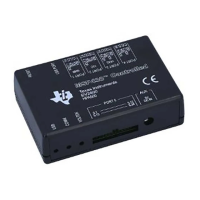
8. Attach the interface board communication adapter to the PC using USB cable. The EV2400 is
recommended, the EV2300 works if it is available and drivers are installed.
9. Attach the interface board SMB connector to the EVM SMB connector using the 4-pin cable.
10. Remove any connection to the I2C connector. This connector must remain open for operation with the
gauge.
11. Connect a 0-V DC power supply capable of 2 A minimum to the “BATT” terminals and adjust to
approximately 3V/cell (30 V for bq76930EVM, or 45 V for bq76940EVM) .
12. Press and release the BOOT switch.
13. Start the bqStudio software. The bq78350 on the EVM is shipped blank, so the bqStudio will present a
Target Selection Wizard box. Select the latest version of the bq78350 from the list and select the
Finish button. Acknowledge the Proceed and the Battery Management Studio Timeout windows. The
9
SLVU925B–April 2014–Revised July 2014 bq76930 and bq76940 Evaluation Module User's Guide
Submit Documentation Feedback
Copyright © 2014, Texas Instruments Incorporated