CUTMASTER 40MM
SERVICE Manual 0-5084
5-8
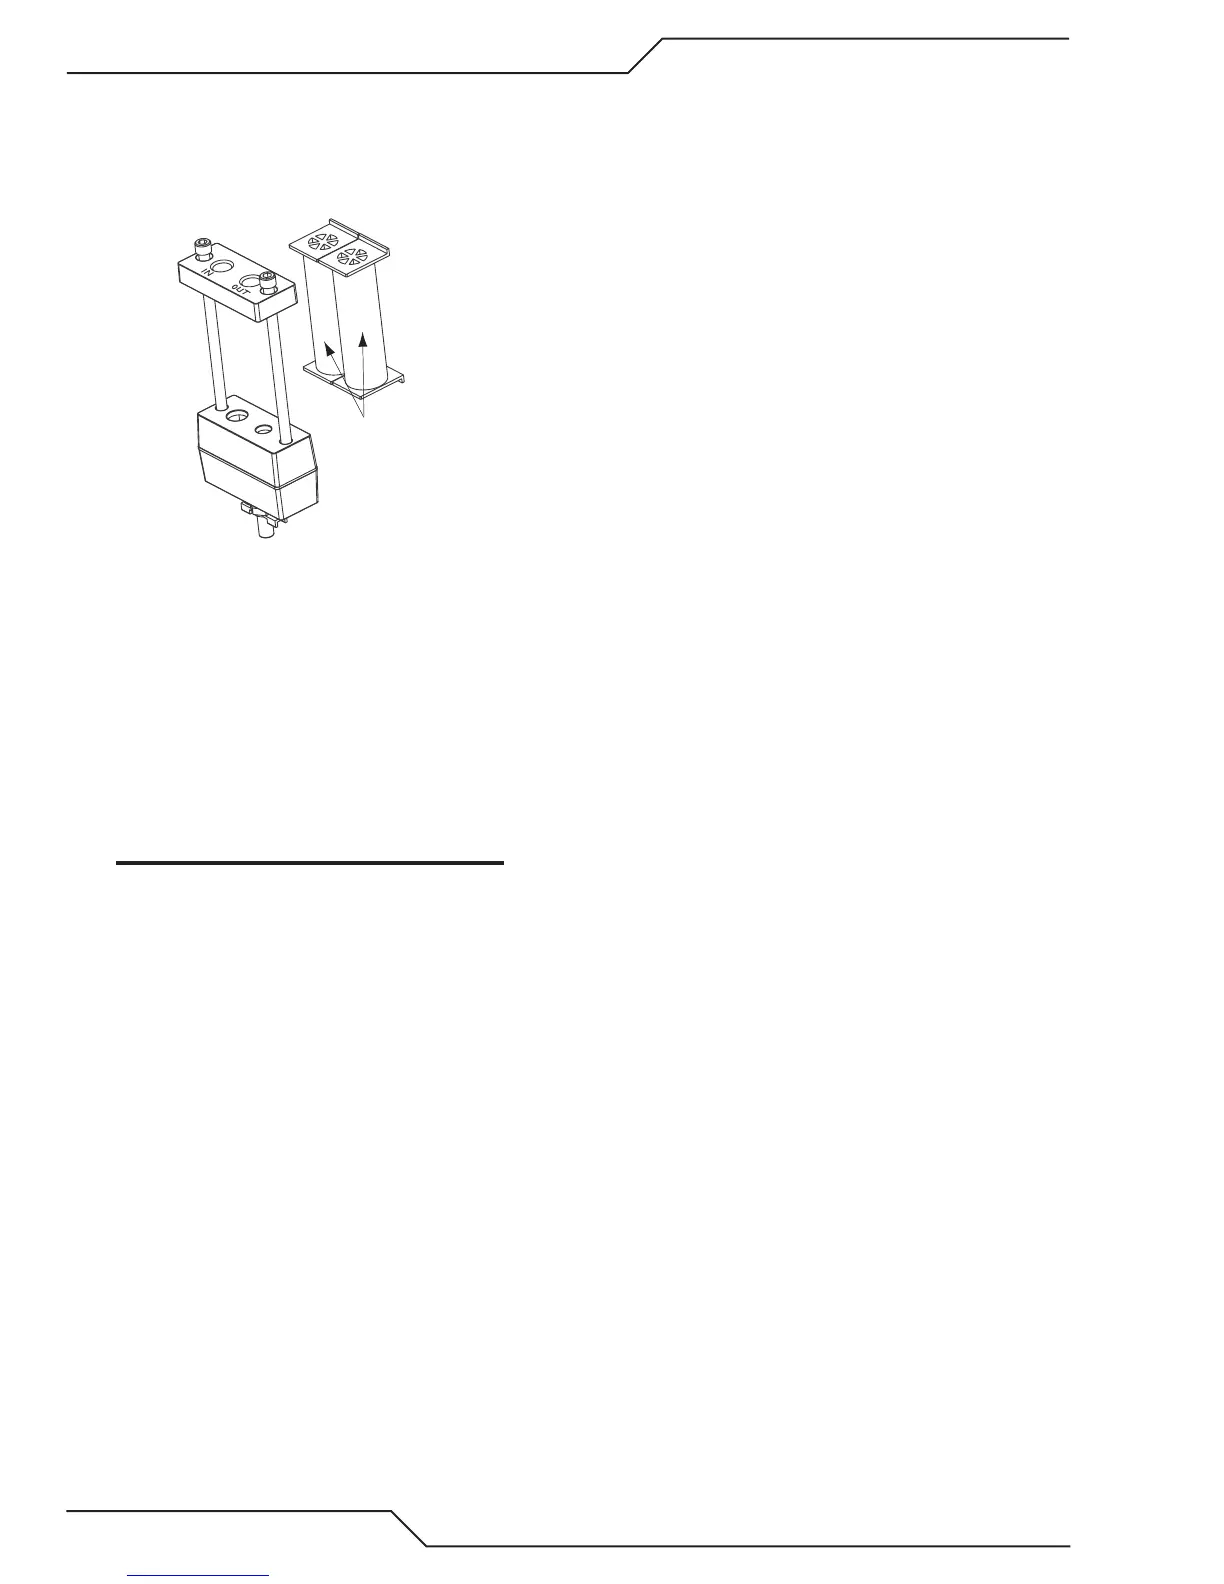
4. Note the location and orientation of the old Filter
Elements.
5. Slide out the old Filter Elements.
First & Second
Stage
Cartridges
(as marked)
Art # A-02942
Optional Two-Stage Filter Replacement
6. Slide the replacement Filter Elements into the
Filter Assembly, with the same orientation as
noted in Step 4 above.
7. Hand tighten the two bolts evenly, then torque
each bolt to 20 - 30 in-lbs (2.3 - 3.4 Nm). Improper
torque may damage the gasket.
8. Slowly apply air pressure to the assembly, check-
ing for leaks.
NOTE
A small amount of air leakage from the bot-
tom fitting is normal.
This completes the parts replacement procedures.