ELECTRICAL & REFRIGERATION INFORMATION 29
TEMPERATURE RECORDER -
CALIBRATION CHECK
This recorder has been accurately calibrated at the
factory. Before making any adjustments, this instru-
ment should be in service for 24 hours. Thereafter, if
any adjustment is required, perform the following pro-
cedure:
1. Place a Certified Test Thermometer in the solution
bottle alongside the sensor.
2. After three (3) minutes, compare the recorder to the
test thermometer.
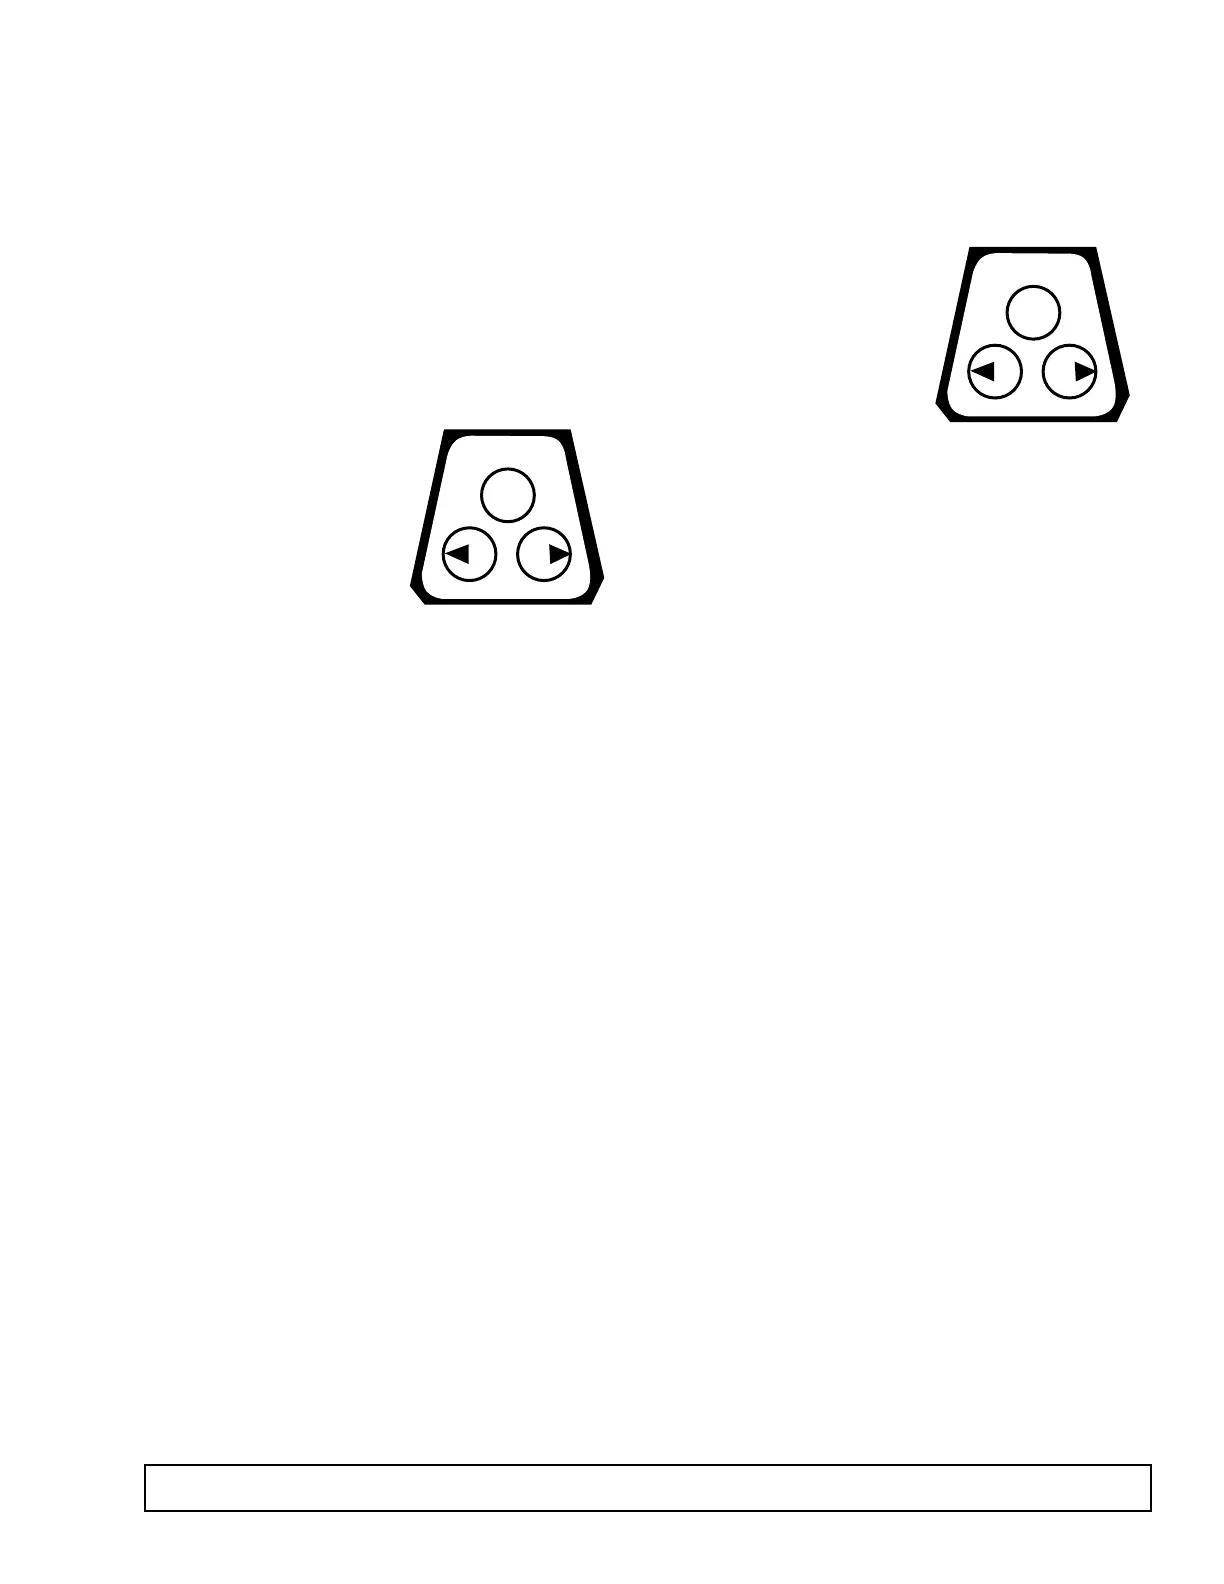
3. If an adjustment is
required, a correction
can be made by press-
ing the left and right
arrow buttons. The pen
does not begin to move
until the button is
pushed for at least five
(5) seconds. Press the
right arrow (#2) button to move the pen to the right.
Press left arrow to move to the left. (See Figure 2.)
BATTERY BACKUP
If AC power fails the LED will change to short green
flashes.The 9 volt DC battery will allow the recorder to
sense and record temperatures for approximately 24
hours. The LED will also exhibit short green flashes
when the battery is low and requires changing. A solid
green light indicates the power is OK.
BATTERY LOCATION & REPLACEMENT
6" Recorders: Open door. Battery is located at the
upper righthand corner.
SETTING THE ALARM SET POINT
Press the “change chart” button (#3) to bring the pen
arm off the chart. When the button is pressed again,
the pen comes onto the chart. The pen arm stops
briefly at the edge of the chart. The pen arm then
moves to the control set
point position and the
green LED light turns off.
This continues for five (5)
seconds during which
time the set point can be
adjusted using the left
(#1) and the right (#2)
arrows. (See Figure 3.)
After 5 seconds, the light will turn solid green and the
pen arm moves to indicate probe temperatures and
begins recording. If further adjustment is necessary,
press “change chart” again and repeat the procedure.
HOW TO CHANGE SETUP
The recorder has been shipped preprogrammed with
multiple ranges.There is a sticker on the front side of the
unit with a description of each setup number. In order to
select between the setups, push the “change chart”
button and let the pen come off the chart. Press and hold
for five seconds either the left or right arrow. Release the
arrow.The LED will begin to flash.By simply counting the
flashes you will know the setup number.
The setup number can be changed by briefly pressing
the left and right arrows to increase or decrease the
count. Once the desired setup number is flashing,
press the “change chart” button to bring the pen arm
back to the chart. Recording will begin in the new setup.
NOTE: Changing ranges may require slight offset calibration.
Please see temperature recorder calibration check (above on
the left).