4
ThurayaIP Satellite Modem User Guide
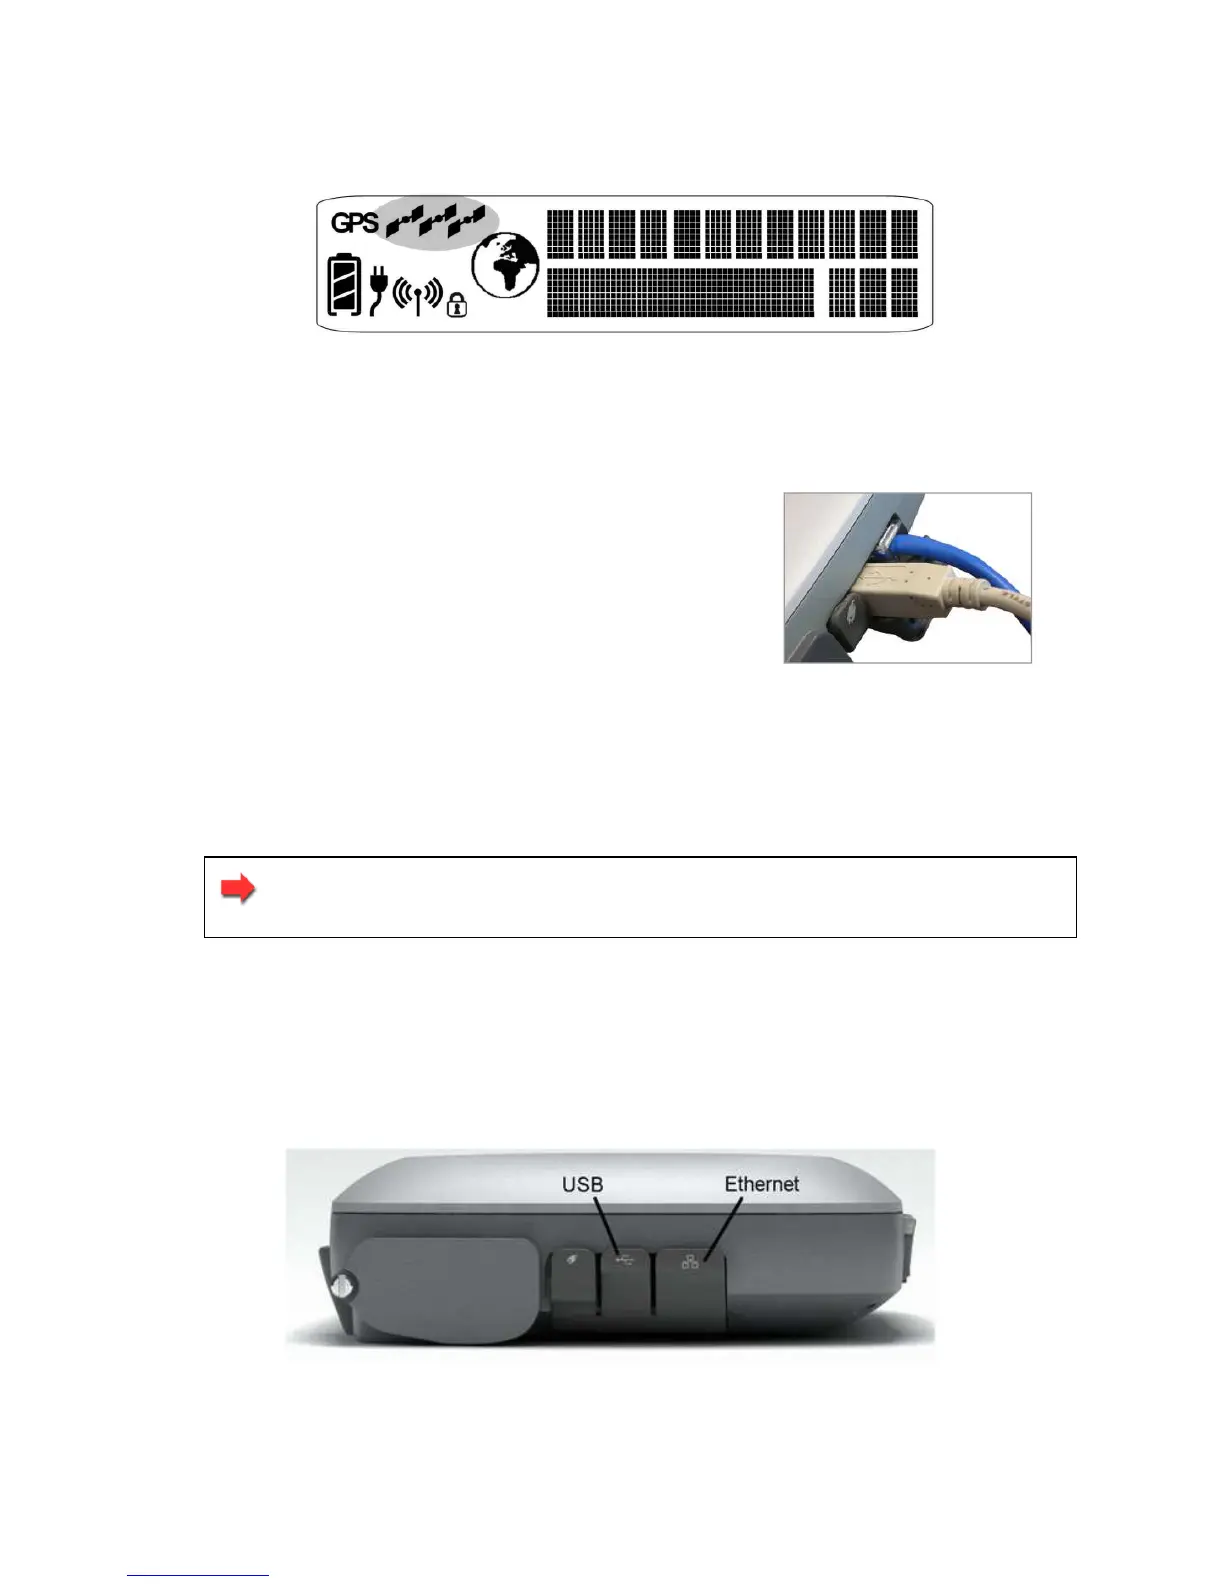
show how many GPS satellites are in view at any given time. You
need all three satellite icons to be on solidly to obtain a GPS fix. If
any are missing or flashing then the GPS signal is being blocked.
GPS Satellite Icon Location on Display
When the GPS icon stops flashing then ThurayaIP has successfully
updated its GPS position.
S
TEP
4:
D
ATA
C
ONNECTIONS
Connect the ThurayaIP to your PC using
Ethernet or USB. It is also possible to connect
using the wireless LAN facility, but use one of
the wired connections for the first time setup.
Data Connections
E
THERNET
Connect the Ethernet cable to your laptop’s network interface and
insert the other end of the connector into the ThurayaIP.
Note: Any Ethernet cable can be used to connect the laptop
and modem as long as it is less than100 meters in length.
USB
You will first need to install the USB driver from the CD ROM following the
instructions in the Software Installation and Configuration section above.
Next, connect the USB cable to your laptop’s USB interface and insert
the other end of the connector into the ThurayaIP.
USB and Ethernet Data Connection Locations