7-4
2GX/AERO X Owner’s Manual
OM_2GX/AERO X_0413RevA
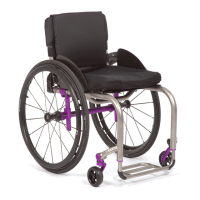
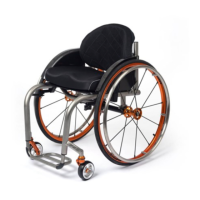
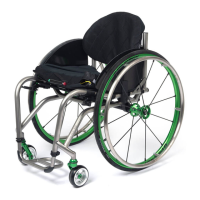
CHAPTER 7: BACK UPHOLSTERY, SEAT UPHOLSTERY AND SEAT CUSHIONS
Adjusting the Tension
Tools required:
• Flat Head Screw Driver
• Rubber Mallet
1. Remove the seat cushion.
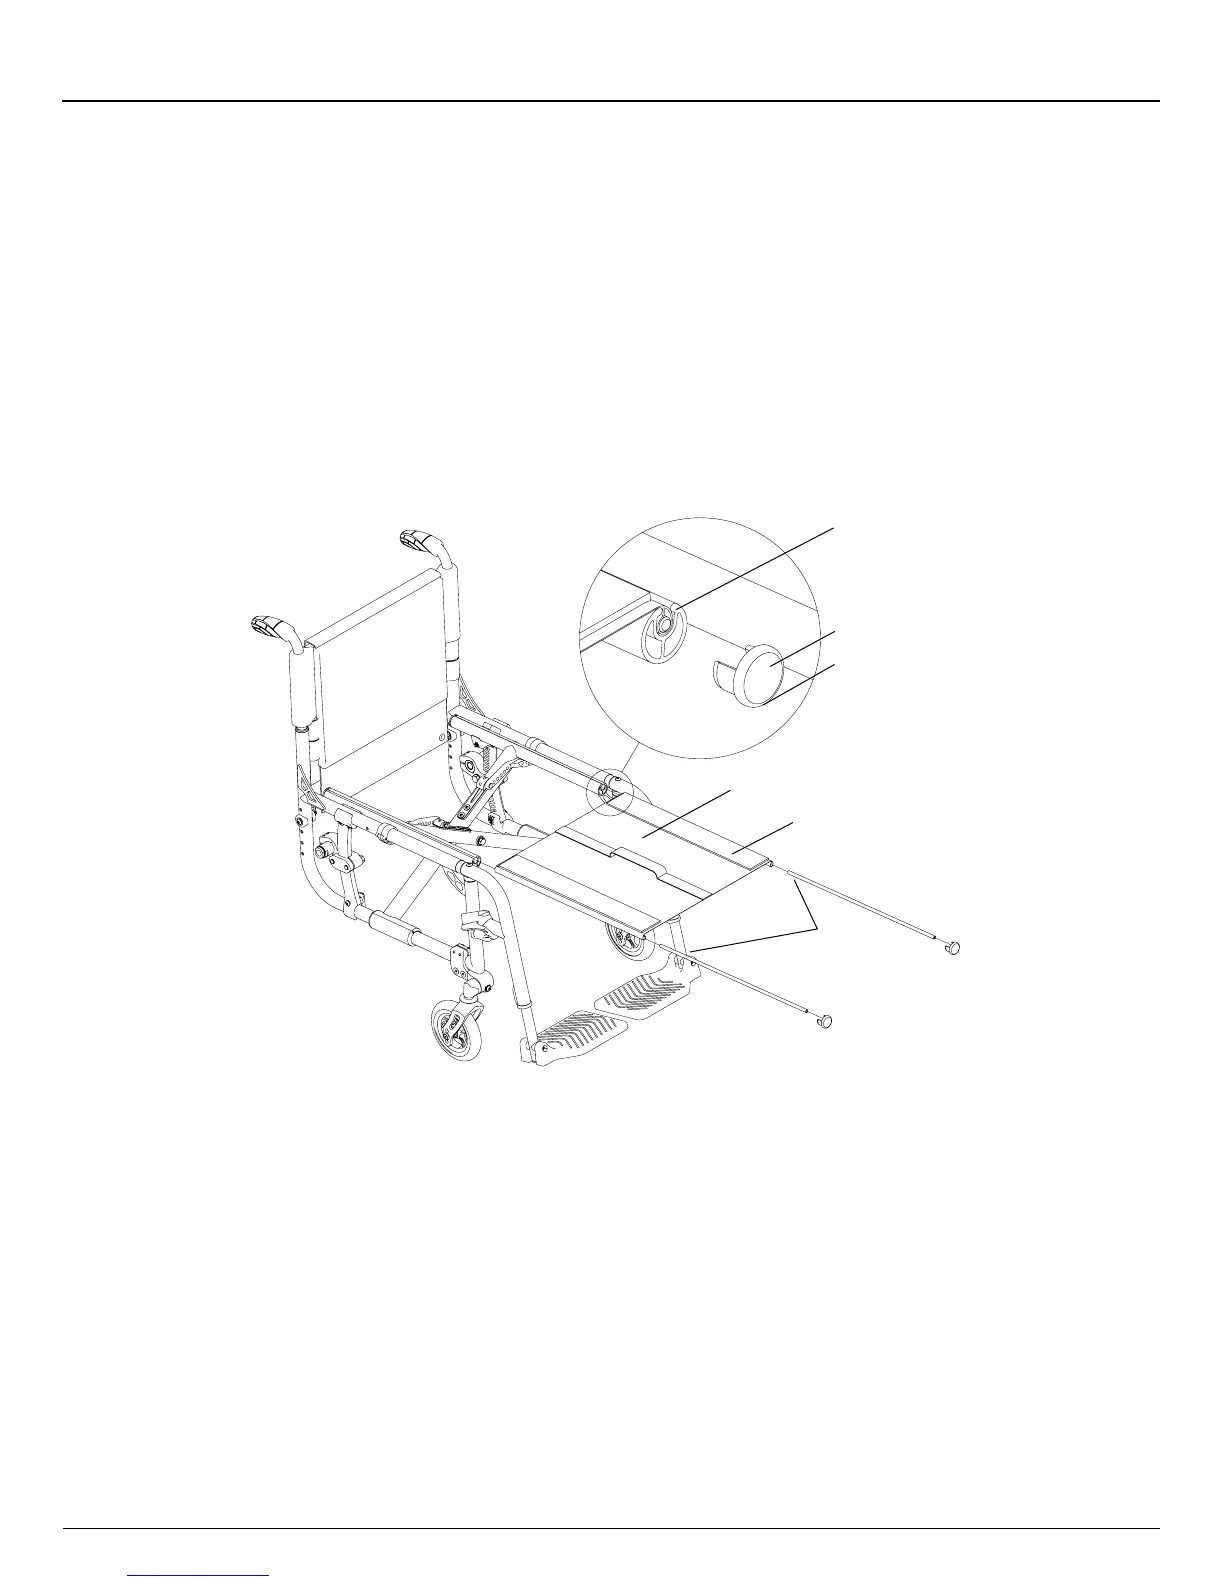
2. Insert the at head screwdriver in the notch on the underside of each seat tube cap and pry off both front caps. See
Figure 7-4.
3. Fold the chair.
4. Remove the Slide-In Seat Sling and rods. See Figure 7-4.
5. Detach the Velcro®-style adjustment ap and adjust the seat upholstery to the desired tension.
6. Re-insert the Slide-In Seat Sling and rods into the seat tubes.
7. Unfold the chair.
8. Reattach the seat tube end caps using the rubber mallet and replace the seat cushion.
Figure 7-4
Adjusting
Rods
Seat
Tube
Seat Tube
Cap
Notch
Slide-In
Seat Sling
Adjustment
Flap
Replacing
Tools required:
• Flat Head Screw Driver
• Rubber Mallet
1. Remove the seat cushion.
2. Insert the athead screwdriver into the notch on the underside of each seat tube cap and pry off both front caps. See
Figure 7-4.
3. Fold the chair.
4. Remove the Slide-In Seat Sling and seat sling rods. See Figure 7-4.
5. If your replacement upholstery included new seat sling rods, proceed to Step 6. If not, remove the seat sling rods from
the old upholstery and insert them in the new upholstery.
6. Adjust the seat upholstery to the desired tension using the Velcro®-style adjustment ap.
7. Re-insert the Slide-In Seat Sling and rods into the seat tubes.
8. Unfold the chair.
9. Reattach the seat tube end caps using the rubber mallet.
10. Replace the seat cushion.