10-4
2GX/AERO X Owner’s Manual
OM_2GX/AERO X_0413RevA
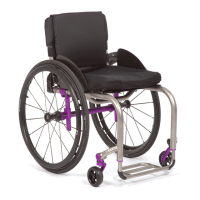
CHAPTER 10: WHEEL LOCKS
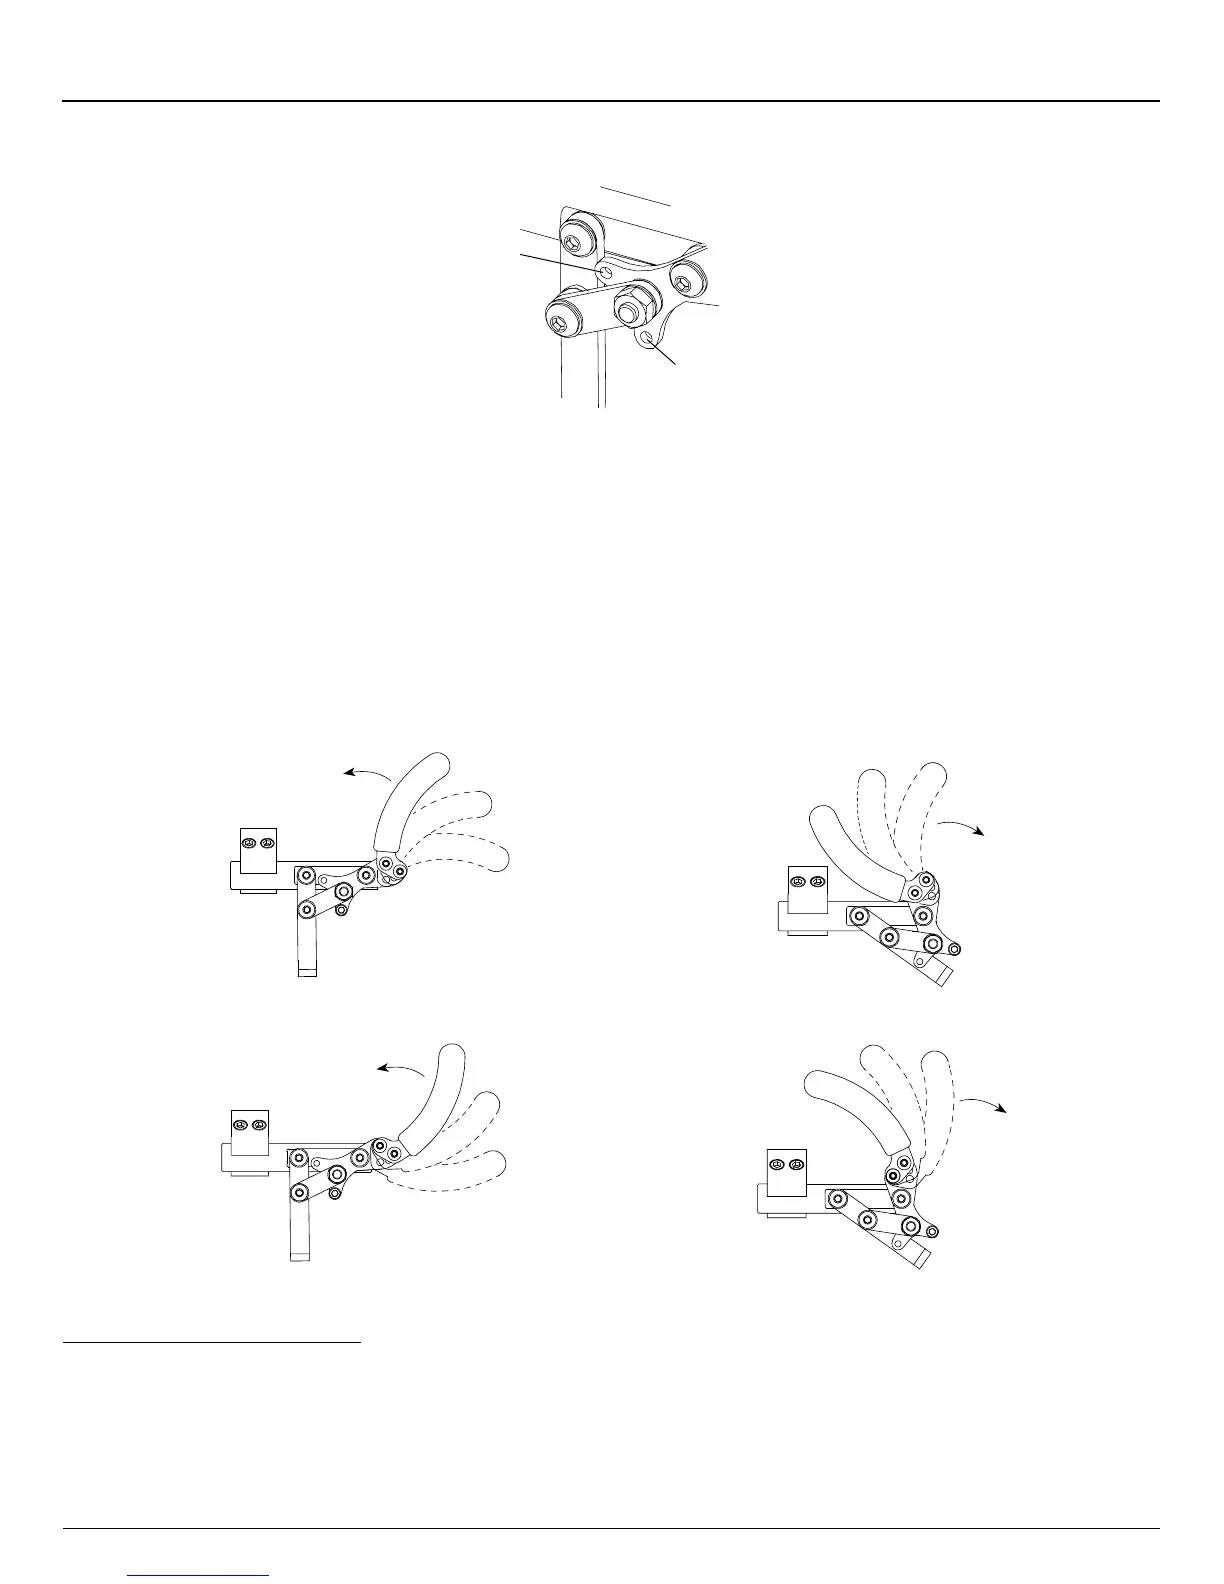
Figure 10-6
Repositioning the Handle
Push to Lock
Position
Pull to Lock
Position
Repositioning the Handle of the Uni-Lock Wheel Lock
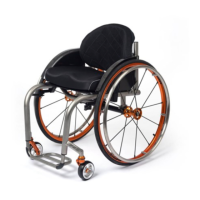
Six (6) handle positions are achievable using the Uni-Lock. See Figures 10-7 through 10-10. Each handle position can be
used as either a “Pull to Lock” or a “Push to Lock” (see “Changing the Uni-Lock from the Push to the Pull Position” on page
10-3), resulting in 12 possible Uni-Lock setups.
Figures 10-7 through 10-10 show the handle in both the engaged (locked) and disengaged (unlocked) positions. Study
the Figures to determine which handle conguration will work best for you. Follow the directions below to recongure your
handle to the desired conguration.
Pull to Unlock
Pull to Unlock
Push to Lock
Push to Lock
Figure 10-7
Standard Handle Positions 1, 2 and 3 (Locked)
Figure 10-8
Standard Handle Positions 1, 2 and 3 (Unlocked)
Figure 10-9
Reverse Handle Positions 1, 2 and 3 (Locked)
Figure 10-10
Reverse Handle Positions 1, 2 and 3 (Unlocked)
1
2
3
1
2
3
1
2
3
1
2
3
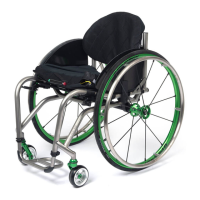
Standard Handle Positions 1, 2, 3
The Uni-Lock ships with the handle in Standard Position 3. If you desire to switch to Standard Positions 1 or 2, follow the
procedures below.
Tools Needed:
• 1/8” Allen Wrench
• 3/8” Open End Wrench