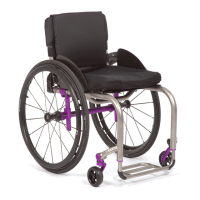
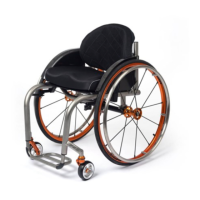
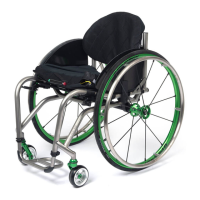
10-2
2GX/AERO X Owner’s Manual
OM_2GX/AERO X_0413RevA
CHAPTER 10: WHEEL LOCKS
Compact Pull to Lock
Adjusting
Tools Needed:
• 3/16” Allen Wrench
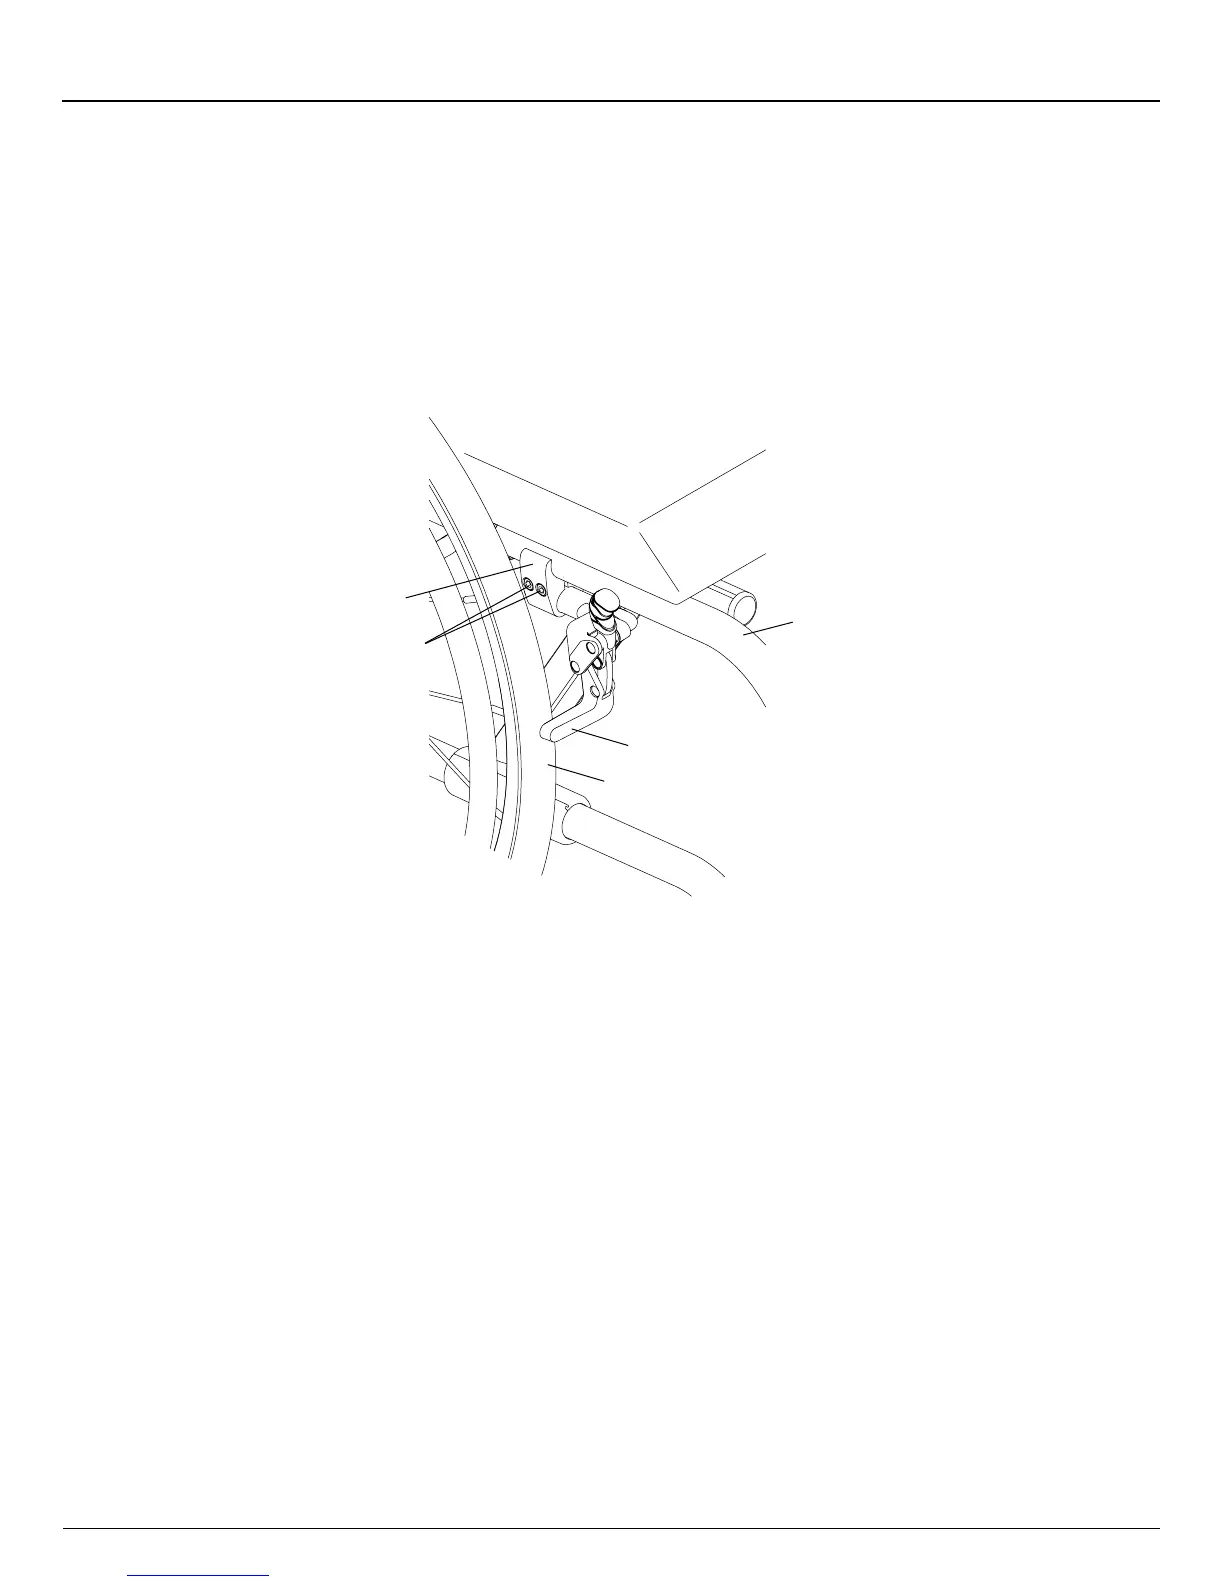
1. Loosen, but do not remove, the Allen screws in the wheel lock clamp. See Figure 10-2.
2. Adjust the position of the wheel lock clamp on the frame so the wheel stop embeds at least 3/16” into the tire when
engaged in the locked position.
3. Securely tighten the two Allen screws that secure the wheel lock clamp to the frame.
Figure 10-2
Adjusting/Replacing
Wheel
Lock
Clamp
Frame
Wheel
Stop
Tire
Allen
Screws
Replacing
Tools Needed:
• 3/16” Allen Wrench
1. Loosen, but do not remove, the two Allen screws that secure the wheel lock clamp to the frame. See Figure 10-2.
2. Slide the wheel lock out of the clamp.
3. Slide the new wheel lock into the wheel lock clamp, but do not tighten the Allen screws.
4. Follow the procedures under “Compact Pull to Lock - Adjusting” on page 10-2 to position and secure the new wheel
lock.
Compact Push to Lock and Compact Pull to Lock with Extension Handles
All of the adjustments set forth under ”Compact Push to Lock and Compact Pull to Lock” on pages 10-1 to 10-2 apply to the
Compact Push to Lock and Compact Pull to Lock with Extension Handles.
Uni-Lock
Adjusting
Tools Needed:
• 3/16” Allen Wrench
1. Loosen, but do not remove, the two Allen screws in the wheel lock clamp. See Figure 10-3.
2. Adjust the position of the wheel lock clamp on the frame so the wheel stop embeds at least 3/16” into the tire when
engaged in the locked position.
3. Securely tighten the two Allen screws that secure the wheel lock clamp to the frame.