3-1
OM_2GX/AERO X_0413RevA
2GX/AERO X Owner’s Manual
CHAPTER 3: FOOTRESTS
I WARNING
Check all clamps, screws, nuts and bolts that secure the footrest to the wheelchair frame to make sure they are securely
tightened before using the wheelchair.
If you ignore this Warning, the footrests could move unexpectedly while you are
using the chair, causing you to fall, tip over or lose control of the wheelchair and seriously injure yourself or others or
damage the wheelchair.
I WARNING
A calf strap or heel loop is offered as an option with each wheelchair to prevent your feet from slipping backwards off of the
footrest. TiLite recommends that you purchase our calf strap or our heel loops with your wheelchair. Always make sure the
calf strap is, or heel loops are, secure when using the wheelchair.
If you ignore this Warning, you could fall, tip over or lose
control of the wheelchair and seriously injure yourself or others or damage the wheelchair.
I WARNING
Whenever you adjust the angle or height of your footrest, or you replace your footrest, always allow at least 2” of ground
clearance to permit you to maneuver over objects.
If you ignore this Warning, you could fall, tip over or lose control of the
wheelchair and seriously injure yourself or others or damage the wheelchair.
Flip-Up Footrest; Angle Adjustable Flip-Up Footrest; Depth Adjustable Flip-Up Footrest;
and Depth and Angle Adjustable Flip-Up Footrest
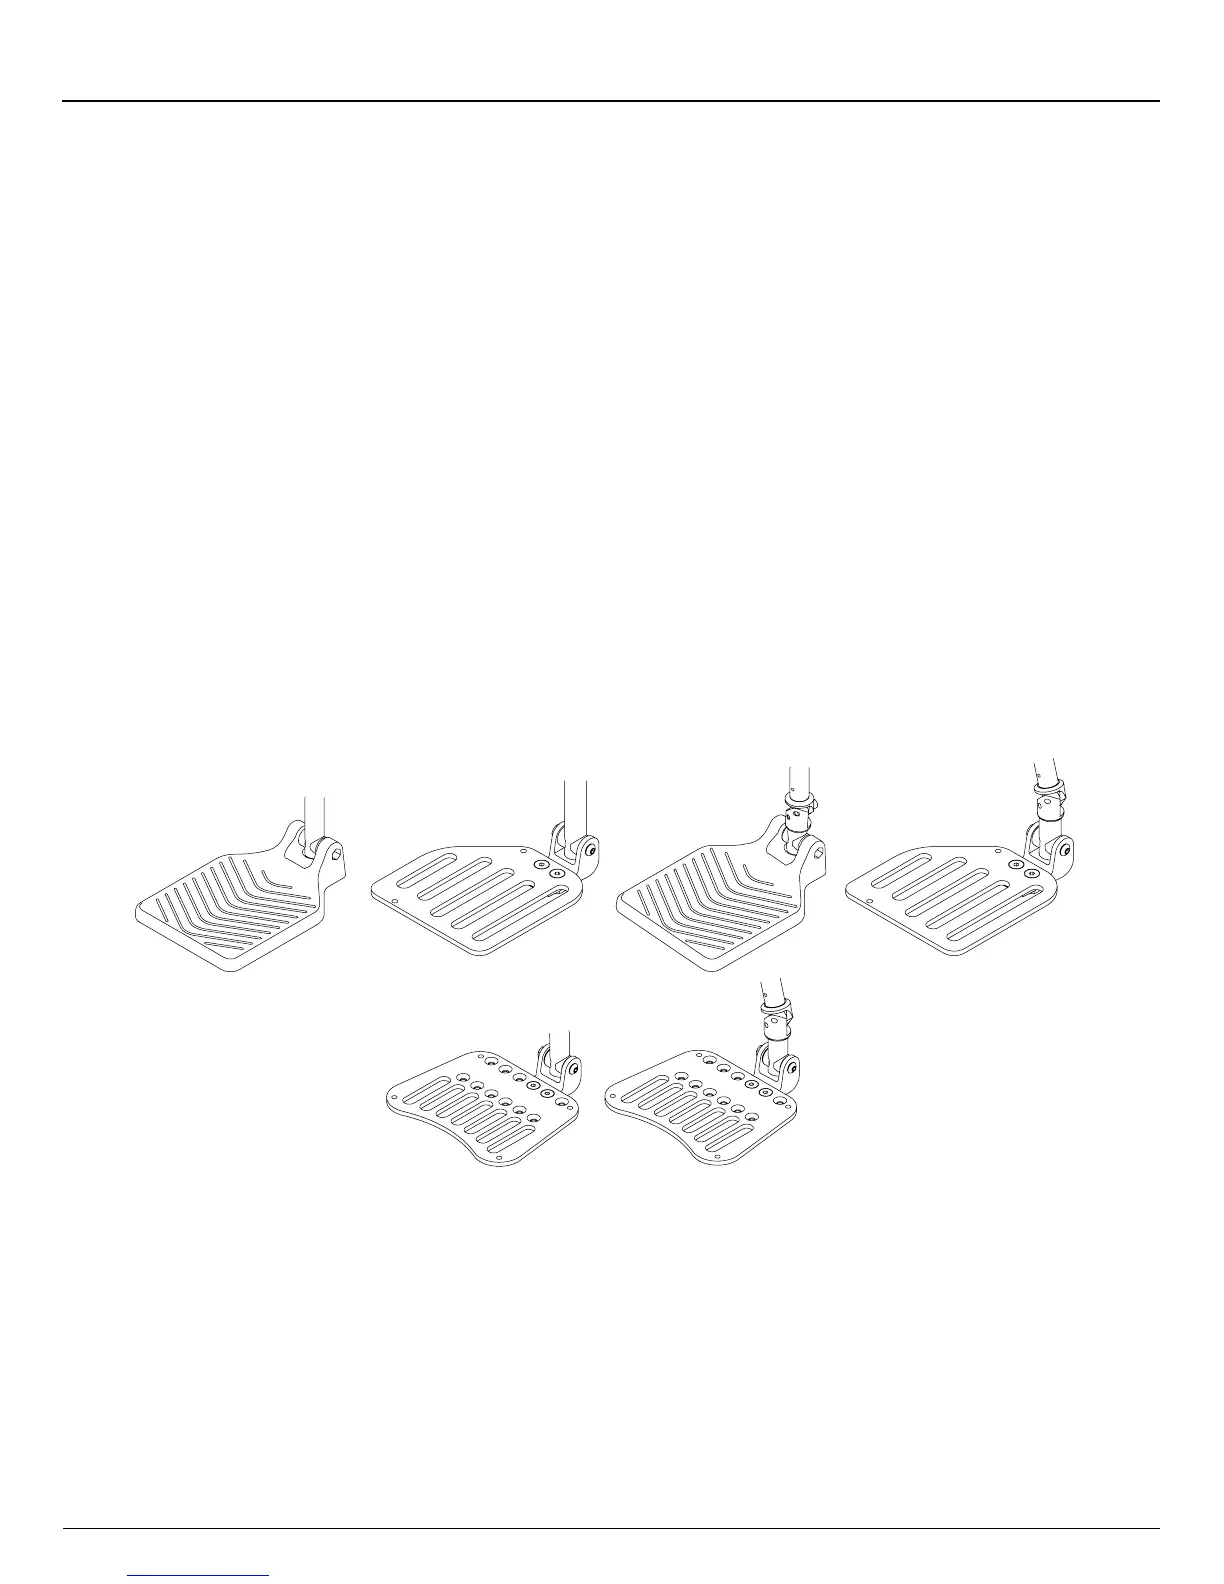
If you are unsure which type of ip-up footrest is installed on your chair, see Figure 3-1.
Note: If your chair has 90º hangers (see Figure 3-9), see “90º Hanger Flip-Up Footrests; 90º Hanger Depth Adjustable Flip-
Up Footrests” on page 3-5 or “90º Hanger Depth and Angle Adjustable Flip-Up Footrests” on page 3-6.
Figure 3-1
Flip-Up Footrests
Composite Flip-Up Aluminum Flip-Up
Composite
Angle Adjustable
Aluminum
Angle Adjustable
Depth Adjustable
Depth and Angle
Adjustable
Adjusting the Height/Replacing
Tools Needed:
• 1/8” Allen Wrench
• Ruler
1. Loosen the two Allen screws that engage the T-Nuts to the clamps that secure the footrest to the frame. See Figure
3-2. Loosen the Allen screws just enough to permit the extension tube to slide up and down within the cover. Do not
detach the clamp from the frame.
2. If replacing the footrest, remove the old footrest and insert the new extension tube through the cover and into the frame.
3. Place the end of a ruler on the oor and hold it vertically against the corner of the footrest. See Figure 3-3. Adjust the
footrest to the desired height (not less than 2” of ground clearance) and tighten the Allen screws in the clamp so the
footrest height cannot change.