11-7
OM_2GX/AERO X_0413RevA
2GX/AERO X Owner’s Manual
CHAPTER 11: CASTERS, FORKS AND CASTER PIN LOCKS
Floating Casters
Tools needed:
• Wood Block (1” Minimum)
• Drafting Triangle
Note: TiLite designs its folding wheelchairs to be exible for improved maneuverability and increased ride comfort.
However, this exibility requires that your chair be set up properly. The following procedures will enable you to set up your
TiLite folding wheelchair so it will perform to its potential.
1. Place the wheelchair on a smooth, level surface.
2. Make sure that all tires are properly inated, that the camber plugs are properly centered on the frame side to side, that
the back upholstery is not pulled too tight, both crosstubes are properly seated in all seat saddles, that the toe-in/toe-out
is correctly set up and the angle adjustable casters are square to level surface. Both footrest extensions need to extend
the same length.
Note: If these issues are resolved and you continue to have a oating caster, proceed to Step 3.
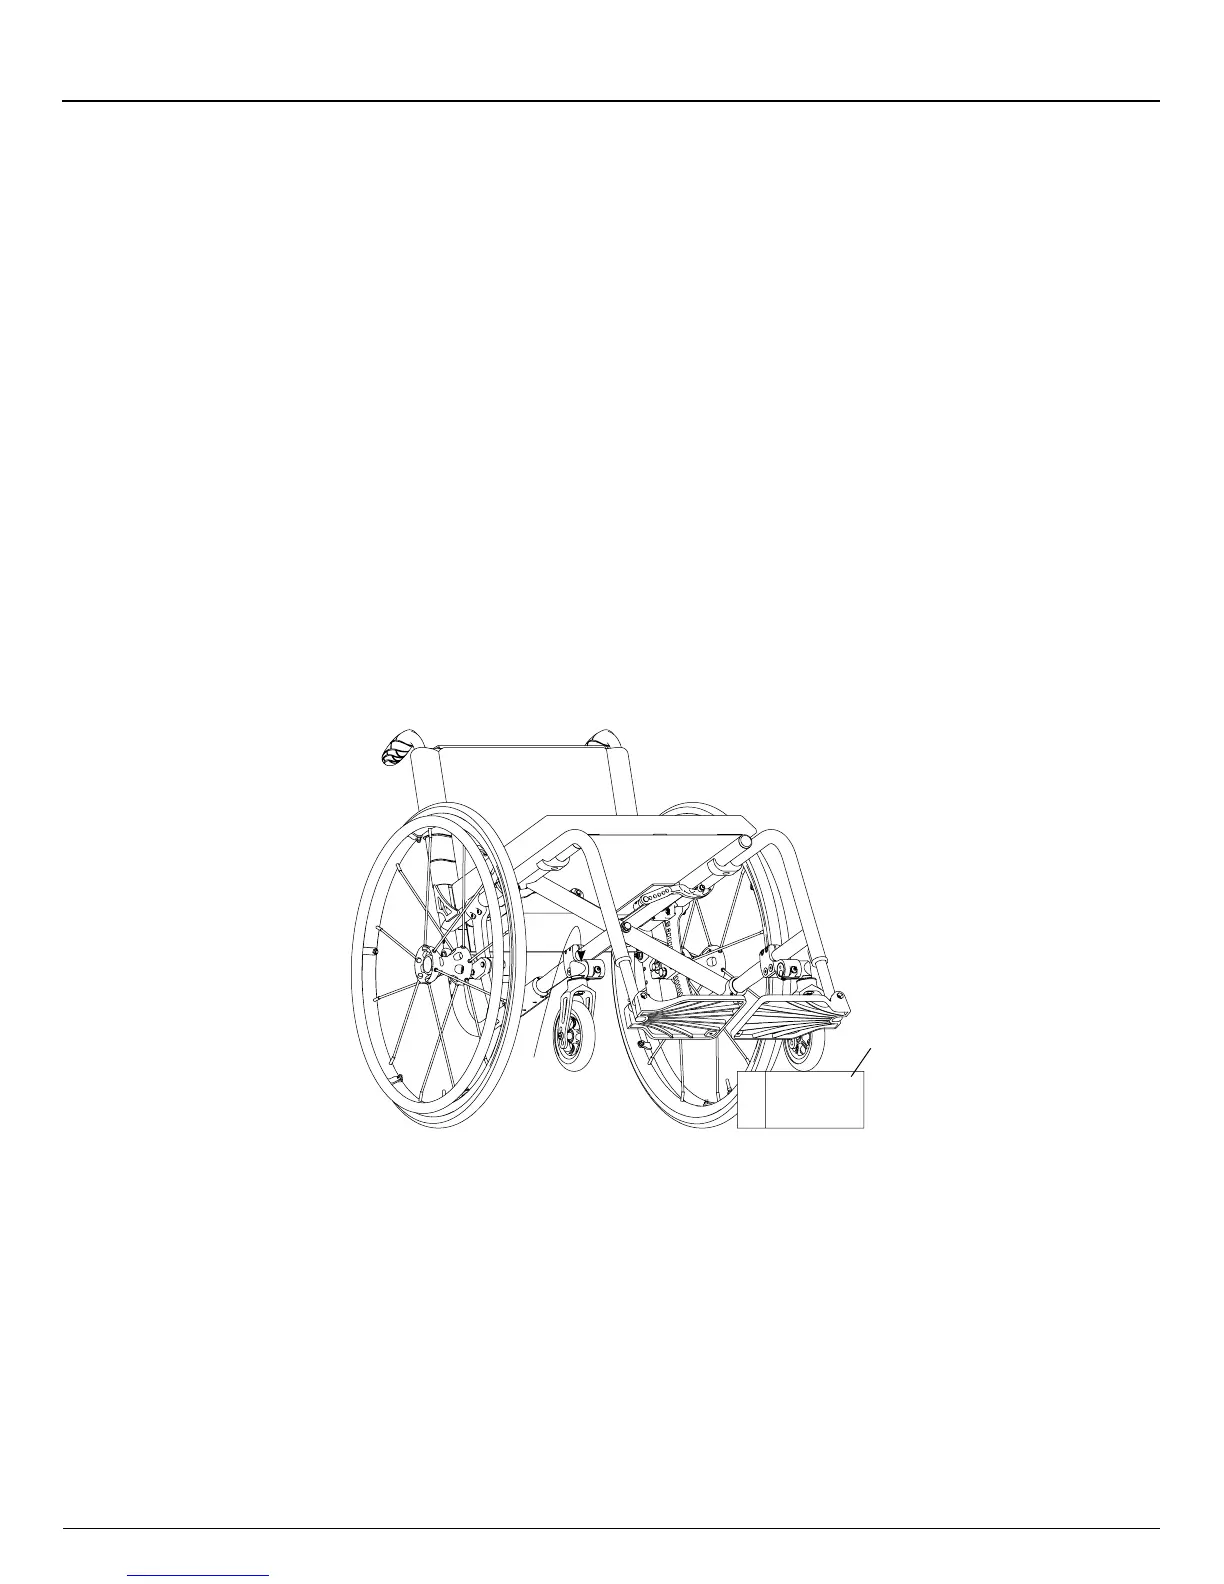
3. Place a wood block under the other caster wheel (which is not oating) as shown in Figure 11-9.
4. Apply gentle downward pressure on the caster wheel that is oating. It is advisable that you have an assistant to place
downward pressure on the opposite side of the chair at the backrest when making this adjustment.
5. Remove the wood block and check to see if the caster still oats. If the caster still oats, or if the other caster starts to
oat, repeat Steps 2 through 5 until the caster no longer oats.
Figure 11-9
Fixing a Floating Caster
Wood Block
Apply
Pressure
Here
Frog Legs®
Replacing the Elastomer Shock
Tools Needed:
• Two 5/32” Allen Wrenches
1. Remove the Allen screw from the hinge and push out the threaded spacer. See Figure 11-10.
2. Separate the two halves of the Frog Legs® to release the elastomer shock.
Note: The metal disc is glued to the top of the elastomer shock.
3. Install the new elastomer shock (making sure the metal disk is facing upward).
4. Push rmly on the two halves of the Frog Legs® to facilitate reinstalling the Allen screw and threaded spacer.