10-3
OM_2GX/AERO X_0413RevA
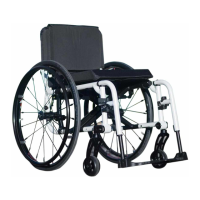
2GX/AERO X Owner’s Manual
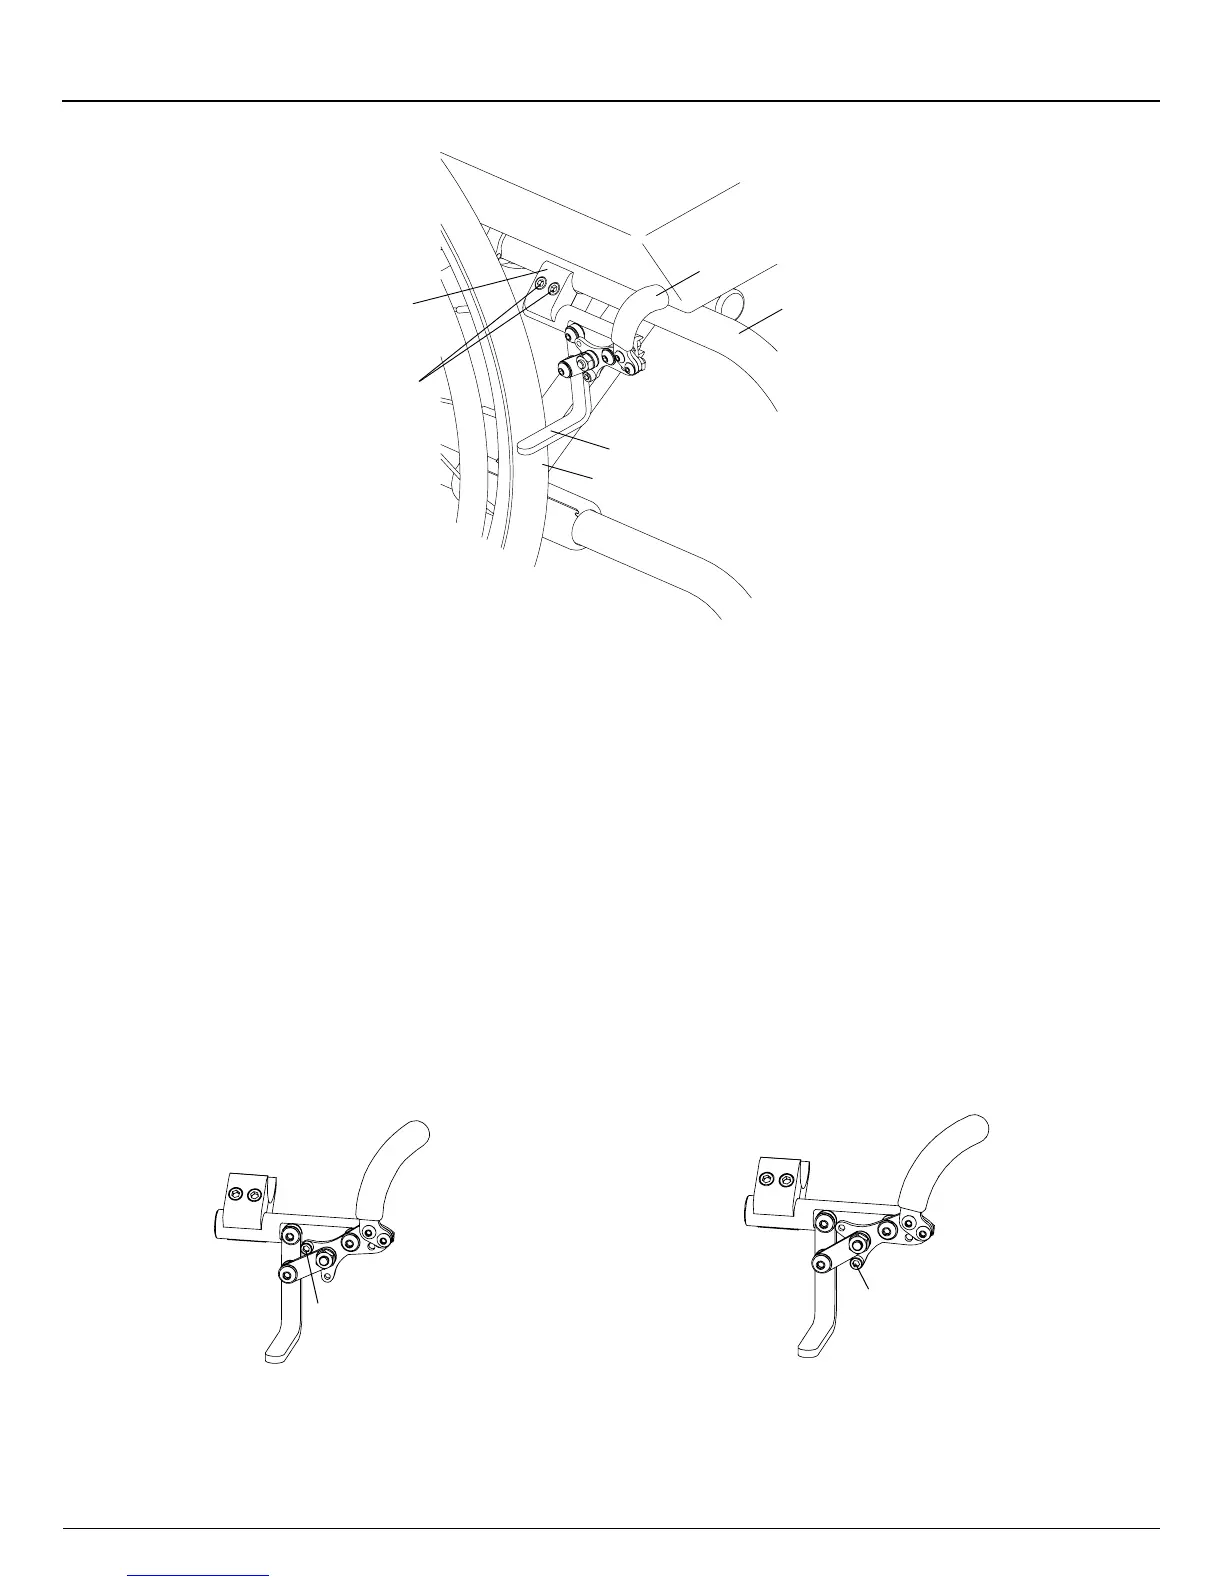
CHAPTER 10: WHEEL LOCKS
Figure 10-3
Adjusting/Replacing
Frame
Tire
Wheel
Stop
Wheel
Lock
Clamp
Allen
Screws
Handle
Replacing
Tools Needed:
• 3/16” Allen Wrench
1. Loosen the two Allen screws that secure the wheel lock clamp to the frame. See Figure 10-3.
2. Slide the wheel lock out of the clamp.
3. Slide the new Uni-Lock into the wheel lock clamp, but do not tighten the Allen screws.
4. Follow the procedures under “Uni-Lock - Adjusting” on page 10-2 to position and secure the new wheel lock.
Changing the Uni-Lock from the Push to the Pull Position
Tools Needed:
• 5/32” Allen Wrench
The Uni-Lock wheel lock can be set up so that you either pull the handle to engage the lock or push the handle to engage
the lock. To determine which setup you have, locate the small Socket Head Cap screw in the wheel lock handle base. If it
is in the upper position (see Figure 10-4), the Uni-Lock is set to the “Pull to Lock” position. If it is in the lower position (see
Figure 10-5), the Uni-Lock is set to the “Push to Lock” position.
Figure 10-5
Push to Lock Position
Figure 10-4
Pull to Lock Position
Socket Head
Cap Screw
Socket Head
Cap Screw
You can change the operation from pull to push or vice versa as follows:
1. Remove the Socket Head Cap screw and reposition it to either the “Pull to Lock” or ”Push to Lock” position, as desired.
See Figure 10-6.
2. Securely tighten the Socket Head Cap screw.