If you choose Hi-PoE, a Hi-PoE adapter must be connected.
Power supply via Hi-PoE is supported. The Hi-PoE module connection is shown below.
1
2
3 4
Network Speed
Dome
Ethernet
1: Power Indicator
2: PORT Indicator
3:DATA&POWER OUT
4: DATA IN
Figure 2-6 Hi-PoE Connection
Connecting Hi-PoE
Steps
:
1) Connect the Hi-PoE module to the internet via the DATA IN interface with a
network cable.
2) Connect the Hi-PoE module to the speed dome via the DATA & POWER OUT
interface with a network cable.
3) Power on the Hi-PoE module.
Please power the Hi-PoE module according to its power supply parameters.
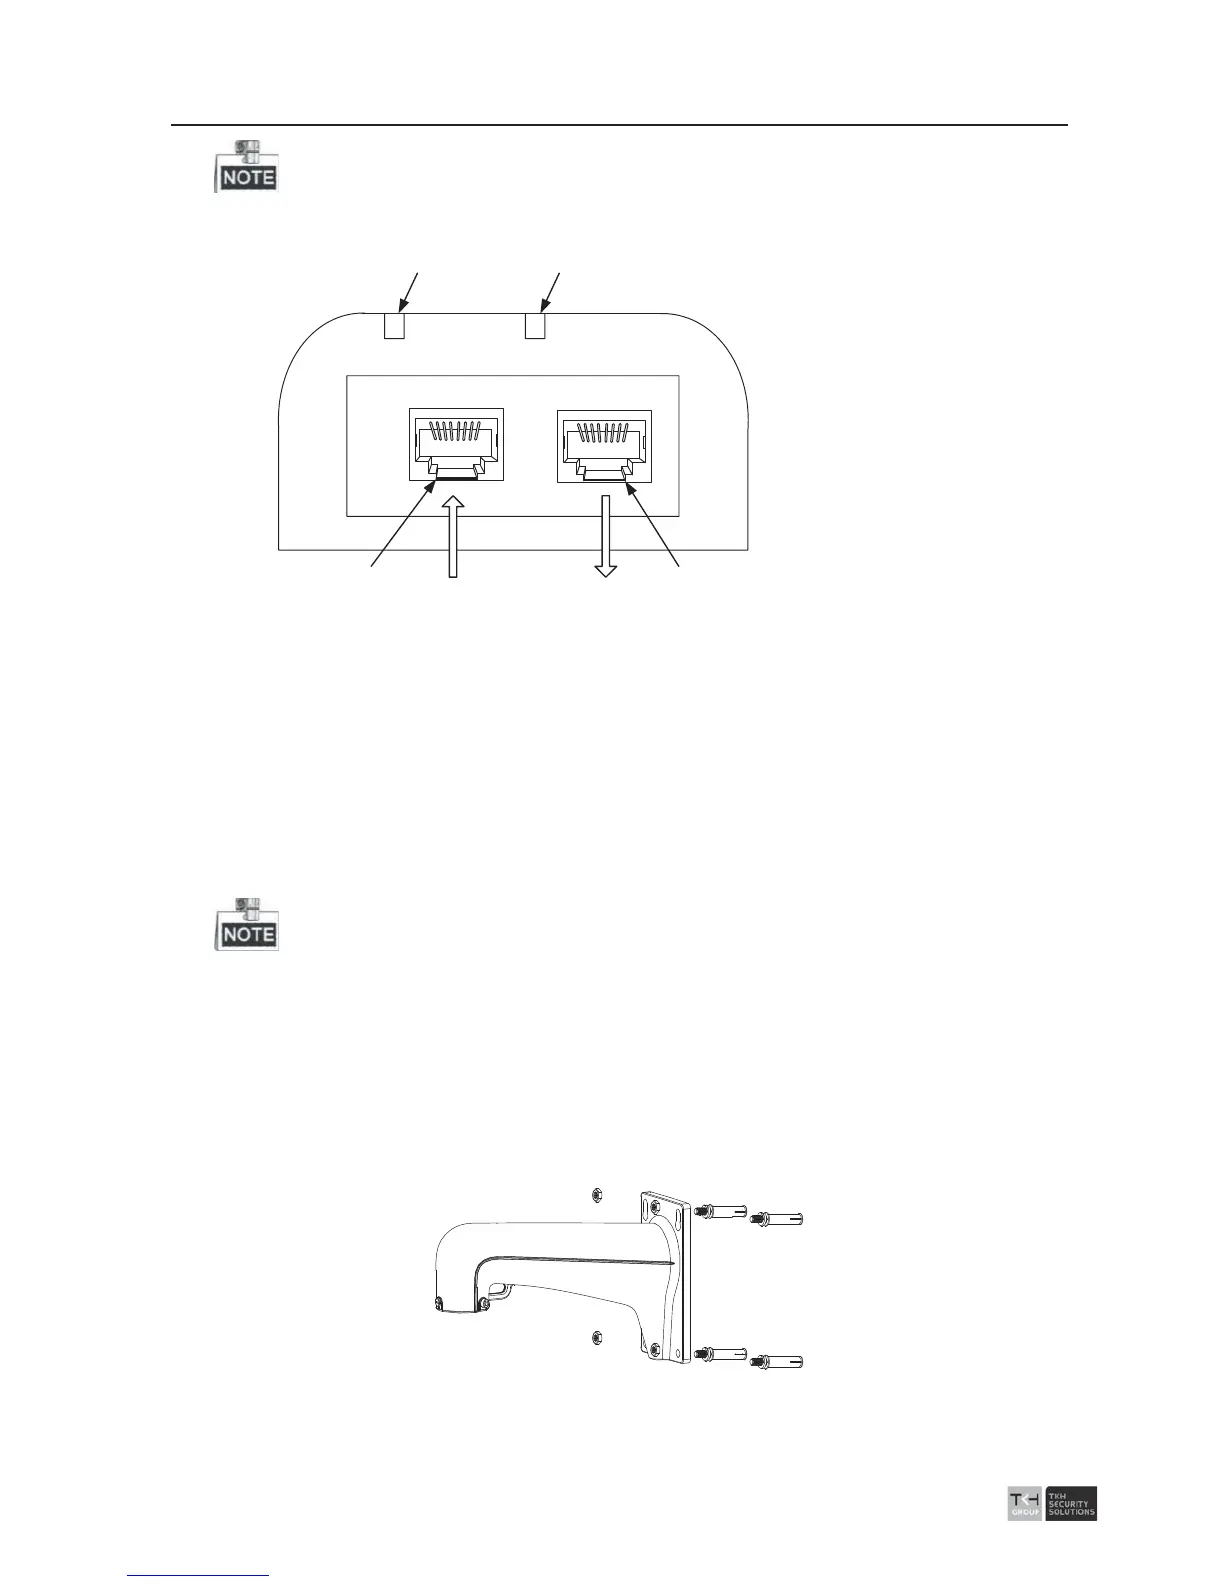
4. Align the cuts on the lower dome with the lock screws on the back box to reinstall the
lower dome. Tighten the lock screws.
5. Drill 4 screw holes in the wall according to the holes of the bracket, and then insert
M8 expansion screws into the mounting holes.
6. Attach the gasket then bracket to the wall by aligning the 4 screw holes of the bracke
t
with expansion screws on the wall.
7. Secure the bracket with 4 hex nuts and washers.
Figure 2-7 Secure the Bracket
8. Install the speed dome to the bracket.