31
Horizontal Rotation Cone Error
Perform the following check after completing "Horizontal Calibration" on the previous
pages.
1
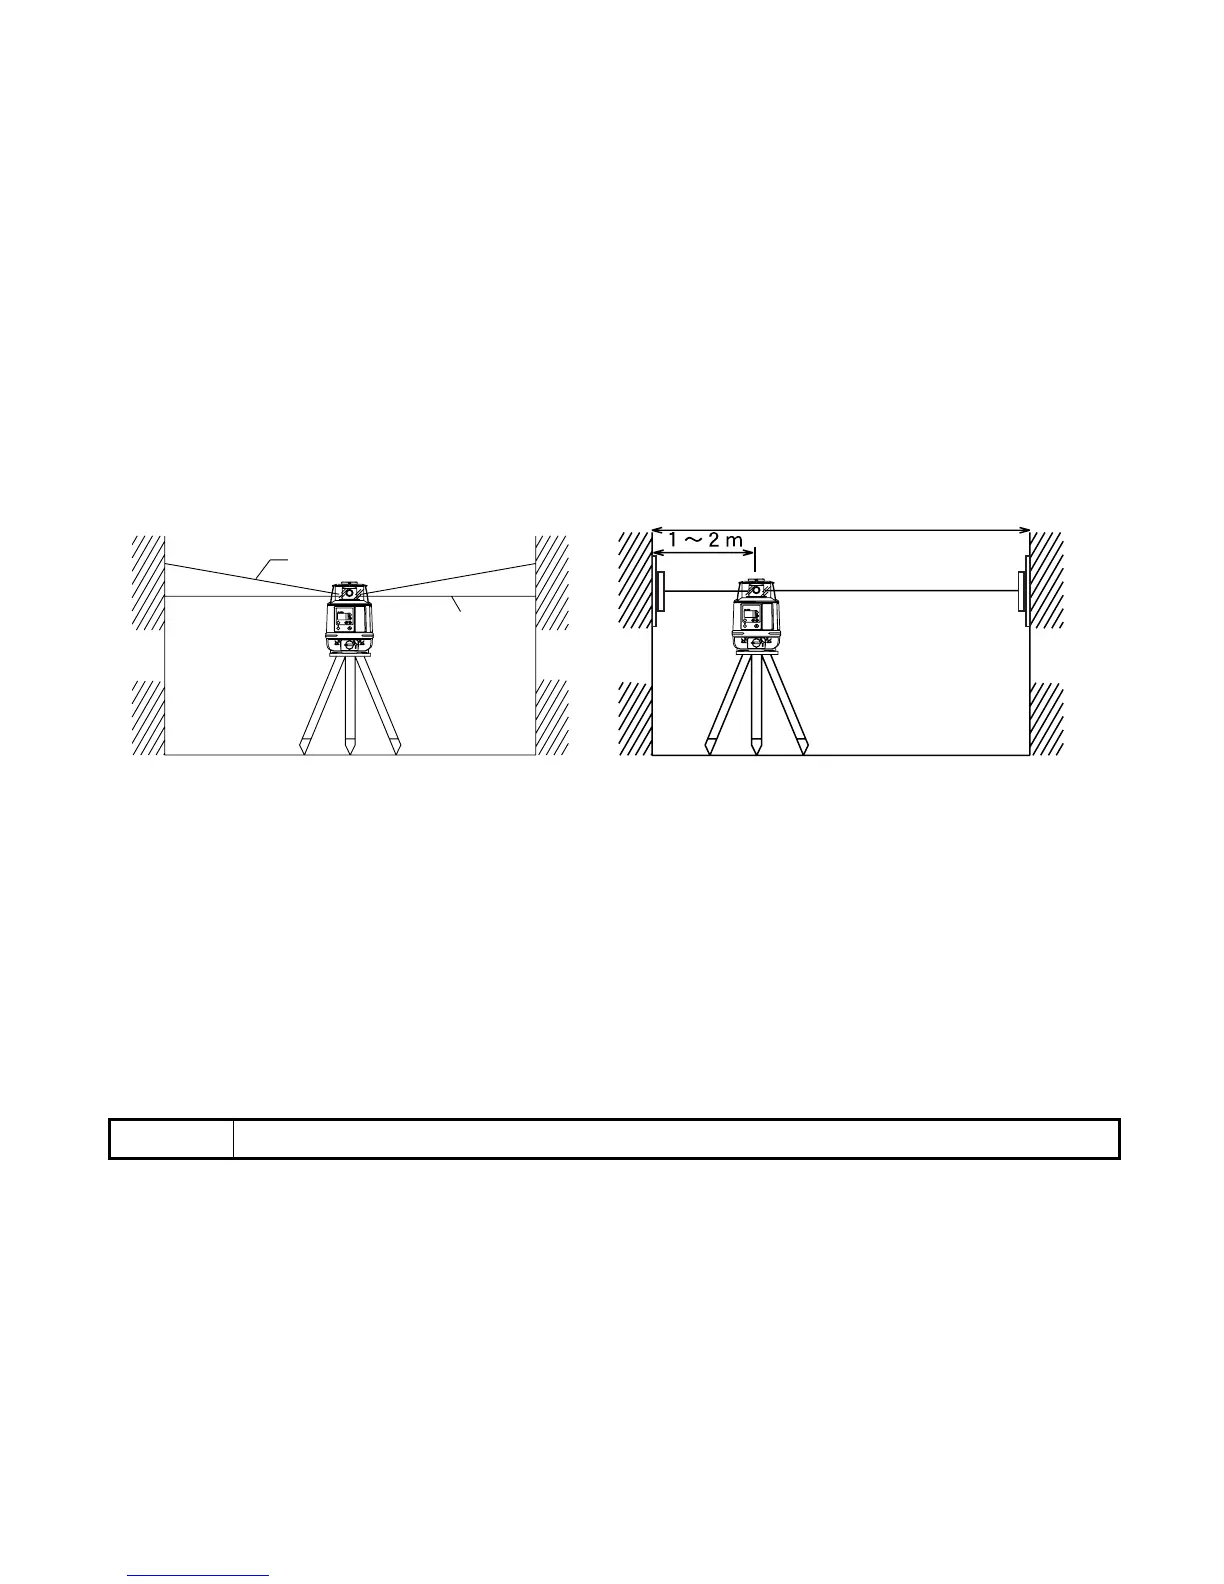
Set up the laser centered between two walls approximately 40m (131ft) apart. Orient the
instrument so one axis, either X or Y, is facing the walls. Confirm grade is set to 00.000%.
2
Locate and mark the position of the rotating laser beam on both walls using the laser sen-
sor.
3
Turn off the instrument and move the instrument closer to wall A (1m to 2m /3 ft to 6 ft).
Do not change the axis orientation of the instrument. Turn the instrument on.
4
Again locate and mark the position of the rotating laser beam on both walls using the
laser sensor.
5
Measure the distance between the first and second marks on each wall.
6
If the difference between each set of marks is less than 4mm (5/32 of an inch), no error
exists.
Note
• If the error is greater than 4mm ( 5/32 of an inch), contact your Topcon dealer.
X
rpm
100
MANU
×
POWER
%
ON
ENT
X
rpm
100
MANU
×
POWER
%
ON
ENT
Wall
A
Wall
A
Wall
B
Wall
B
Datum position
Minimum about 40m/131ft
Cone error
 Loading...