11
Valve Runtimes Setup
e Valve Runtimes is where you select all the valves that will run in the schedule. By default, all valves are set to OFF. Modify the runtime
for each valve as necessary. Deactivate a valve by setting the runtime to OFF.
Valve Runtime Setup for Weekday and Interval Schedules
Step 1 – Press the
SCHEDULES button. Use the Up or Down arrows to select the Schedule you want to set/edit, then
press SELECT .
Step 2 – Use the Up or Down arrows to navigate to VALVE RUNTIMES, then press SELECT .
Step 3 – Use the Up or Down arrows to select the valve you want to set a runtime.
Step 4 – Use the Left or Right arrows to navigate to the runtime Hours, Minutes and Seconds. Use the Up or Down
arrows to set the desired runtime. Press SELECT to save. Repeat to set runtime to the other valves as necessary.
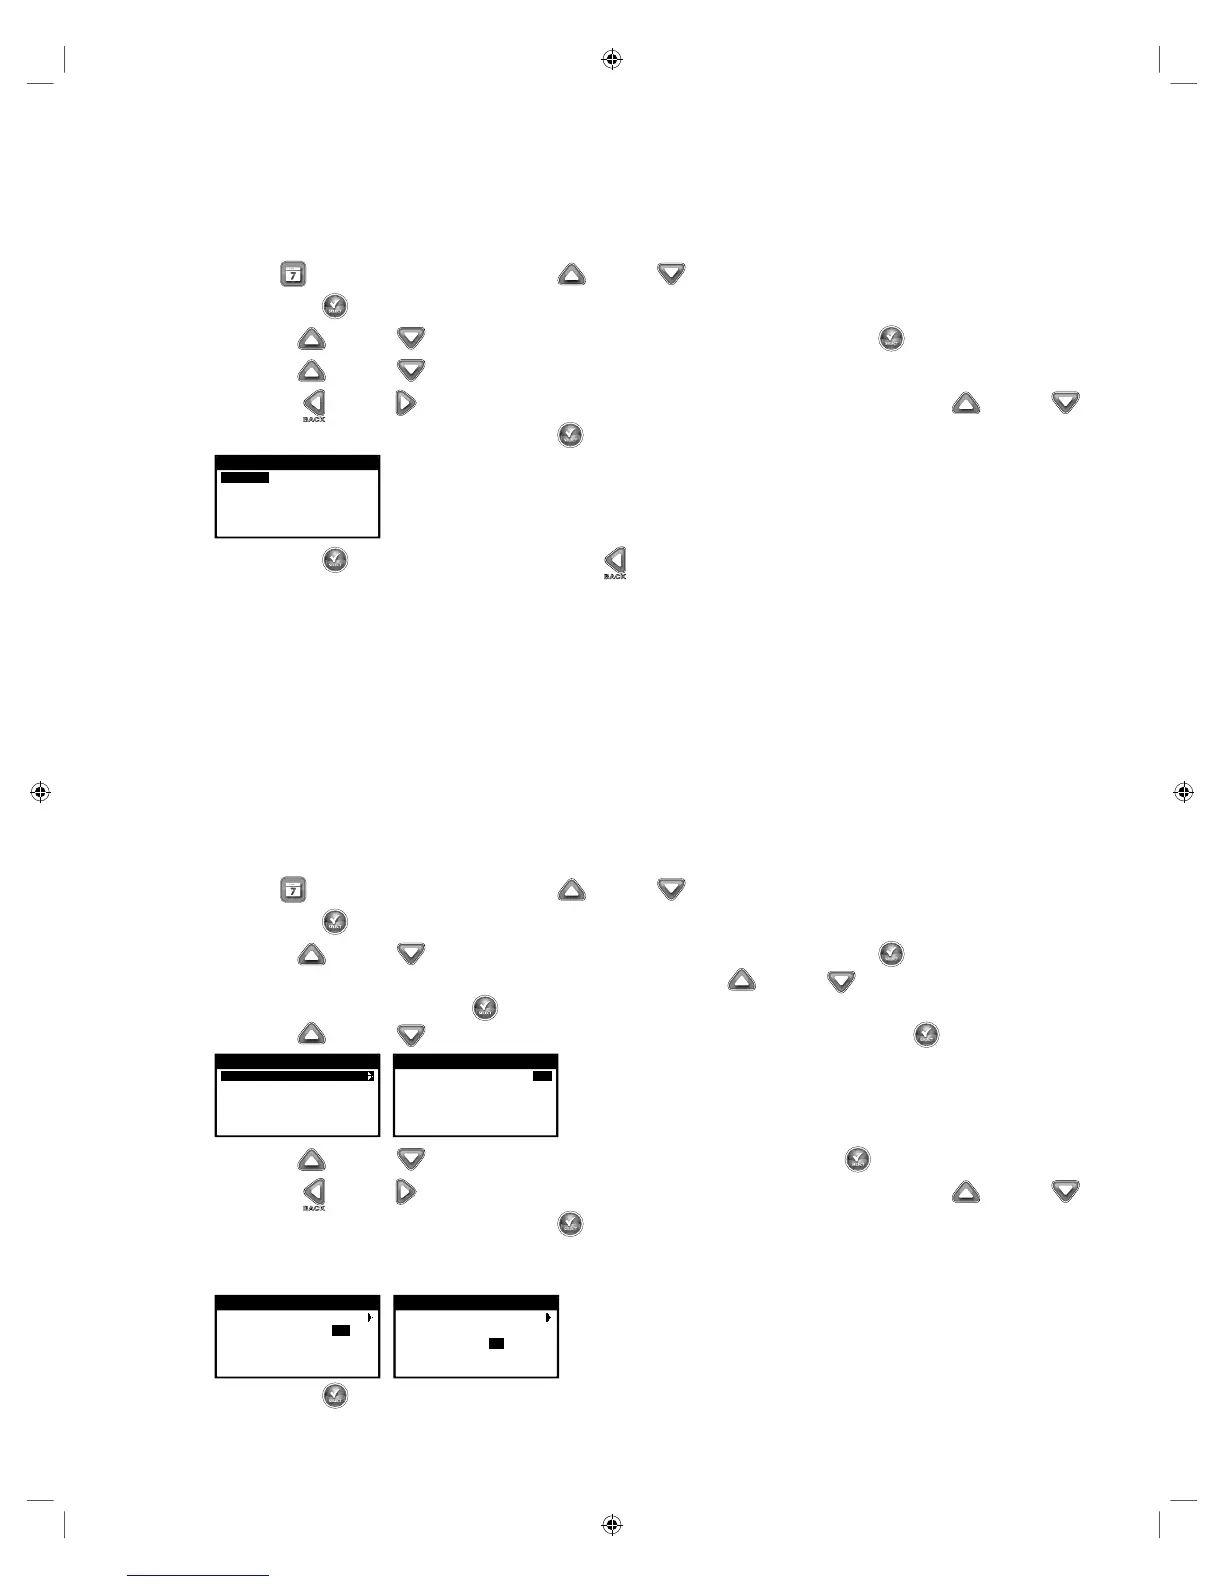
SCHEDULE A
VALVE1 04:00:00
VALVE2 02:00:00
VALVE3 FP1
VALVE4 FP2
Step 4 – Press SELECT to save the changes and use the Left arrow to return to the SCHEDULES menu.
Valve Runtime Setup for Looping Schedule
In this section you will rst select which valves are to be active in the looping schedule, and then designate the details of the looping
function (on time/o time). e controller will sequentially activate each valve in the schedule for the designated ‘runtime’, and then will
pause for the designated ‘delay’, and then resume with the rst valve ‘runtime’.
For example: If Valves 1, 2, and 3 are set to ON, and a Runtime is set for 1 minute, and a delay is set for 20 minutes, the following
sequence will occur:
- Valve 1 will turn on for 1 minute then close
- Valve 2 will turn on for 1 minute then close
- Valve 3 will turn on for 1 minute then close
- All valves will be closed for 20 minutes
- Valve 1 will turn on for 1 minute then close...etc.
Step 1 – Press the SCHEDULES button. Use the Up or Down arrows to select the Schedule you want to set/edit, then
press SELECT .
Step 2 – Use the Up or Down arrows to navigate to VALVE RUNTIMES, then press SELECT .
Step 3 – Select VALVES to set the available valves you want to irrigate. Use the Up or Down arrows to select each of the valves
you want to set, then press SELECT .
Step 4 – Use the Up or Down arrows to set ON or OFF to each available valve, then press SELECT .
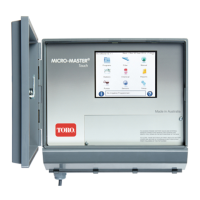
SCHEDULE A
VALVES
RUNTIME OFF
DELAY OFF
SCHEDULE A
VALVE1 ON
VALVE2 ON
VALVE3 ON
VALVE4 OFF
Step 5 – Use the Up or Down arrows to select the RUNTIME menu, then press SELECT .
Step 6 – Use the Left or Right arrows to navigate to the runtime Hours, Minutes and Seconds. Use the Up or Down
arrows to set the desired runtime. Press SELECT to save.
Step 7 – Repeat the process for the DELAY if needed. During a looping schedule, each active valve in the schedule will run again
sequentially after the delay time expires. is cycle continues from the START TIME until the END TIME.
SCHEDULE A
VALVES
RUNTIME 00:05:00
DELAY OFF
SCHEDULE A
VALVES
RUNTIME 00:05:00
DELAY 01:00:00
Step 8 – Press SELECT to save the changes and return to the SCHEDULES menu.