%,'1'-, #6 4'1!& (Fig. 19) ĊThe ignition switch,
which is used to start and stop the engine, has three
positions: OFF, RUN and START. Rotate key clockwise
Ċ START position Ċ to engage starter motor. Release
key when engine starts. The key will move
automatically to the ON position. To shut engine off,
rotate key counterclockwise to the OFF position.
*-4 *2% 4'1!& ," ,"'!1-/ (Fig. 19) Ċ Use to
preheat engine cylinders prior to cold engine starting
procedures Ċ cylinders are preheated automatically
during warm engine start operation. For cold starting,
push switch lever upward and hold while watching
indicator. Indicator will glow orange when the glow
plugs are activated. Length of time necessary to
preheat cylinders should be determined by
atmospheric temperature; refer to Starting /Stopping
Engine procedure.
&/-11*# (Fig. 19) Ċ Throttle is used to operate engine
at various speeds. Moving throttle forward increases
engine speed Ċ FAST; rearward decreases engine
speed Ċ SLOW. The throttle controls the speed of the
cutter blades and, in conjunction with traction pedal,
controls ground speed of the traction unit.
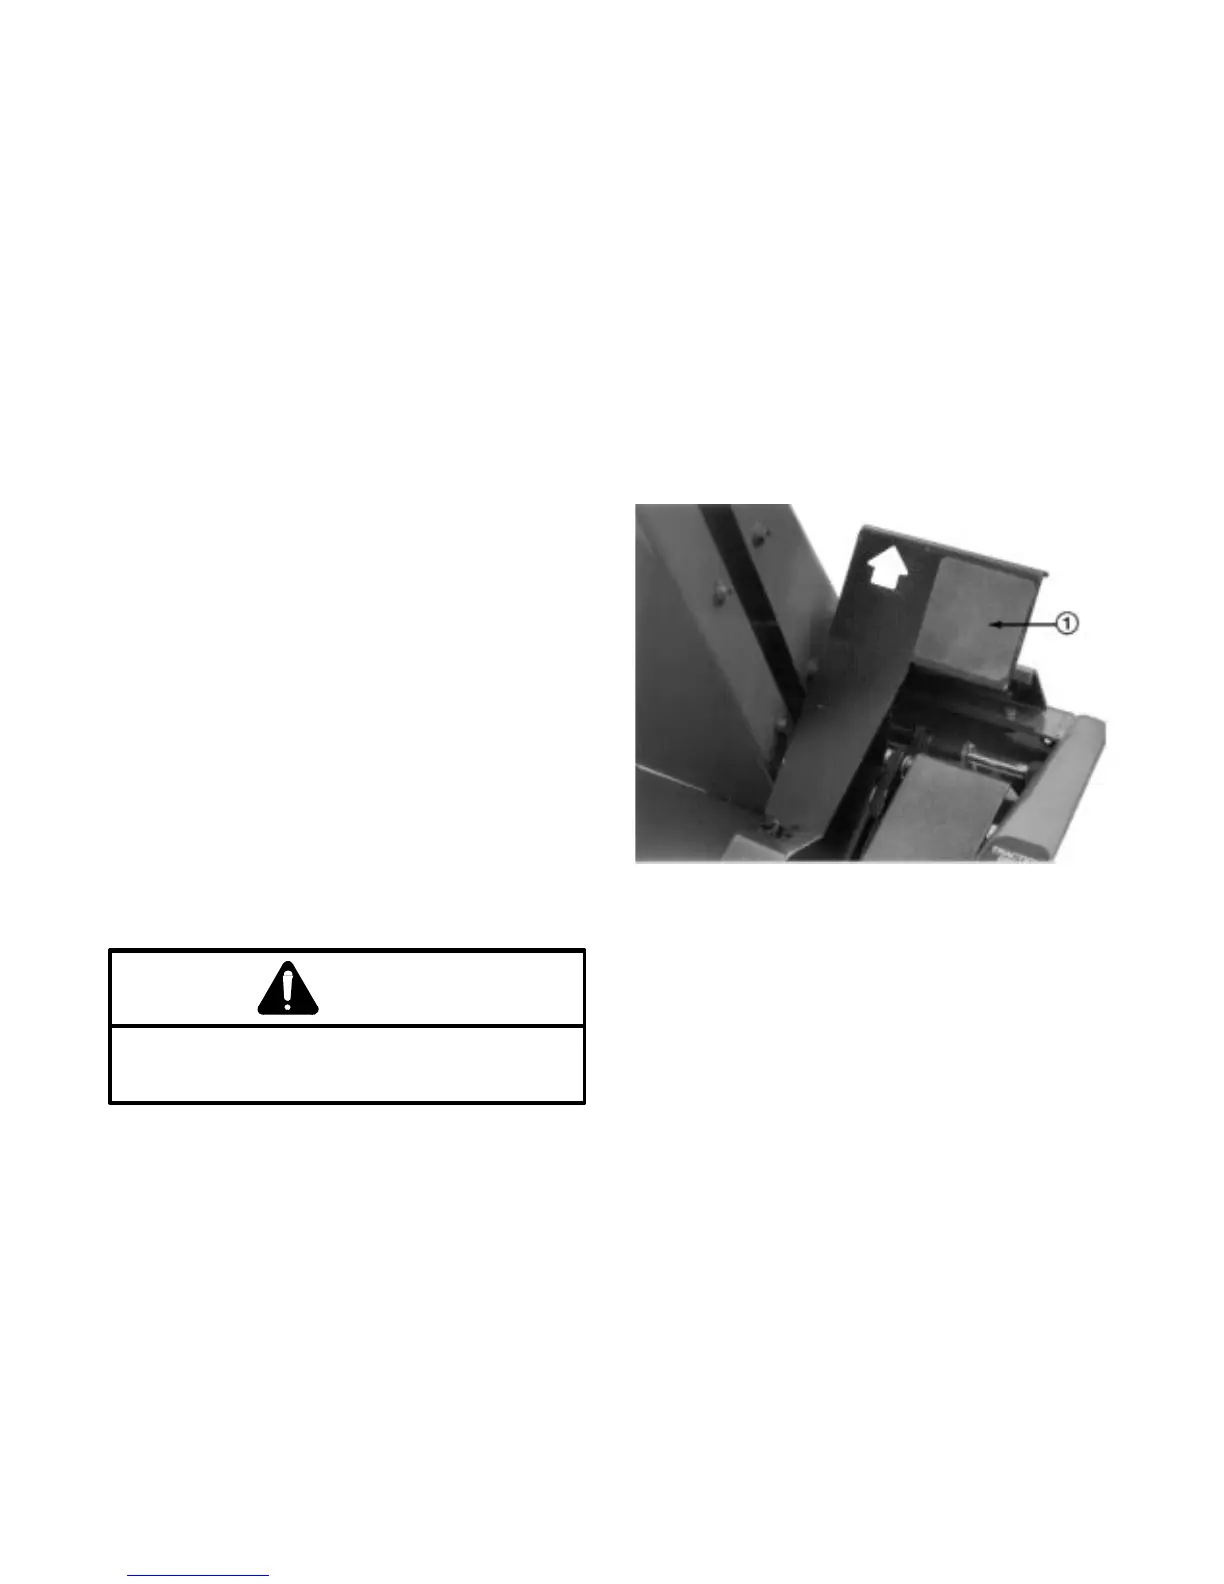
6"/2*'! $1 #3#/ (Fig. 19) Ċ The hydraulic lift lever
has three positions: FLOAT, TRANSPORT and RAISE.
To lower cutting unit to the ground, move lift lever
forward into notch in seat platform Ċ FLOAT. The
FLOAT position is used for mowing and when machine
is not in operation. To raise cutting unit, pull lift lever
rearward to the RAISE position. After cutting unit is
raised, allow lift lever to move to the TRANSPORT
position. Cutting unit must be raised when driving from
one work area to another.
#3#/ /'0# !211',% 2,'1 4&'*# *"#0 /# /-118
',% #!20# '1 '0 &7/"-20
/!1'-, #"* (Fig. 20) Ċ Traction pedal has two
functions: one is to make the machine move forward,
the other is to make it move rearward. Using the heel
and toe of the right foot, depress top of pedal to move
forward and bottom of pedal to move rearward.
Ground speed is proportionate to how far pedal is
depressed. For maximum ground speed, traction
pedal must be fully depressed while throttle is in FAST
position. Maximum speed forward is 10 mph (16
Km/hr) (approx.). To get maximum power under heavy
load or when ascending a hill, have throttle in FAST
position while depressing traction pedal slightly to
keep engine rpm high. When engine rpm begins to
decrease, release traction pedal slightly to allow rpm to
increase.
'%2/#
/!1'-, .#"*
#1 "(201',% ,"*# Ċ To adjust seat, loosen
adjusting knobs and slide seat to desired position.
Tighten knobs to lock seat in place.
#1 "(201',% ,"*# 9 #*25# #1 Ċ To adjust
seat, move lever on left side outward, slide seat to
desired position and release lever so it will lock in track.
&# $2#* 0601#+ +201 # *#" '$ ,6 -$
1&# $-**-4',% 0'121'-, &3# -!!2//#"
,'1'* 01/1 2. -$ ,#4 +!&',#
,%',# &0 !#0#" /2,,',% "2# 1- *!) -$
$2#*
',1#,,!# &0 ##, .#/$-/+#" 2.-, $2#*
0601#+ !-+.-,#,10 '# $'*1#/ /#.*!#"
0#./1-/ 0#/3'!#" #1!
#$#/ 1- *##"',% &# 2#* 601#+
Ensure parking brake is set, PTO switch is in OFF
position and lift lever is in TRANSPORT or FLOAT
position (Fig. 19). Remove foot from traction pedal and
insure it is in neutral.
Move throttle control (Fig. 19) to full FAST position.
When temperature is below 15C (60F), push
glow plug switch to ON position (Fig. 19) and hold for
suggested interval.
-1# Do not exceed 1 minute of continuous use or
glow plug may burn out prematurely.
-1# Refer to chart indicating approximate preheat
time suggested in various temperature ranges.

 Loading...


