!" !"!
! !
The Groundsmaster 223-D is shipped without the
seat assembly. Either optional Seat Kit, Model No.
30769 or 30772 must be installed.
'#5 +5 1&'. 1 5#0& '#5
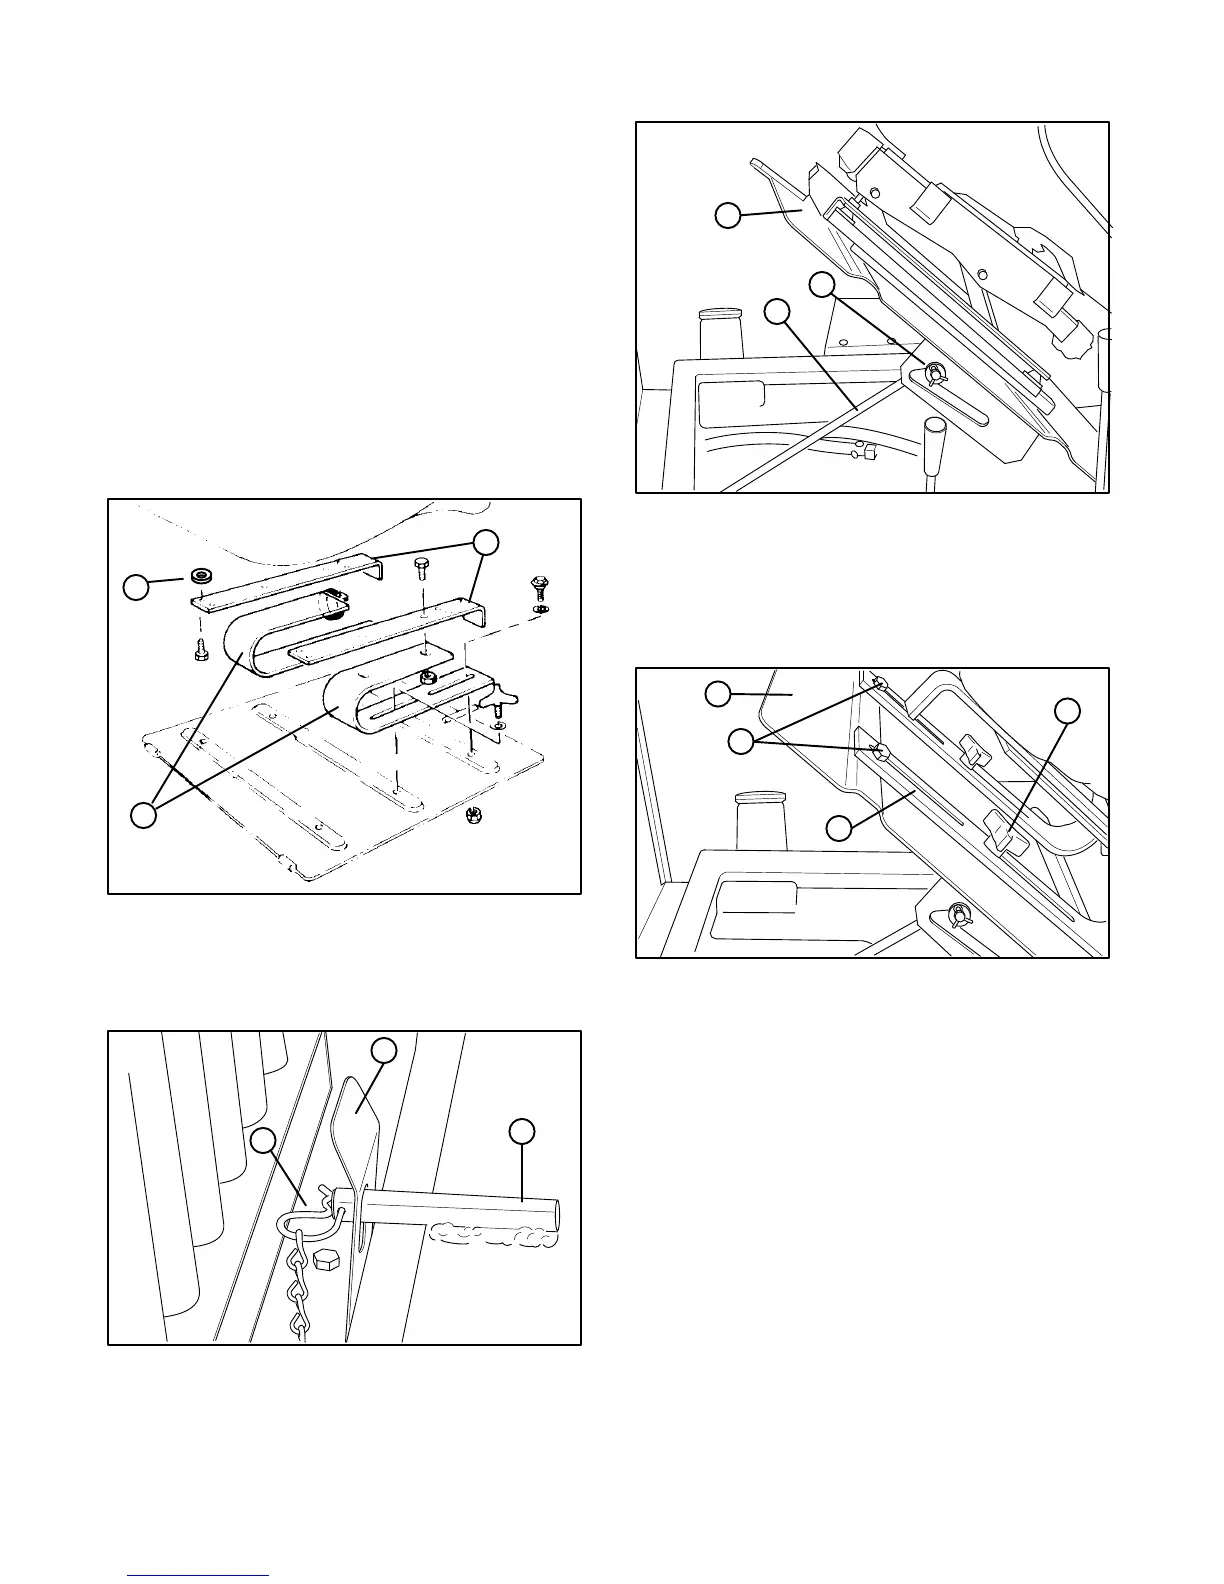
Attach U" springs to seat mounting brackets with
(4) capscrews and flange nuts as shown in figure 2.
Secure seat mount assemblies to bottom of seat
with (4) flange head capscrews and (4) spacers.
(Fig. 2). Spacers to be positioned between seat and
seat mount.
15' Mount the bracket in the forward set of tapped
mounting holes in seat.
+)63'
9" 423+0)
'#5 /1605+0) $3#%-'5
2#%'3
Remove hair pin cotter and pull back on locking
spring flap to pivot mounting plate forward (Fig. 3).
+)63'
#+3 2+0
1%- 423+0) (.#2
'#5 /1605+0) 2.#5'
Hold mounting plate in upright position with
support rod (Fig. 4).
+)63'
1605+0) 2.#5' 0&'05 622135 31&
Mount seat and spring assembly to rear holes in
seat mounting plate with two shoulder bolts, small I.D.
flat washers and locknuts (Fig. 2 & 5).
+)63'
1605+0) 2.#5'
'#5 423+0)
*16.&'3 $1.5 7+5* 7#4*'3
#0& .1%-065
&,645/'05 *#0&.'
Secure front slot of seat springs to traction unit
front mounting holes with adjustment handles and
flatwashers (Fig. 2 & 5).
Adjust seat to desired operating position. Loosen
adjustment handles, slide seat fore or aft in slotted
holes and tighten adjustment handles to secure in
place.
'#5 +5 1&'. 1 '.68' '#5
Position threaded mounting studs of seat
suspension into holes in seat mounting plate.
Remove hair pin cotter and pull back on locking
spring flap to pivot mounting plate forward (Fig. 3).
Hold mounting plate in upright position with
support rod (Fig. 4).

 Loading...


