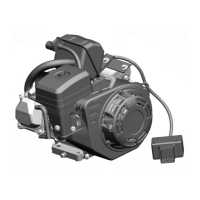
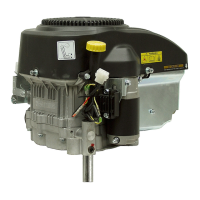
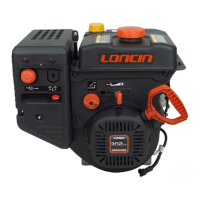
ENGINE
42
4. Remove the piston and rod assembly. Separate
the assembly if necessary, usin
a snap rin
pliers
on the retainin
rin
(16). Use wrist pin knock out
tool (P/N 602884) to punch out wrist pin (17). (See
Fi
ure 72.)
Figure 72
0893-24b
5. Remove the two bolts and two nuts retainin
the
cylinder head to the block. Remove the head and
discard the head
asket. (See Fi
ure 73.)
Figure 73
720-008
Inspection and Repair
1. Check bearin
s for wear and freedom of
movement; replace the bearin
s if questionable.
2. Check rin
s for stickin
. Remove and check rin
s
for wear or dama
e; replace rin
s if questionable.
Clean any carbon buildup from the rin
rooves
before installin
new rin
s. It is best to use a piece
of hardwood to scrape carbon loose. Should you
use a metal tool, you mi
ht dama
e the piston.
3. Check all parts for wear or dama
e and replace if
questionable.
4. Clean crankcase surfaces with Gel Seal and
Gasket Remover. (See Fi
ure 74.)
Figure 74
0720-014h
5. Use a feeler
au
e to check that the rin
end
ap
is to specifications.
Figure 75
0893-014
6. Inspect the piston and cylinder (see Fi
ure 75). A
ood piston will show most of the machinin
marks
on the surface. Some thin
s that indicate piston
and cylinder dama
e are:
17
16