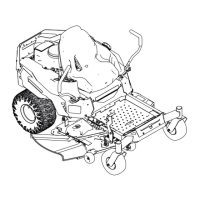
g294197
Figure 62
1. Height-of-cut plate
3. W asher
2. Hairpin cotter
7. Rotate the height-of-cut plate to a dif ferent hole
so that it supports the weight of the mower deck
after you install the plate ( Figure 63 ).
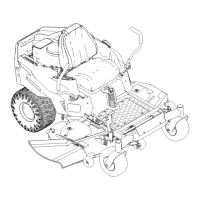
g294195
Figure 63
8. Install the washer and hairpin cotter ( Figure 63 ).
9. Repeat steps 6 through 8 for the other side of
the machine.
10. Check the side-to-side level again; repeat this
procedure until the measurements are correct.
1 1. Continue leveling the mower deck by checking
the front-to-rear blade slope; refer to Checking
the Front-to-Rear Blade Slope ( page 43 ) .
Adjusting the Front-to-Rear Blade
Slope
1. Rotate the adjustment nut in the front of the
mower ( Figure 64 ).
g294471
Figure 64
1. Adjusting rod 3. Adjustment nut
2. Adjusting block
2. T o raise the front of the mower deck, tighten the
adjustment nut.
3. T o lower the front of the mower deck, loosen the
adjustment nut.
4. After adjustment, check the front-to-rear slope
again, continue adjusting the nut until the front
blade tip is 1.6 to 7.9 mm (1/16 to 5/16 inch)
lower than the rear blade tip; refer to Checking
the Front-to-Rear Blade Slope ( page 43 ) .
5. When the front-to-rear blade slope is correct,
check the side-to-side level of the mower deck
again; refer to Checking the Side-to-Side Level
( page 42 ) .
Removing the Mower Deck
1. Park the machine on a level surface, disengage
the blade-control switch (PT O), and move the
motion-control levers outward to the P ARK
position.
2. Shut of f the engine, remove the key , and wait
for all moving parts to stop before leaving the
operating position.
3. Lower the height-of-cut lever to the lowest
position.
44