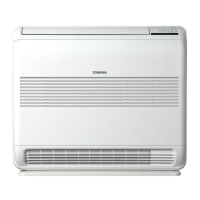
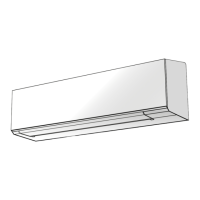
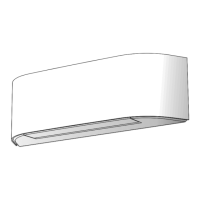
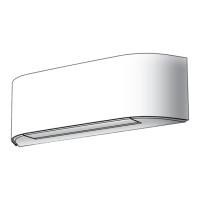
No. Part name
Procedures
Remarks
Fan motor
6
1) Follow the procedure item 3 and 4 .
2) Loosen the set screw of the cross flow fan.
3) Remove 2 fixing screws of the motor band.
4) Pull the motor band and the fan motor
outward.
3.5 mm
Cross flow fan
Set screw
Fan motor
Body back
Horizontal louver
7
1) Remove shaft of the horizontal louver
from the back body. (First remove 2 the
center shafts then remove the other shafts.)
<To re-installation>
- Check the type name of fan motor.
- Keep connector position and arrange fan
motor wires follow figure.
Horizontal louver
Drain pan
(45°)
Fan motor
connector
Fan motor wire
Hexagon screw driver
Vertical louver
Cross flow fan
Fan motor
Motor band
Screws

 Loading...


