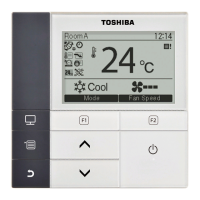
Central remote controller Owner’s Manual
58
-EN
6 Administrator Menu
Renaming a zone (Zone Name Settings)
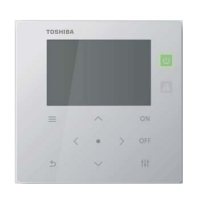
1 In the “Settings Menu” screen, select “Zone Name Settings”
and then press [ ] (Confirm).
The “Admin. Password Entry” screen is displayed.
2 Enter a password using [<], [∧], [∨], and [>], and then press
[ ] (Confirm).
The “Zone Name Settings” screen is displayed.
3 Select the zone to change using [<], [∧], [∨], and [>], and then
press [ ] (Confirm).
The “Character entry” screen is displayed.
• Delete the default name displayed at the top of the screen before
entering characters.
4 Select characters using [<], [∧], [∨], and [>], and then press
[ ] (Confirm).
The selected characters are displayed at the top of the screen.
• Up to 9 characters can be entered.
5 Repeat step 4, select “Fix”, and then press [ ] (Confirm).
The zone name is changed to the one you have set, and the “Zone
Name Settings” screen is displayed again.
• If you press [ ] (Return) without pressing “Fix”, the setting is
cancelled and the screen returns to the state it was in before the
change was made.
Deleting a character
Select “Del”, and then press [ ] (Confirm).
The last character is deleted.
 Loading...