8 Installation and Operation Guide
PolyVision
®
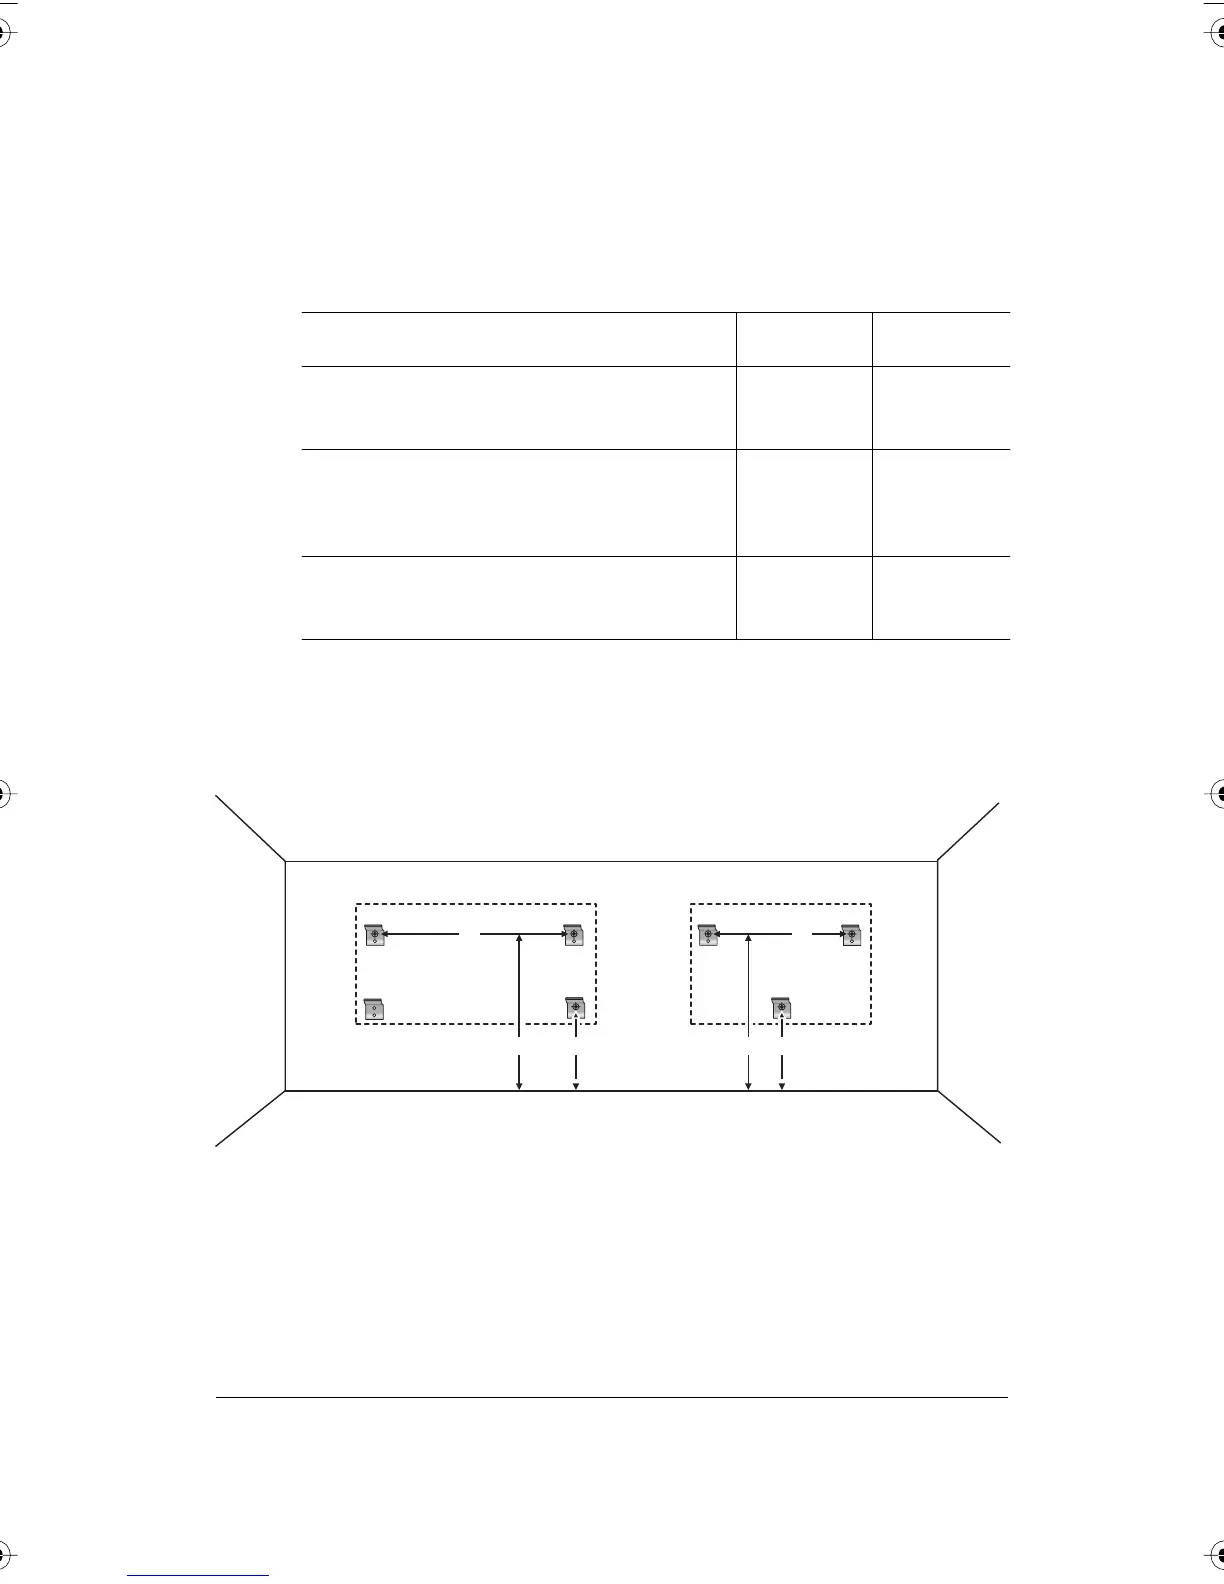
3 Carefully mark three (WT or WTL16xx) or four (WT or WTL 18xx) drill
hole locations as indicated in the table and illustration below, based on
your Walk-and-Talk model. Measurements are for a standard (adult)
height whiteboard*:
*To enable access for young children, reduce vertical measurements by
6 inches (152 mm).
**Choose either 72" or 80" (1823 mm or 2032 mm), whichever distance
enables you to fasten the wall bracket to a wall stud.
4 Using a wall bracket as a template, mark the screw hole locations for
each wall bracket.
5 If installing in sheetrock, install six (WT or WTL 16xx) or eight (WT or
WTL 18xx) sheetrock anchors in the wall at the marked hole locations.
Model 16xx 18xx
A: Distance from floor to top holes in upper
brackets*
75"
1905 mm
75"
1905 mm
B: Distance between holes
48"
1219 mm
72" or 80"**
1823 mm or
2032 mm
C: Distance from floor to top holes in lower
brackets*
36.25"
920 mm
36.25"
920 mm
B
A A CC
B
18xx 16xx
PolyVision I&O.book Page 8 Thursday, October 16, 2008 4:18 PM