Using Your PolyVision Interactive Whiteboard 25
PolyVision
®
Getting Started with Your Projector
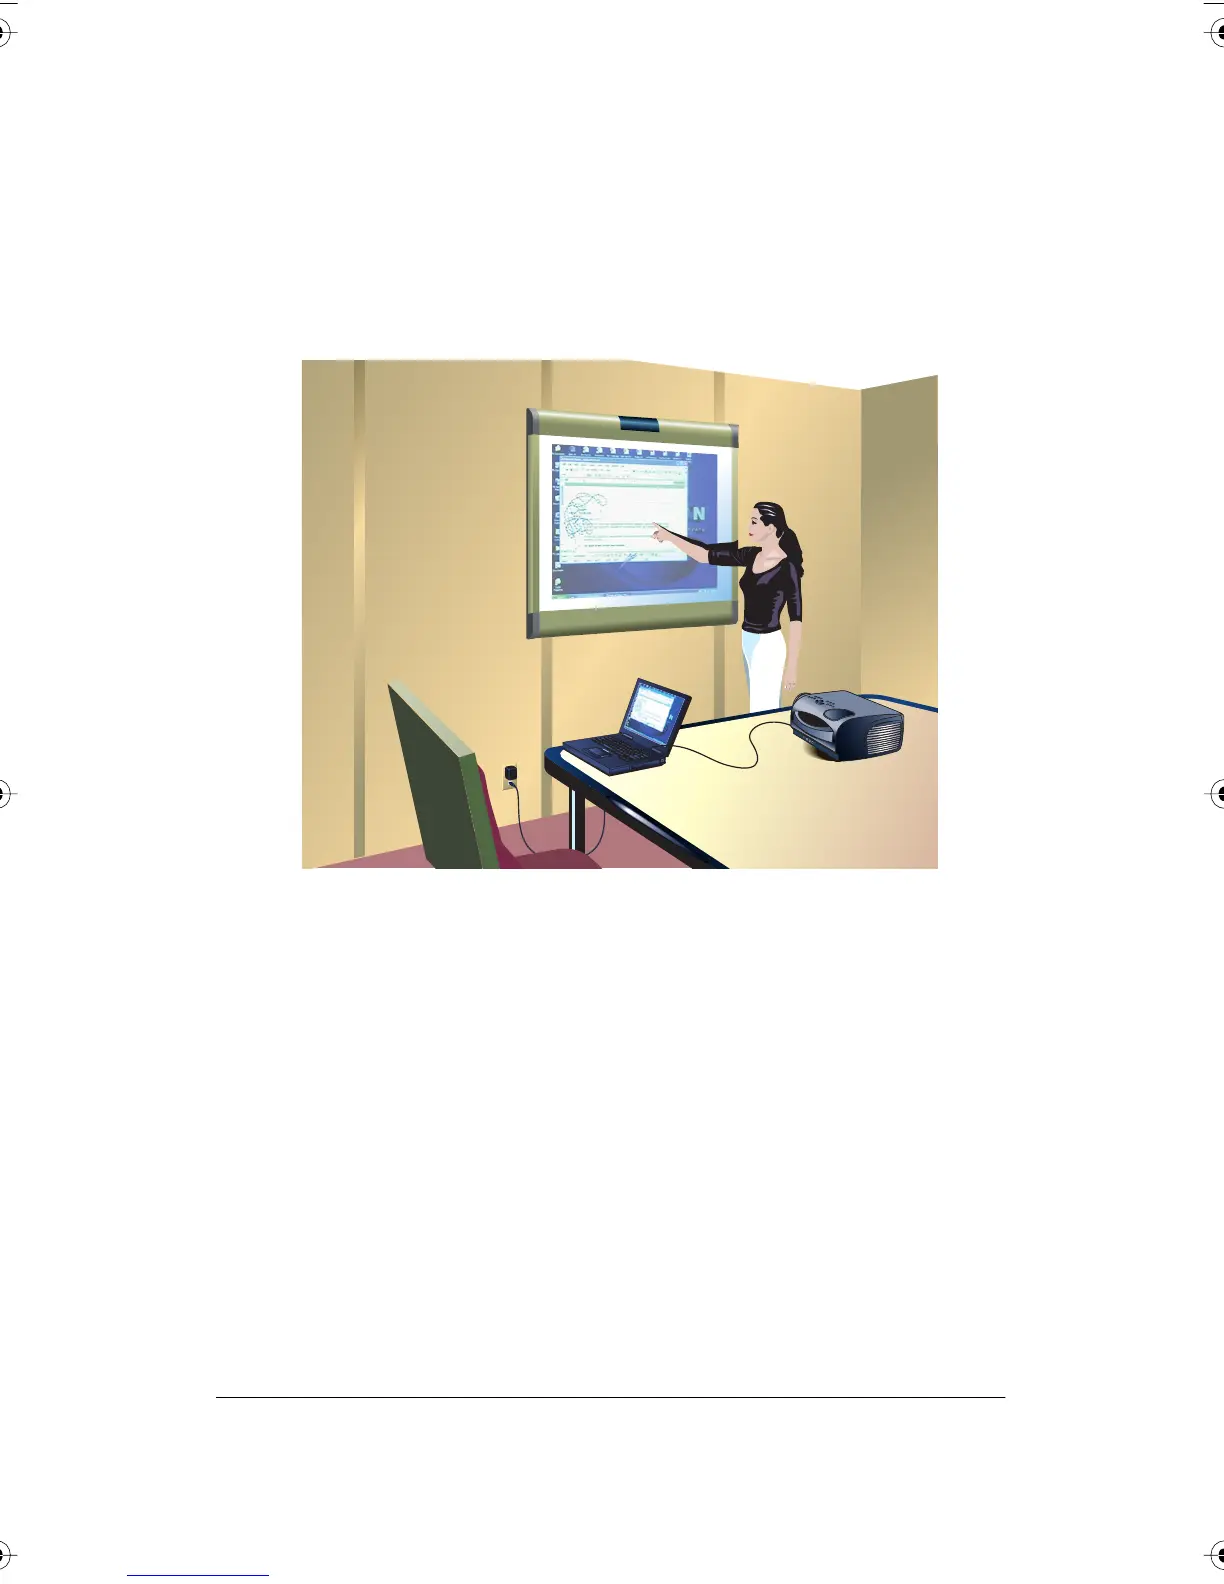
Cable connections between your computer, the board, and the projector
enable you to control your computer from the Walk-and-Talk whiteboard.
Getting started is simply a matter of connecting your projector to your
computer using the video cable that is provided with your projector.
To set up the projector:
1 Locate your projector’s video cable and connect it to the video port of
your computer.
2 Connect the other end of the video cable to your projector.
3 Connect the projector’s power cord to an outlet.
4 Turn on the projector and focus your computer screen squarely onto
your whiteboard. The projected image does not need to fill the white
area.
To align the projected image with a Lightning (TSL or WTL) whiteboard:
1 Assure that at least half of the projected image is actually projected
onto the board.
2 Press the Projection button on the remote control (WTL models) or tap
the Projection icon on the whiteboard (TSL models) one time.
PolyVision I&O.book Page 25 Thursday, October 16, 2008 4:18 PM