l Disconnect the solenoid coil and inlet valve wire connection
l Remove the pilot air connection from the top block assembly
l Remove the socket head cap screws M8 * 40
l Remove the top chamber with the controller
l Remove the drying tower gasket from the top block and replace with new ones
l Remove the top compactor plates (FOUR)
l Remove the old desiccant bags
l Clean the drying towers
l Filling the Desiccant bag assembly :
Dryspell Plus model 200:
Fill the desiccant bag assembly firstly with 3 bags of Activated Alumina AD1398 followed by a bag of molecular sieves
AD1424 as shown in the figure 30
Dryspell Plus model 250:
Fill the desiccant bag assembly firstly with 3 bags of Activated Alumina AD1398 followed by a bag of mixed Activated
alumina and Molecular Sieves AD1425, lastly with a bag of molecular sieves AD1424 as shown in the figure 31
l Replace the top compactor plate with new one
l Fix the top block assembly and tighten the cap screws
l Connect the solenoid coil, inlet valve and pilot air connections
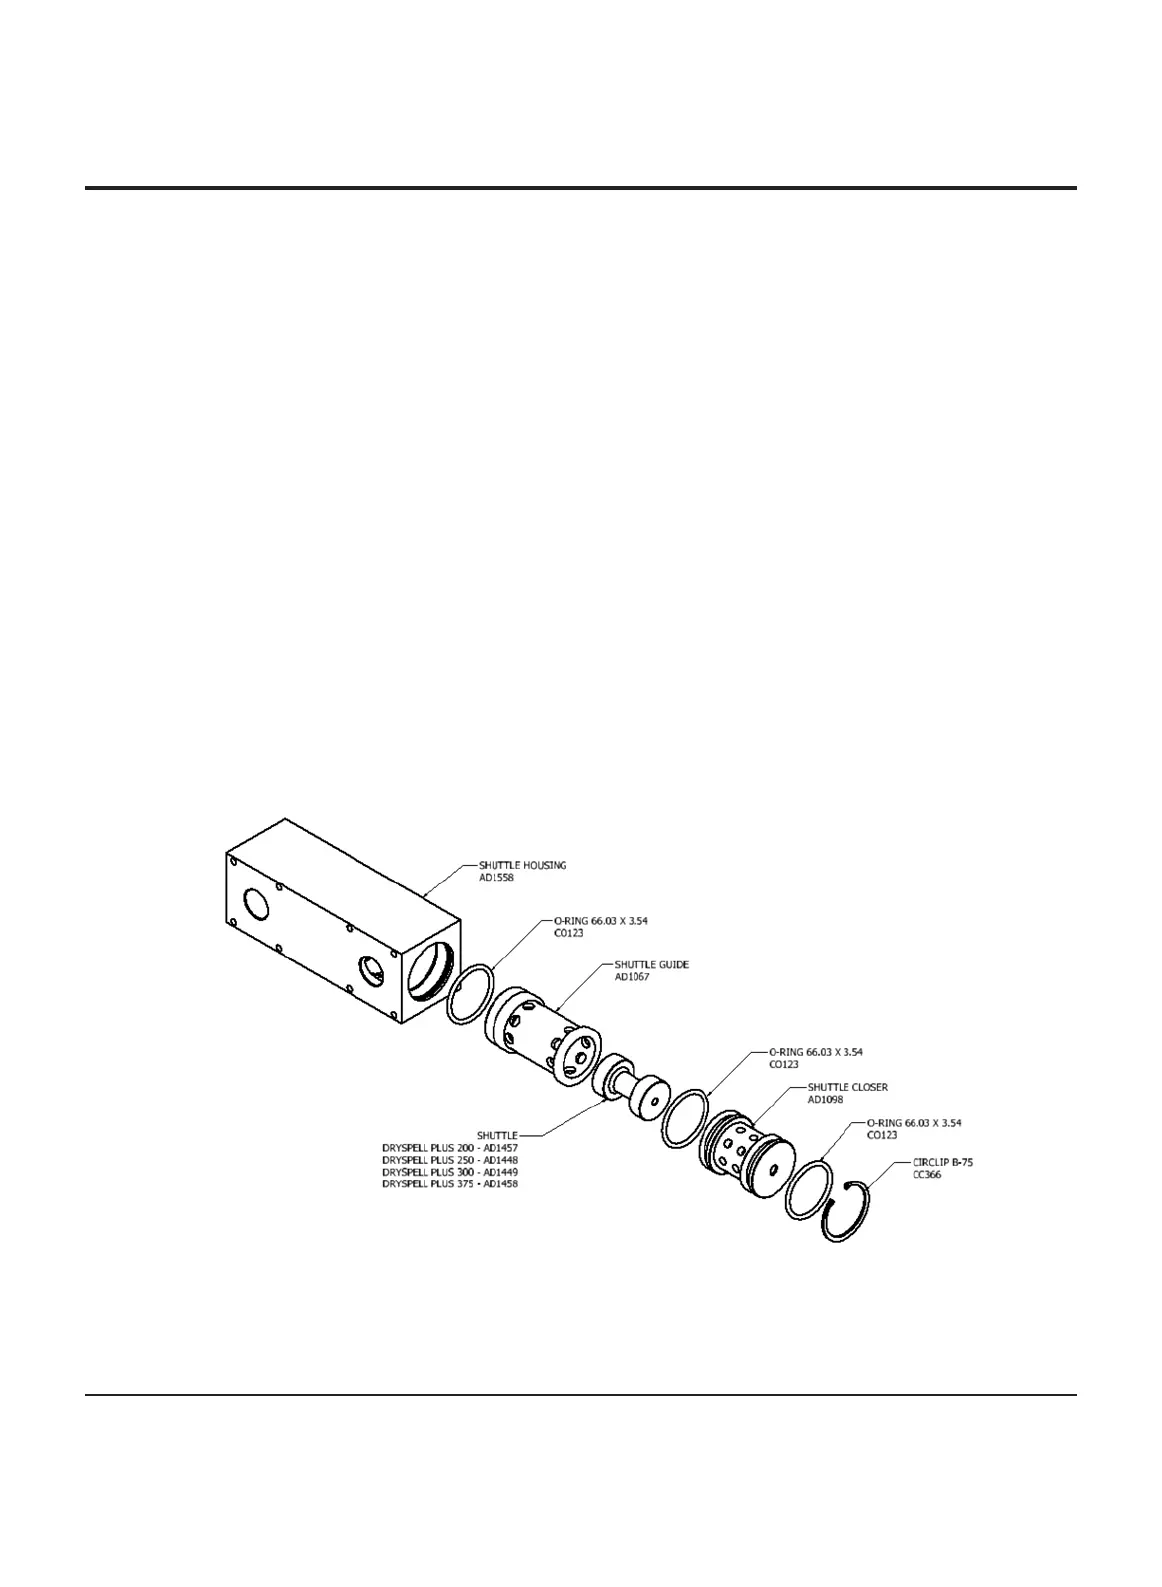
8.5.5.2 Changing the top shuttle 200-375
Figure 32. Exploded view of top shuttle-Dryspell Plus 200-375
INSTRUCTION MANUAL - Dryspell Plus
Reference : Manual Version
48